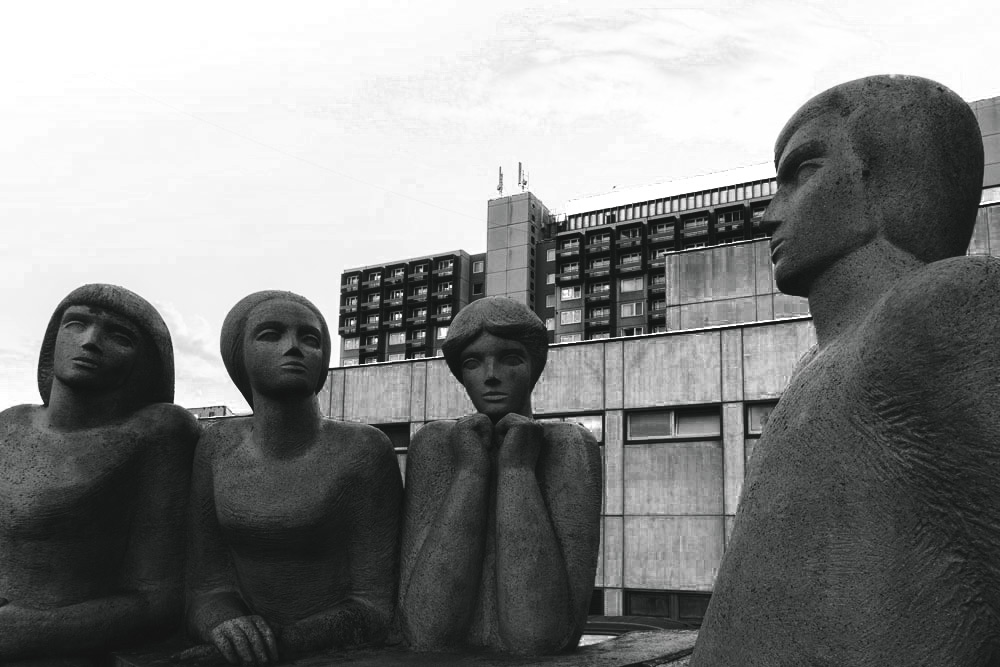
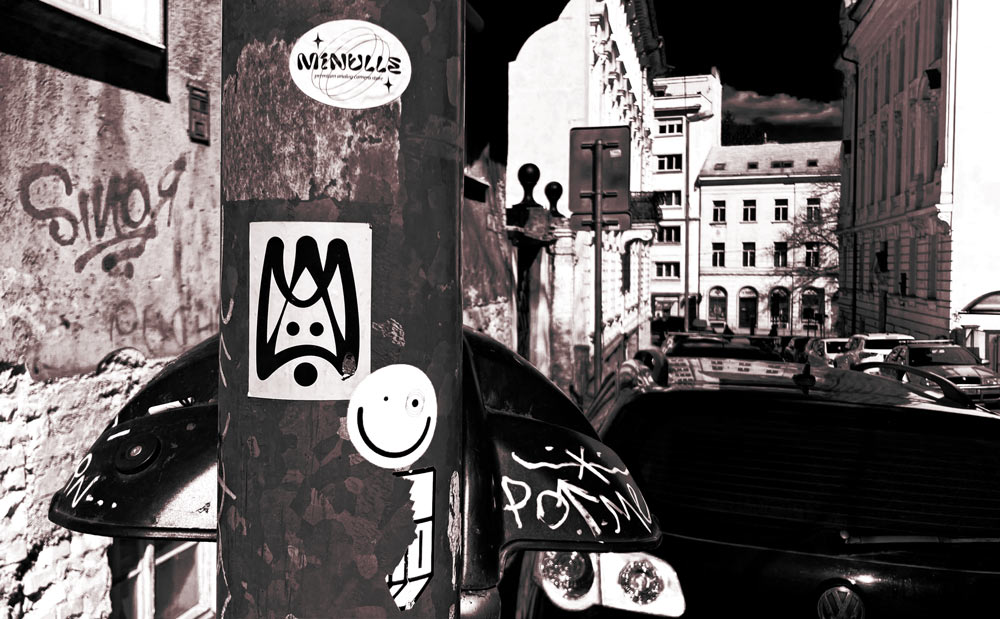
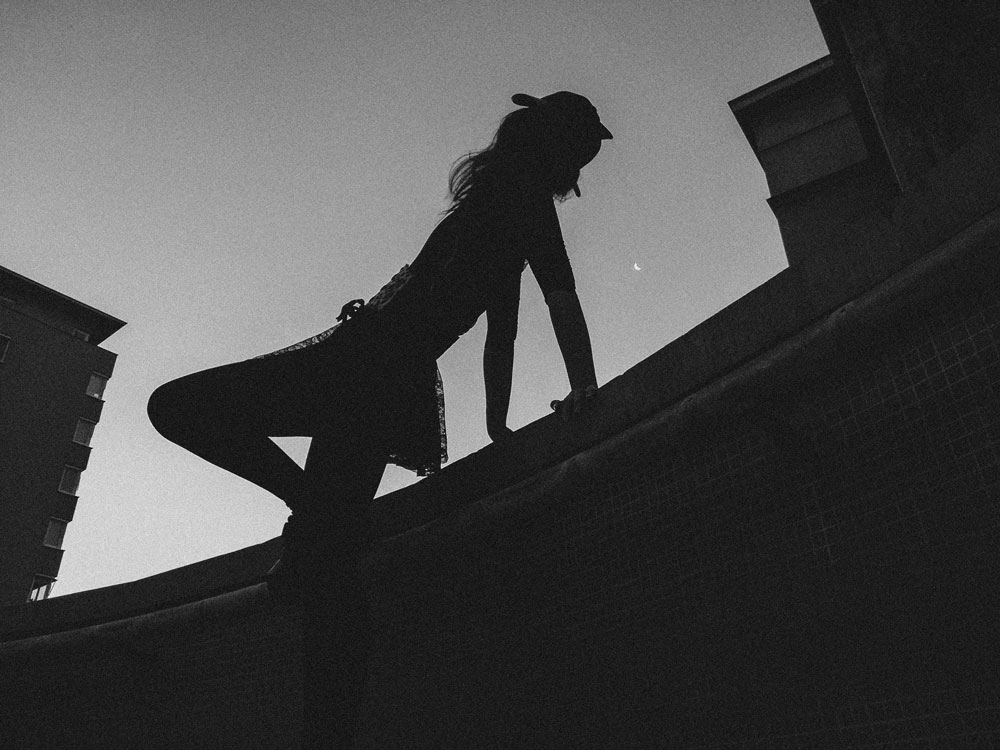
Black-and-white photography can direct the viewer’s attention to shapes, lines, and emotions. There is no color that would distract the viewer, but it directs the attention to the contrasting shapes, textures, forms, and plateaus of light, shadows, and highlights. Monochrome pictures usually incorporate a sense of timelessness with links to historical or fine art photography. The following lines will give you insights into how to edit black-and-white photos in Photoshop.
And why Photoshop (desktop and mobile versions will be covered in another article)? Well, the program is popular and possesses tools to achieve black-and-white edits. There are some easy ways and some more advanced ways that I will cover.
Starting with a Color Photo
The reason why you should shoot in color is a simple fact – it gives you more control over the final photo. When converting color into black and white, you can, for example, darken a blue sky without affecting skin tones. Many editing programs allow the user to edit the brightness of specific colors even after converting them to black and white.
Even if you are shooting in color, try to visualize the final picture in black and white. Try to portray the scene in terms of contrast, light, and shape. Some cameras might let you preview the picture in black and white but shoot in color.
Basic Conversion Methods
Desaturate
The easiest and fastest way to get a black-and-white photo is to go to the menu and select Image > Adjustments > Desaturate. However, you should avoid this method. You have zero control over the translation of specific colors into gray tones, and it usually creates a very flat and dull image. You can not make selective tonal adjustments.

Black & White Adjustment Layer
Go to the menu and select Layer > New Adjustment Layer > Black & White. This way, Photoshop analyzes the color information and lets you adjust each one after converting it into a shade of gray. You can also use the black-and-white presets as a starting point or final filter.
Color Sliders Include:
Reds: Affects skin tones.
Yellows: Influences skin and particular fabric.
Greens: Impacts vegetation and foliage.
Cyans and Blues: Changes skies, water, and blue clothing.
Magentas: Affects some flowers and clothing.
Tips: To get smooth skin tones, raise reds and yellows slightly. If you want more dramatic skies, lower the blues and cyans. To change the lush landscapes, adjust greens to darker or brighter. Use the histogram to check if you use a full range of tones, from shadows to highlights.

Grayscale & Channel Mixer
Go to Image > Mode > Grayscale. This will switch the image from RGB mode to Grayscale. This is not a very recommended solution. You will lose the color and not be able to revert it. You also do not control how the program interprets the colors. It is similar to Desaturate.
To apply the Channel Mixer, go to Layer > New Adjustment Layer > Channel Mixer. It is suitable for more advanced users. After you apply the layer, check the Monochrome box and continue adjusting the Red, Green, and Blue sliders. The total of all channels should equal 100% if you want to avoid under or overexposure. If you create a mix that you really like, you can also save it as a preset and apply it across a photo series.
Gradient Map
Start by creating an adjustment layer. Go to the menu and choose Layer > New Adjustment Layer > Gradient Map. Give it a name and click OK. Then, in the window for Properties, select the gradient you want – in this case, black and white. In the gradient editor, you can adjust the gradient under Smoothness. Just move the slider and see what effect it has on your picture.
You can add more points to the slider in the color you want. If you are satisfied with the result, which you can see while making the adjustments, click ok. You can fine-tune it with the Opacity and different Blending Modes. You don’t need to have only one, add as many as you please. If you only want some areas covered, use the masking tool.


Contrast and Tone Control
Levels and Curves
To apply Levels, go to Image > Adjustments > Levels or Layer > New Adjustment Layer > Levels.
You can adjust black points, white points, and mid-tones with a simple histogram. You will see a deep shadow by dragging the left (black) slider inward; by dragging the right (white), you will brighten the highlights. If you move the middle (gray) slider, your midtones will shift. When you are making changes, look at the histogram. If you see the graph ends don’t reach the edges, your image lacks full tonal range.
Go to Image > Adjustments > Curves or Layer > New Adjustment Layer > Curves to apply curves.
Curves give you control overtones and contrast of the entire range. You can create an S-curve, boost contrast, deepen shadows, and brighten the highlights. Another option is to flatten the curve for a softer look with a dreamy and vintage accent. Or you can pin and adjust specific tone regions by recovering blown-out highlights, darkening the skies, etc.
Ideally, if you want to change the contrast, do it after the conversion into black and white.
Dodging and Burning
These are additional essential techniques when learning to edit black-and-white photos in Photoshop. Both techniques reflect the days of the classic darkroom but in the digital realm.
You can select an area of the image and lighten it up, or the opposite, darken it in certain areas. By such actions, you can guide the user’s attention, give more emphasis on shape or texture, or add a little bit of depth.
You can access both tools on the toolbar. After the selection, go to the pop-up menu and select the Range: Midtones, Shadows, or Highlight. Then, set the Exposure – to low for subtle change and higher for more impact. You can also change the size and type of the brush. Both of these tools alter the former image, so be careful or make a copy of it, and don’t apply changes to the original file.
If you want even more control with a non-destructive approach to dodging and burning, use a 50% gray layer set to Overlay or Soft Light blending mode.
Go to Layer > New > Layer, check “use 50% Gray,” and set it to Blending Mode Overlay or Soft Light. Then, continue and select the Brush Tool, set it to a soft round brush, and set the opacity to 5-10%. After that, start painting with white to dodge or with black to burn. The advantage of this method lies in being fully editable. You can erase or mask adjustments as you please. Through it, you can get a softer and more natural look.
This way, you can lighten the face or eyes, darken the edges, highlight textures, skin, or landscape, and add depth to skies and clouds with gentle burning.
Add Grain or Texture
Both can add mood or more character to our monochrome images and become crucial for learning to edit black-and-white photos in Photoshop more uniquely.
Duplicate your layer where you have the image and go to menu Filter > Noise > Add Noise. Choose the amount and distribution (uniform, Gaussian), and check Monochromatic to avoid unwanted color spots. You can use grain to hide some imperfections. For example, the final edit will naturally look grainier if you shoot in low light. It can also be helpful to make significant, flat areas like skies or shadows more interesting.
If you want a specific texture, not just grain, create a new layer where you can import an existing film grain texture imager or noise layer. Next, change the blending mode to Overlay or Soft Light, and lower the opacity slightly until the effect blends naturally.
Some areas, especially faces, might be better without the grain. In such cases, you can smooth them using masks.

Sharpening
Black-and-white photos often benefit from final sharpening. It can make the detail, texture, or tonal contrasts more dominant, especially if you are resizing for web or print. To apply it, go to Filter > Sharpen > Unsharp Mask and set the amount around 80-120%, radius between 1.0 – 1.5 pixels, and threshold 0–3.
Ideally, you should use 100% zoom while sharpening your images and apply it after resizing them. Aim not to over-sharpen because the artifacts are more visible and obvious in black and white.
Presets and Actions
If you need to speed up your workflow, presets and actions are the way to go. You can create actions for the black-and-white adjustment layer with your preferred sliders, add noise or grain, curves or levels for contrast, sharpening, or even the final resize and export steps.
Color Lookup
Go to Layer > New Adjustment Layer > Color Lookup. This is similar to Instagram Filters or mobile themes. Some LUTs (Look-Up Tables – preset color grading filters) can add film-like contrast or mood even to monochrome pictures.
Camera Raw Presets
Camera Raw is my favorite way of editing pictures in Photoshop. It is suitable if you shoot in RAW. You can access it even in Photoshop and working with JPG or PNG. Just go to Filter > Camera Raw Filter. Inside it, you will see the option to change the Profile from color to monochrome. You can choose the AUTO correction as well. It shows you the histogram and every change you make is directly visible. To access presets, go to Profile and change it to Browse, and a Presets menu, including B&W, will appear.
Export Tips
When exporting for the web, go to File > Export > Save for Web and choose JPEG, quality 70-85%, and resolution 72-150 ppi. Convert the Profile to sRGB for consistent browser viewing. The size should stay under 2MB.
If you want to print your black and white images, choose TIFF or high-quality JPEG with a resolution of 300 ppi. For the color profiles, use Adobe RGB or Grayscale. Don’t sharpen your pictures too much since printers tend to add some of them, too. Consider 16-bit TIFF for the lab. Before printing, perform a soft proof to preview how your image will appear once printed. Some printers make the final B & W prints more flat than they look on the screen.
Conclusion
The above lines provide some ways to edit black-and-white photos in Photoshop. Some are better than others. It depends on your skill set or desire to practice and try something new. The key is experimenting with different techniques until you find a workflow and style that best expresses your creative vision.
For more inspiration and creative ideas, check out my article “Moody Monochrome: 12 Photography Ideas for Black & White Shots Indoors” to elevate your black and white photography further.
Sources: