For many people today, it is hard to imagine a world without a cell phone. Many of us use it not only for calls but also to document our lives. However, not everyone knows about all the functions or editing options they come with.
In the following chapters, I will show you an easy way to edit the background of a photo on an iPhone. After that, I will discuss some free and paid alternatives for those who want to explore the subject further.
Using Built-in Tools on iPhone
Follow the next easy steps to change the background of any photo:
- Select the picture you want to edit
- Tap on the subject and hold until you see some flashlight around it. A popup will show, and you can choose Copy or Share. In later cases, a menu will show with a couple of options. You can save it directly or open it with any photo editing app installed on your phone.
The above solution should be available for most iPhone users with the latest IOS.
Third-Party Apps
Photoshop Express and CapCut
Both apps offer smooth background removal or change, but only for subscribers. Although there is a free trial version, it’s worth paying for if you plan to use either of them frequently.
InShot
InShot app offers free background change. Compared to previous ones, its automatic cutout function is not as precise. You need to do more work and delete some parts. Activity like this can be tedious on a small mobile screen.
Canva
Unfortunately, Canva, one of the most popular editing services, has only a free online web-based background tool.
Replacing Backgrounds with AI Tools
Background Eraser – Remove BG
The app offers free background removal. Another option is to change it with AI. The app also comes with some other free features like removing objects, AI expansion, AI backgrounds, AI enhancers, or AI filters. The auto-removing function is quite decent. And even when you decide to purchase the full version, the price is very affordable – only 6.99 EUR/year.
Hypic
Hypic is another AI app that I came across when using CapCut. Its auto background removal feature is remarkable. Some details (hair) can become very challenging. There is no adjustable option available. You can choose to use auto or manual mode. Some other superb options are photo restoration, AI avatars, magic erasers, facelifts, adjustable expressions, or hairstyles.
The app has plenty of free options. Some are free only for a certain period (or at least this is how I interpret the timer icon on some options). You can upgrade anytime. The lowest price is 2.99 EUR/month, up to 179.99 EUR/year. The price may vary depending on your region and the tools available.
While there’s no built-in option to edit or enhance videos, you can seamlessly connect with CapCut for editing. Frequent CapCut users will appreciate its intuitive, user-friendly interface.
Besides starting edits from scratch, the app provides pre-made templates. You can also create and customize your templates.
Before and After Comparisons
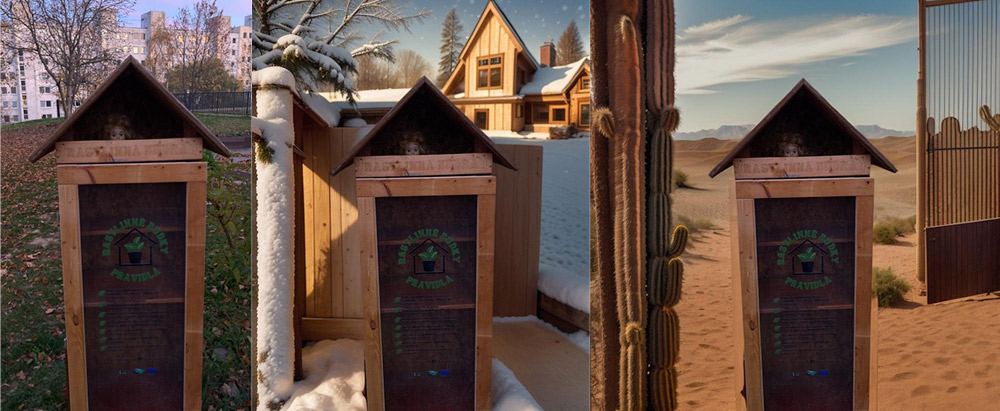
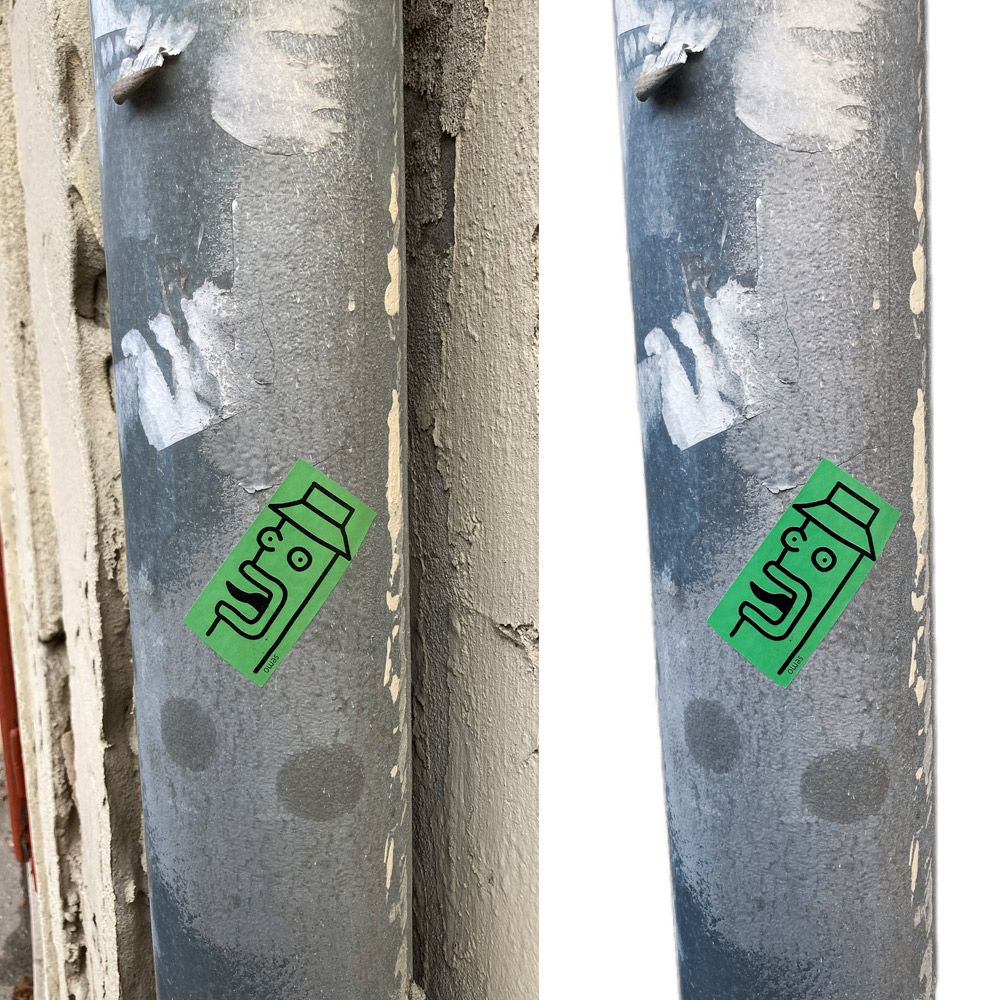
Here are some examples – pictures I edited in the above apps.
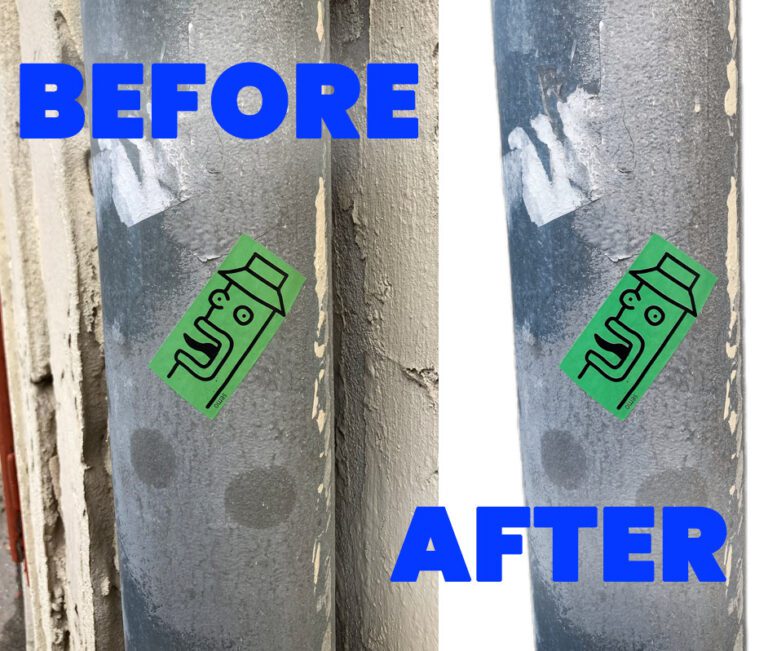
How to Edit Background of Photo on iPhone – built-in before and after
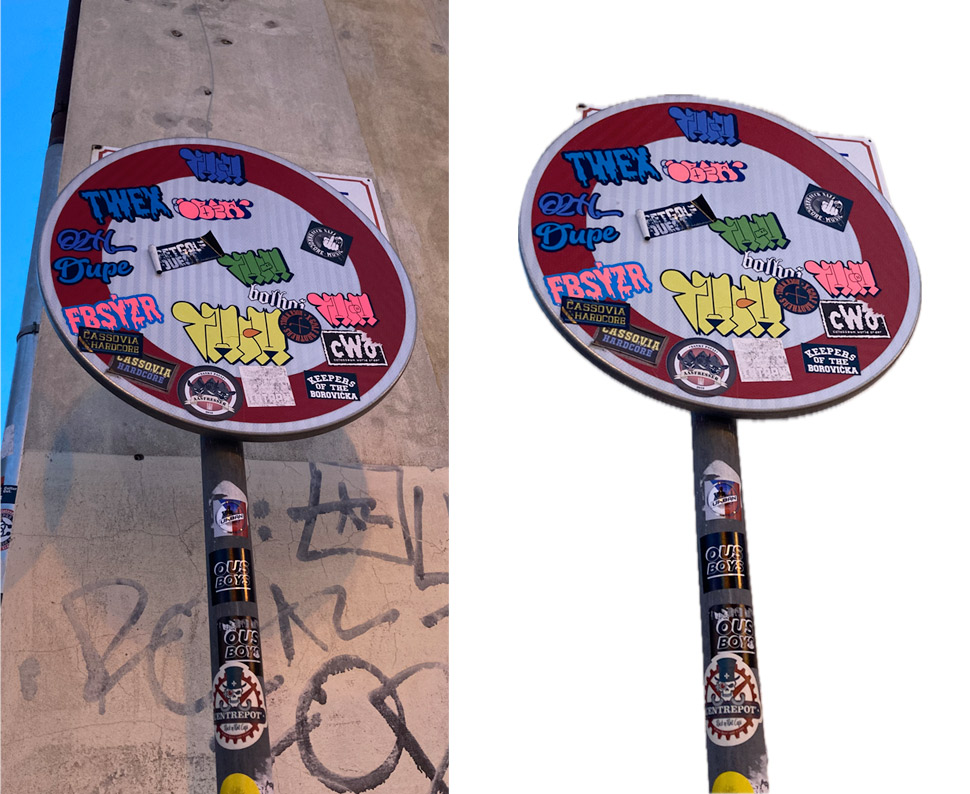
Photoshop Express before and after
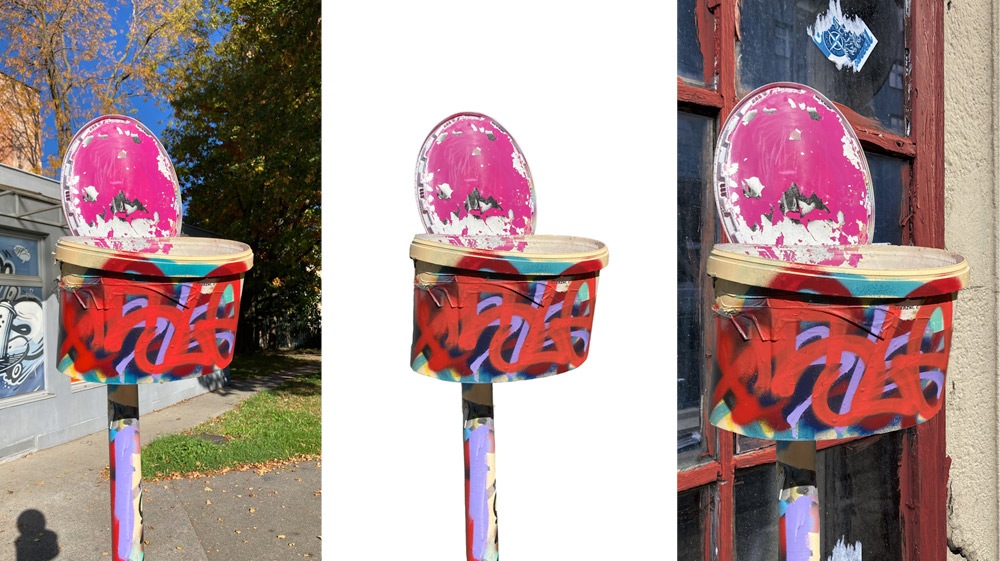
InShot before and after
Background Eraser
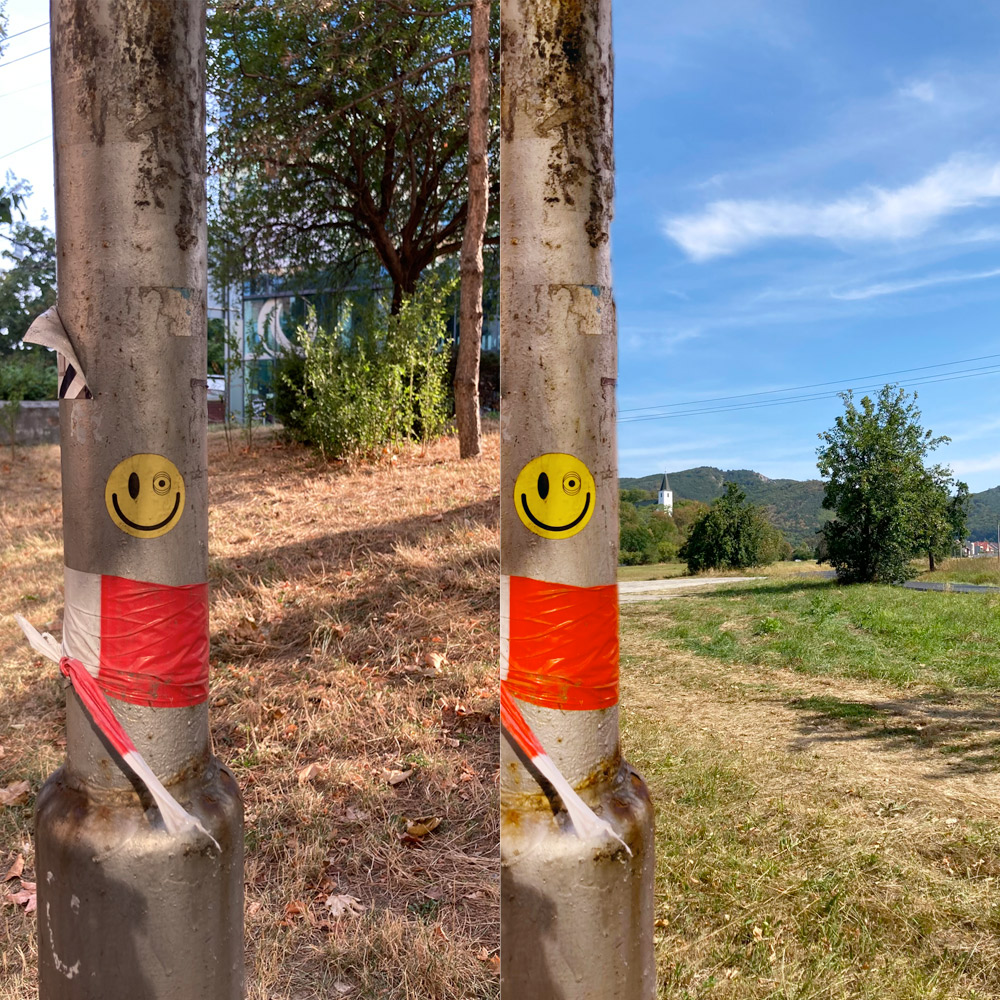
Hypic
(More detailed review of Hypic app)
Common Mistakes to Avoid
I will end this short article, How to Edit Background of Photo on iPhone, by discussing the most common shortcomings. These include mistakes to avoid when editing and removing backgrounds.
One of the most common ones is subject isolation and poorly cropped edges.
Inconsistent Cropping
Try to get clean and smooth lines. Stay away from rough outlines. Use the Zoom tool to refine the crop. Avoid unintentionally erasing any parts of the subject during editing.
Halo Effect
The Halo Effect is the thin outline around the cropped subject. One way to fix this problem is by using refine edge tools, such as feathering or smoothing. Try to blend the subject better with its new background.
Misaligned edges
Misaligned edges become noticeable when they do not blend seamlessly with the new background. The isolated subject might look out of place. Make sure to adjust the new background with proper shadows and lighting. Such an approach is essential when isolating a person or object. It ensures a seamless integration of the subject into the scene.
Additionally, ensure it aligns with the environmental conditions of the scene. Pay closer attention to the direction of the lights and shadows and ensure they align with the new placement.
Edge Cleanup
Sometimes, when manually adjusting the edges or working with intricate details like hair, parts of the original background might be left behind. These remnants can be noticeable around the subject. Carefully clean up all the remnants to maintain a seamless look. These remnants may remain around the subject. Tools like hair masking or refined edges are helpful under such conditions.
Problematic, distracting, or unrealistic BG
An overly busy background with many patterns, colors, and objects can distract from the main subject. Under such circumstances, the focus may shift away from what matters most.
Another problem can arise when you choose the wrong theme. For example, you want a professional headshot but end up choosing a very futuristic cityscape. Or if you are doing winter product photography and you choose an off-winter season-related background.
Proportions and color
Some other problems to keep in mind areproportions and color clashes. Avoid placing the subject in a space that appears too small or too large. Ensure the subject is proportionate to the background. Ensure the size of the subject is proportional to the background. When choosing the color of the new bg, try to focus on complementary colors, and do not forget to adjust saturation, contrast, brightness, and shadows.
For even more creative photo editing options, check out my article on 16 Trippy Photo Editing Apps for iPhone to take your edits to the next level!