
Since mobile phones are a must-have everyday accessory for most people. The knowledge of how to take good travel photos with phone has become an important topic in the travel realm. Small size and constantly evolving features make them a reliable choice for documenting travel experiences. They also provide access to a wide range of editing apps.
Preparation
If you are considering buying a new smartphone and aiming to use it often for taking pictures, here are some tips on what to look for:
– Megapixels matter less. Larger sensor sizes and better low-light performance (f/1.8) are more relevant.
– Try to buy a model with more lenses, including wide-angle, ultra-wide, or even telephoto lenses.
– If you plan to shoot videos, get a mobile with optical image stabilization capable of shooting in 4k or 8k. Both features can also help when shooting images while using Zoom.
– Additional handy features are HDR, slow-motion, and long exposure.
– Storage space is always better, so at least 128 GB, or opt for a mobile that supports memory cards.
– Consider the right size and weight to ensure it fits easily in your pocket. The device should feel comfortable to hold, even with one hand, for extended periods without feeling too heavy.
– Water and dust resistance can be a bonus, but for some people who visit a lot of seaside waters or do some wild adventures in the mountains, it can be a must.
– Look for mobiles with built-in manual mode, which helps you control exposure, ISO, and shutter speed. Shooting in RAW format instead of JPEG can be great for everyone who enjoys photo editing software like Adobe Lightroom or Photoshop.
– Make sure the device can work with clip-on lenses, tripods, gimbals, and other accessories (underwater cases).
– If you are already working within an ecosystem, try to stick with it for compatibility reasons. When you try something new, it is wise to stick with trusted and proven brands like iPhone, Google Pixel, Samsung Galaxy, or Sony Xperia.
Phone settings
Before you start shooting, clean your lens to avoid hazy images. Simple steps like this are crucial for getting the best results, as highlighted in the next steps of this guide How to Take Good Travel Photos with Phone.
AE/AF lock
If you launch the photo app, tap on your screen and adjust focus and brightness. If you hold your finger on the screen longer, the AE/AF Lock will launch. AE stands for brightness constant. It helps you preserve the same exposure across multiple shots. AF stands for autofocus lock and locks the focus on a specific object or subject, even if you move the camera.
Panorama, Wide Angle Lenses
When shooting landscapes or architecture, use the Panorama or wide-angle lenses. They will help you better frame the main subject.
Grid lines, HDR
For better composition, go to your mobile settings and turn on the grid lines. They will help you better apply the law of thirds while shooting. Another useful feature is the HDR for situations with big contrast (balance the sky and dark background, interiors and windows). Your device will create a couple of shots in different exposition levels and merge them afterward.
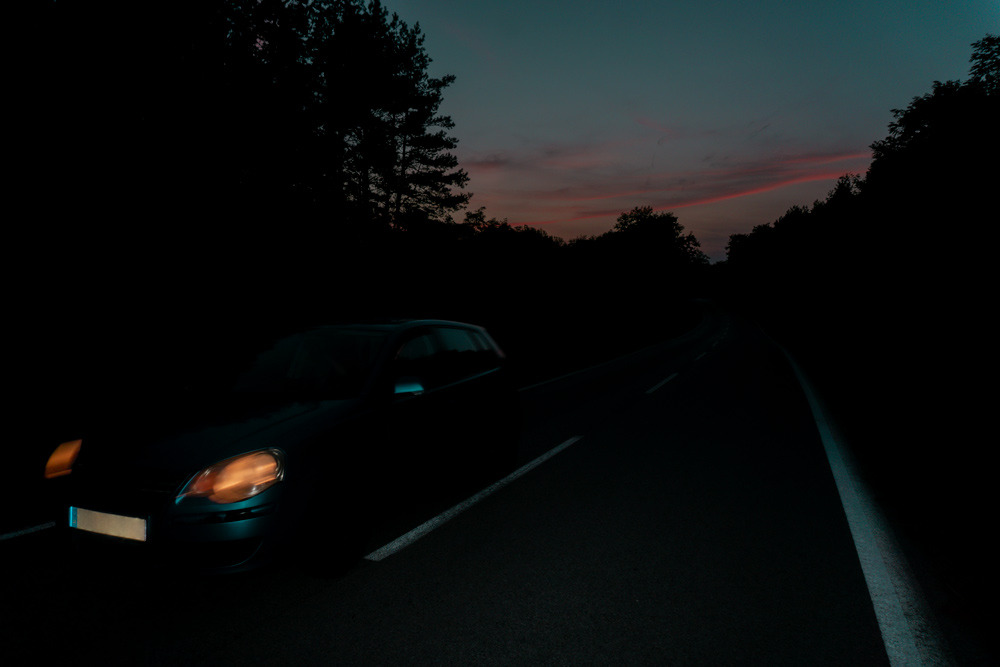
Night mode
If you shoot in low light conditions or at night, it is handy to have Night mode. It has long exposure, reduces noise, and brightens the scene. Some phones with this feature are capable of astrophotography.
Portrait mode
Portrait mode is perfect for people who enjoy capturing family, friends, or strangers. It creates a beautiful blurry bokeh effect in the background, making the subject stand out. Use this mode for photographing objects and intricate details.
What not to use
Digital Zoom
Digital zoom on mobiles does not produce the best results. The pictures might be of lower quality, lose details, and overall look glitchy. If you think you need to zoom (details on buildings, shooting wildlife, sports), it is better to have such a lens for mobile or buy one with built-in.
Mobile flash
Mobile flash, the same way as that one on cameras, is another feature not advised to use often. Unless you are going for a specific outcome, it is best not to use it, as it creates harsh lighting and unflattering shadows. Its range is quite limited. Flash creates unwanted reflections on surfaces such as mirrors, water, and shiny objects. Using flash can give your picture a washed-out look and overexpose some parts. In general, it will produce more artificial-looking scenes.
You might use it to achieve dramatic effects – shadows when shooting in bright midday sunlight. Close-up shots of people in total darkness can produce images illuminating details. At times it can balance the exposure. For example, when you are shooting a sunset behind someone, you can use it to light up the subject and make the exposure more balanced.
Some photo apps that offer full control over shooting settings include Lightroom Mobile, ProCamera, Camera FV-5, Open Camera, Moment Pro Camera, ProShot, VSCO, Filmic Pro, and Snapseed.
Composition
Here are some things to consider when improving your composition, which you can explore further in this “How to Take Good Travel Photos with a Phone” guide.
Rule of thirds
Picture a frame divided into two horizontal and vertical lines (grid lines). Try to position the subject at the intersections of these lines (power points). Do not center your subject. Position it toward the edges to create a more dynamic scene.
Use this rule when shooting landscapes, architecture, and portraits. For landscapes, position the horizon along the top or bottom line, not in the center. When photographing people, place their eyes along the upper third line. For architectural landmarks, position the monument along one of the vertical lines.
Leading lines, symmetry
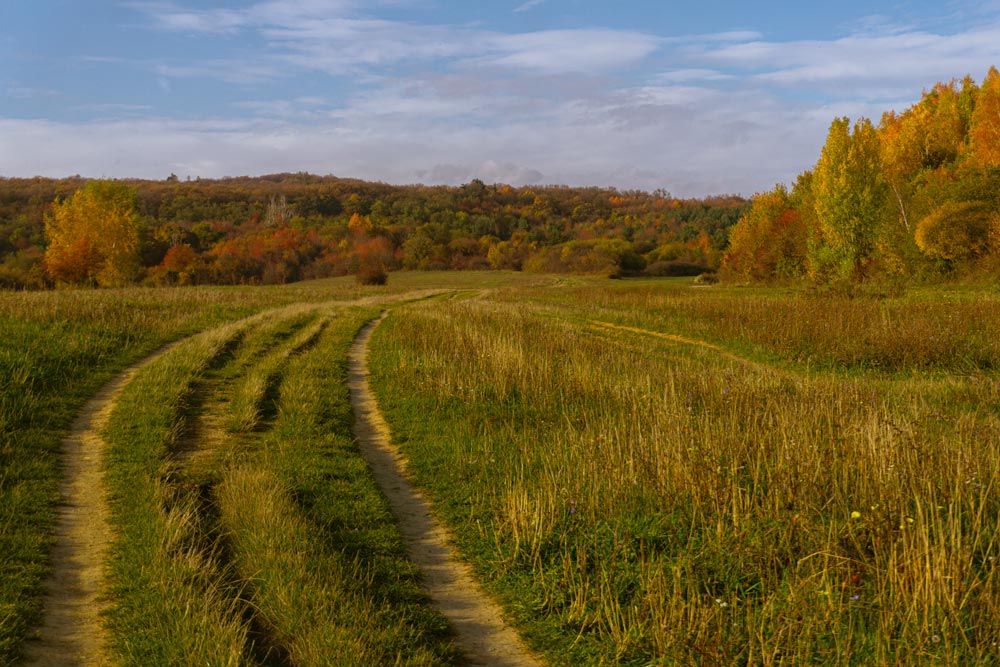
To guide the viewer’s eye, capture photos with guidelines moving toward the subject. Fences, roads, bridges, rivers, or even shadows. Such elements can create less boring and more dynamic scenes. Natural lines count too not only the artificial ones.
It’s a proven fact that people enjoy looking at symmetrical faces. This principle also applies to other subjects, such as landscapes and architecture. An easy way to achieve this is to look for reflective surfaces like water, lakes, glass walls, and mirrors. Breaking the symmetry is also allowed, for example by including a contrasting element.
Depth and perspective
Depth gives your pictures a three-dimensional feeling, while perspective means how the objects appear at their distance from the camera. You can achieve such states by including objects in the foreground, middle ground, and background.
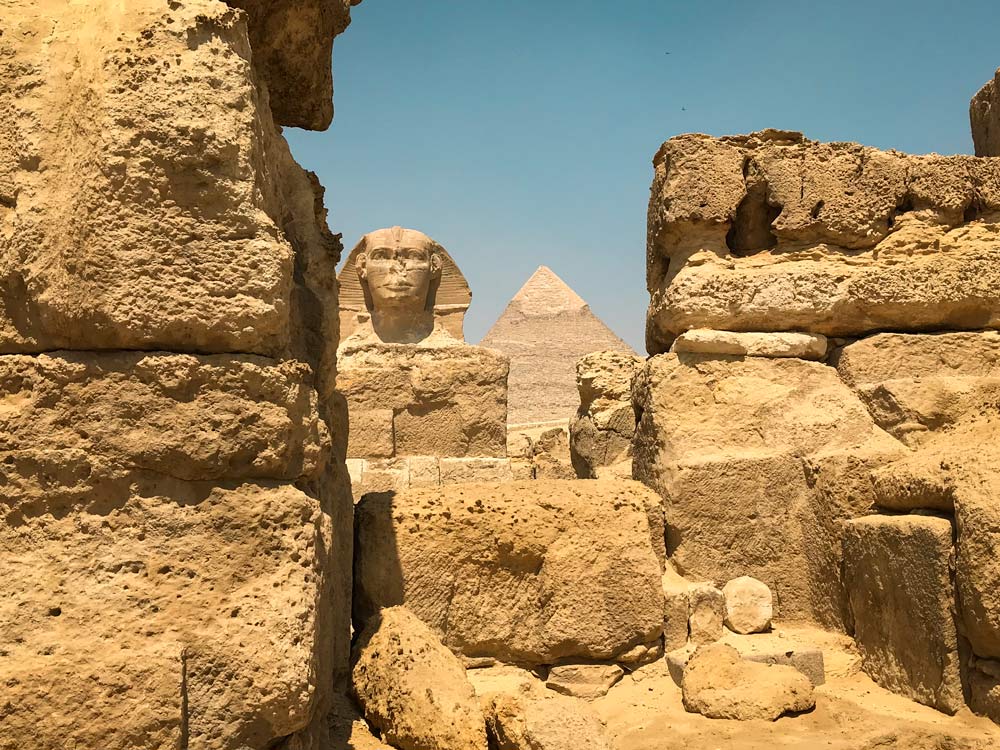
Leading lines are great for depth, while low angels can make objects appear taller and grander. Artificial or natural elements such as trees, windows, and arches can create a frame within a frame effect if you position your subject in the center of it.
Lighting
Before you go out and shoot, always check the place (maps, photos) and the position of sunlight during different times of the day. It may prevent you from ending up in the location where your desired monument is in the shadow.
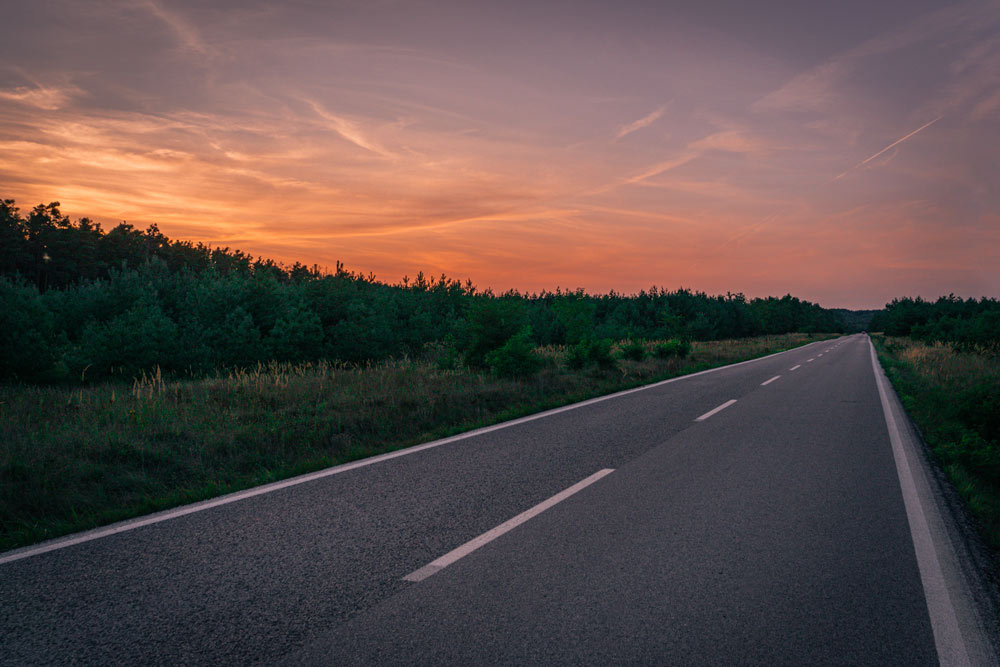
The best times when the light is not very harsh are early morning during the sunrise. The same applies to the sunset. Golden and blue hour are popular terms. Golden hour happens shortly after sunrise and just before sunset. It can last from 30 minutes up to one hour. It gives your photos warmth, soft light, long shadows, and nice diffused light.
Blue hour starts right before sunrise, after sunset, and during twilight. It lasts around 20 to 40 minutes. It gives your photos bluish, cool, and soft light with low contrast. You can achieve a moody, mysterious look and use the rich blue tones as a striking backdrop for silhouettes.
Creative approaches
How to take good travel photos with phone can benefit from additional techniques. Some, like long exposure, the rule of thirds, reflections, and symmetry, have already been mentioned.
One funny approach is to observe what others are photographing and then capture the scene from a different angle or perspective. Walk around the location and pay close attention to details others might overlook or consider uninteresting. For instance, focus on the names of streets or underground stations, street art or stickers, unique benches, or other subtle elements of the environment.
In addition to taking selfies or photos of your family and friends, broaden your focus. Look for interesting locals or tourists who may add character to your shots. Alternatively, consider capturing the energy of a crowd—it can be fascinating and visually compelling when observed as a whole.
Editing on the Go
Numerous apps exist to help you edit photos effortlessly while on the go. Some are free, and some have paid features. For example, Adobe Photoshop Express, Adobe Lightroom (with many presets and auto adjustments), Hypic, and Inshot. The theme is broad and worth a separate article (so far, you can check my review of Hypic Photo Editor).
Practical Tips
It is useful to arrive at a location very early or late to avoid large crowds. Additionally, you can visit the place in bad weather conditions, like rain. Such conditions may reduce the crowds and give your pictures a fresher or moodier vibe.
If you are into long exposure, consider buying a mobile tripod for better stabilization. It can also come in handy when taking self-portraits with a timer.
Otherwise, if you plan on doing precise post-production editing and your mobile supports shooting in RAW, go for it. If not, stick with JPEGs.
Storytelling
If you are looking for an alternative way to document your travels, leaning toward photojournalism, try moving beyond photographing famous landmarks. Instead, focus on capturing moments beyond the typical poses with your family. Set yourself the challenge of capturing everything in between. Use only a specific number of shots.
This does not mean limiting yourself to only 10-30 pictures. Take more but select the final ones that best tell the story of your trip.
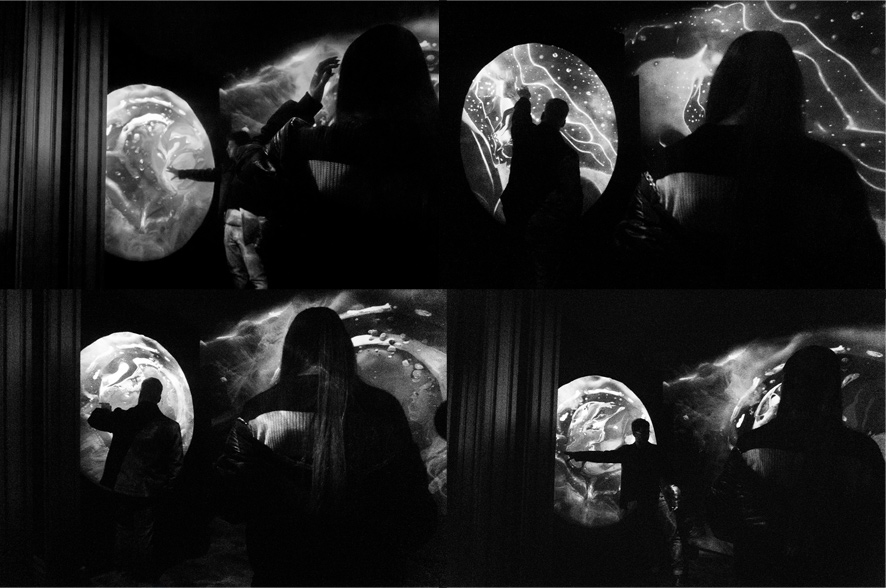
(captured during the Nuit Blanche night-time art festival)
Sharing and Organizing
This article, How to Take Good Travel Photos with Phone, concludes with tips on sharing and organizing your photos.
After capturing your best shots, organize them into albums. Use cloud storage like Google Photos or Apple iCloud to back up your images and organize them into albums based on locations or themes. Such an approach makes it easier to access and share memories later.
When sharing on social media, curate your best images and edit them for a polished look. Avoid uploading too many similar shots and focus on those that tell the story of your trip.
Keep your original images backed up for future use, ensuring your memories remain safe and accessible.
Note: Some (or the majority) of the pictures used to illustrate the ideas were taken with cameras, not smartphones.
For more tips on leveraging your travel photos, check out my guide on “How to Make the Most of Your Travel Photos.”