
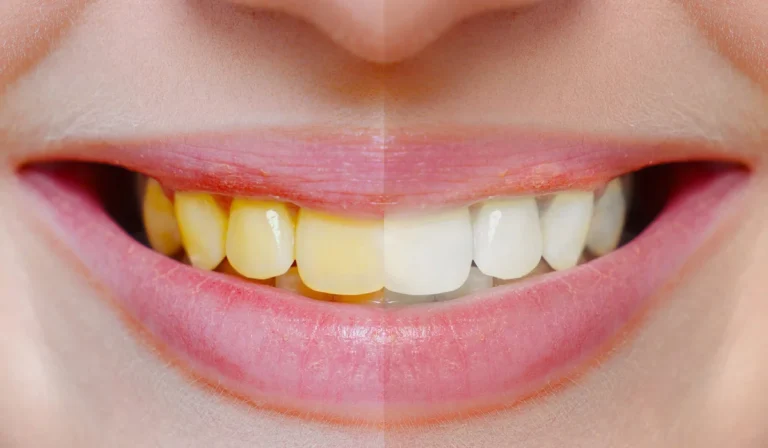
In this short tutorial, you will learn how to whiten teeth in Snapseed using a few basic tools. While Snapseed does not have a dedicated teeth-whitening tool, you can still easily improve the appearance of teeth with a few simple adjustments. This can be useful for travel portraits, vacation photos, selfies, or any other images where you want to make a subtle edit before sharing them.
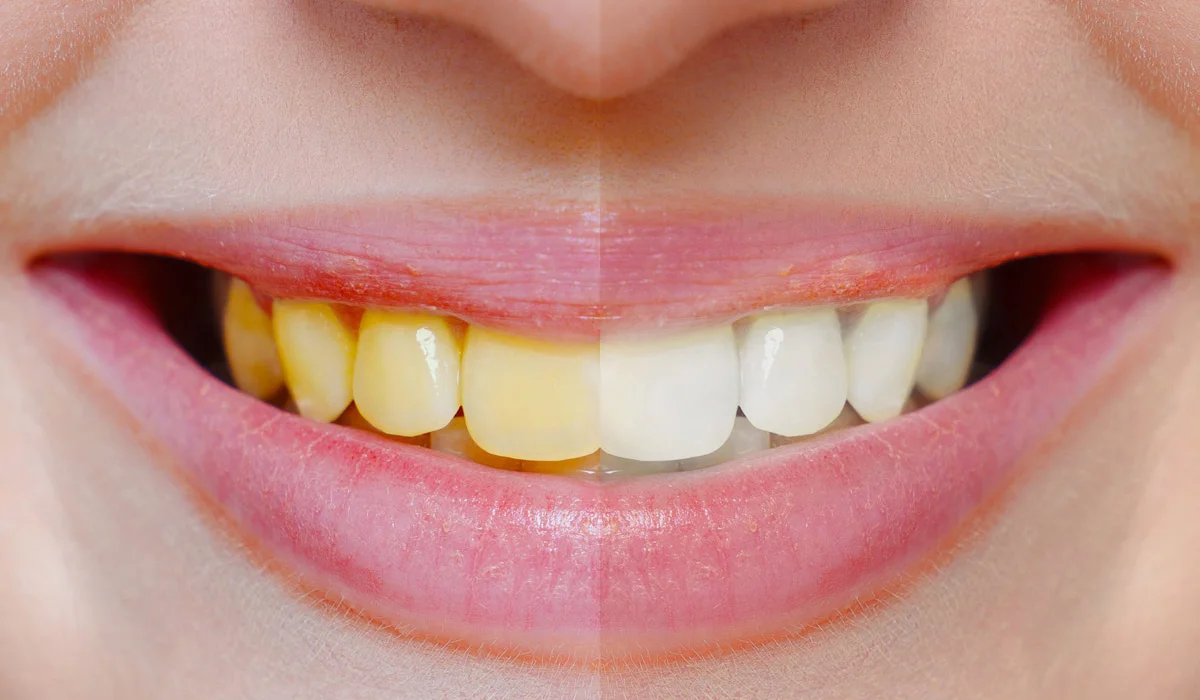
How to Whiten Teeth in Snapseed with Selective Tool
Here is a step-by-step guide that you can follow and use as a starting point.
1. Open Your Photo in Snapseed
Install the Snapseed app from the Google Play Store or App Store and open it. Then tap Add Photo and choose the image you want to edit. Now you are inside the editor. You should see two menus at the bottom. One of them includes the Selective tool.
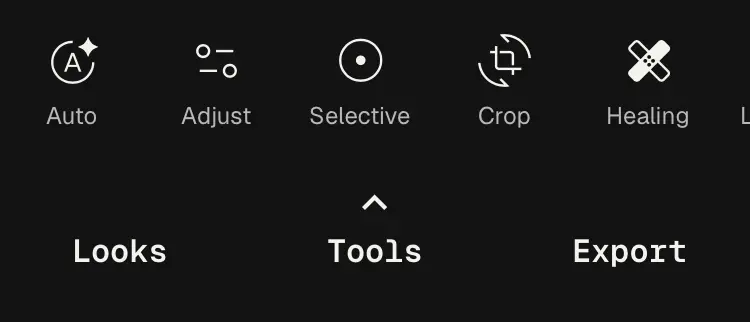
2. Select the Selective Tool
Select the tool and start adding points to the image. Before you add a point, zoom in so you can select the area you want to brighten more precisely. When you add the point, you should see a pop-up menu at the bottom with the Brightness option.
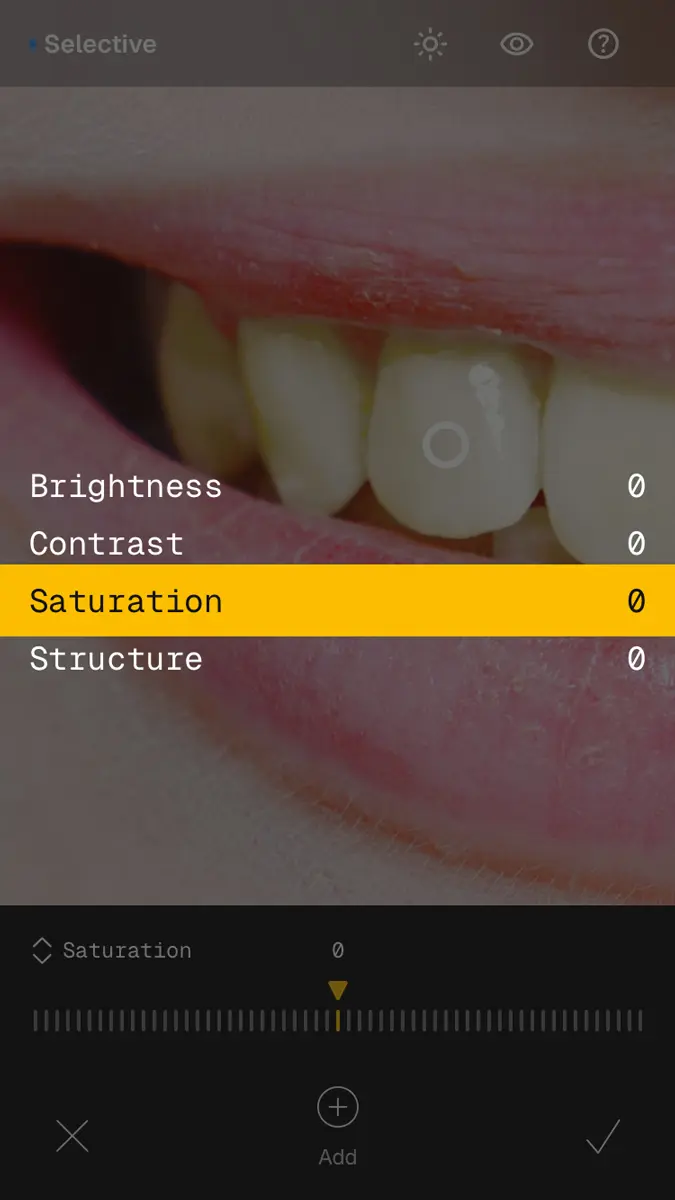
3. Reduce Saturation
Tap the Brightness menu and swipe left to find the Saturation setting. Move the slider to the left to reduce the saturation of the selected area.
Move it gradually until you start to notice significant color desaturation. You will need to find a sweet spot because the Saturation adjustment will also affect some of the area around the teeth. Once you are satisfied with the result, tap the checkmark.
To compare the result with the original image, tap and hold on the image to see the original version.
4. Increase Brightness or Add Contrast
You can add another point using the Selective tool to brighten the teeth if they are too dark or affected by shadows.
If reducing the saturation makes the teeth lose some detail, you can also add another point and adjust Contrast or Structure.
5. Check the Result
Check the final result and compare it with the original image. If you are not happy with the result, you can try another method that I explain in the next section.
To export the image, tap Export and select Export again to save a copy with your edits applied.
How to Whiten Teeth in Snapseed with Brush Tool
I also tested another method using the Brush tool. This gives you more control over exactly which parts of the teeth you want to adjust.
Start by opening the photo you want to edit in Snapseed.
1. Open the Brush Tool
Select your desired image and tap Add Photo.
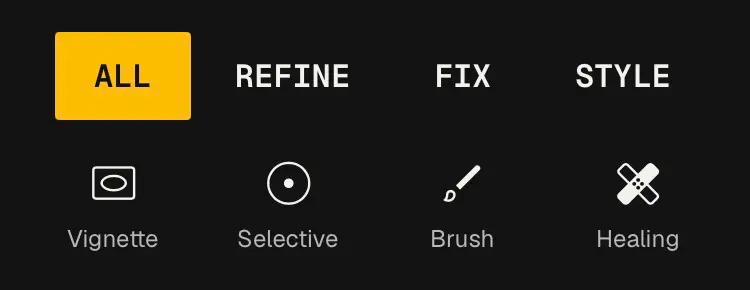
In the editor, go to the bottom menu and select Tools. A new menu will appear. Select the Brush tool.
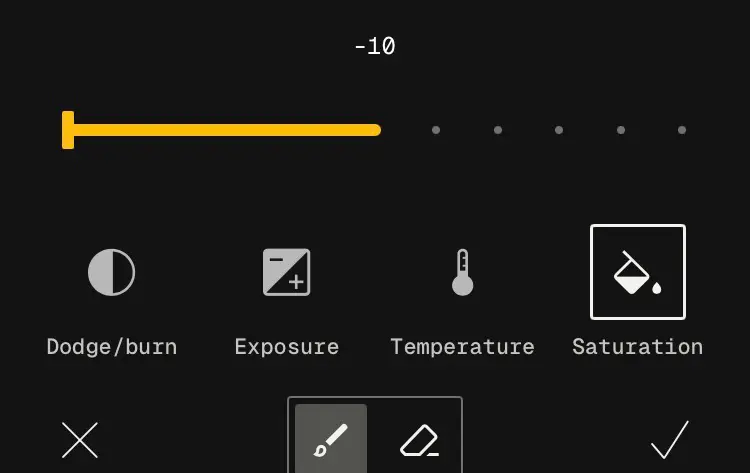
You will now see a new menu at the bottom with Dodge & Burn, Temperature, Saturation, and two options for Brush and Eraser.
2. Reduce Saturation
Select Saturation and move the slider down to around -10. You can adjust this value depending on the photo.
Now brush over the teeth. Zoom in for better control and try to stay within the teeth area.
Avoid completely desaturating the teeth. A small adjustment usually looks more natural.
3. Remove Any Blue or Gray Tint
After reducing the saturation, the teeth may sometimes develop a slightly blue or gray tint.
If this happens, select Temperature and make a small adjustment towards warmer tones. Brush over the affected areas until the teeth look more natural.
You can also use Dodge & Burn to gently brighten the teeth if they still look too dark. Alternatively apply the Selective tool for some brightness, contrast or structure.
4. Check the Result
Zoom out and check the entire image. Compare the edited version with the original to make sure the teeth still look natural.
You may need to experiment with the different Brush settings depending on the photo. The amount of adjustment that works well will vary with the lighting, color and original tone of the teeth.
How White Should Teeth Look?
When whitening teeth in Snapseed, the goal is not to make them completely white. Natural teeth usually have a slightly warm or yellowish tone, so removing all color can make them look unnatural.
Try to make small adjustments and compare the result with the original image. If the teeth immediately stand out as very white, you have probably gone too far.
Snapseed Teeth Whitening Tips
- Make small adjustments.It is easier to add more whitening later than to fix an over-edited result.
- Do not completely remove the color.Keep some of the natural tone of the teeth.
- Zoom in while editing.This gives you better control when brushing or placing Selective points.
- Zoom out before finishing.An effect that looks subtle when zoomed in can look much stronger in the full image.
- Compare with the original.Tap and hold the image to check whether the result still looks natural.
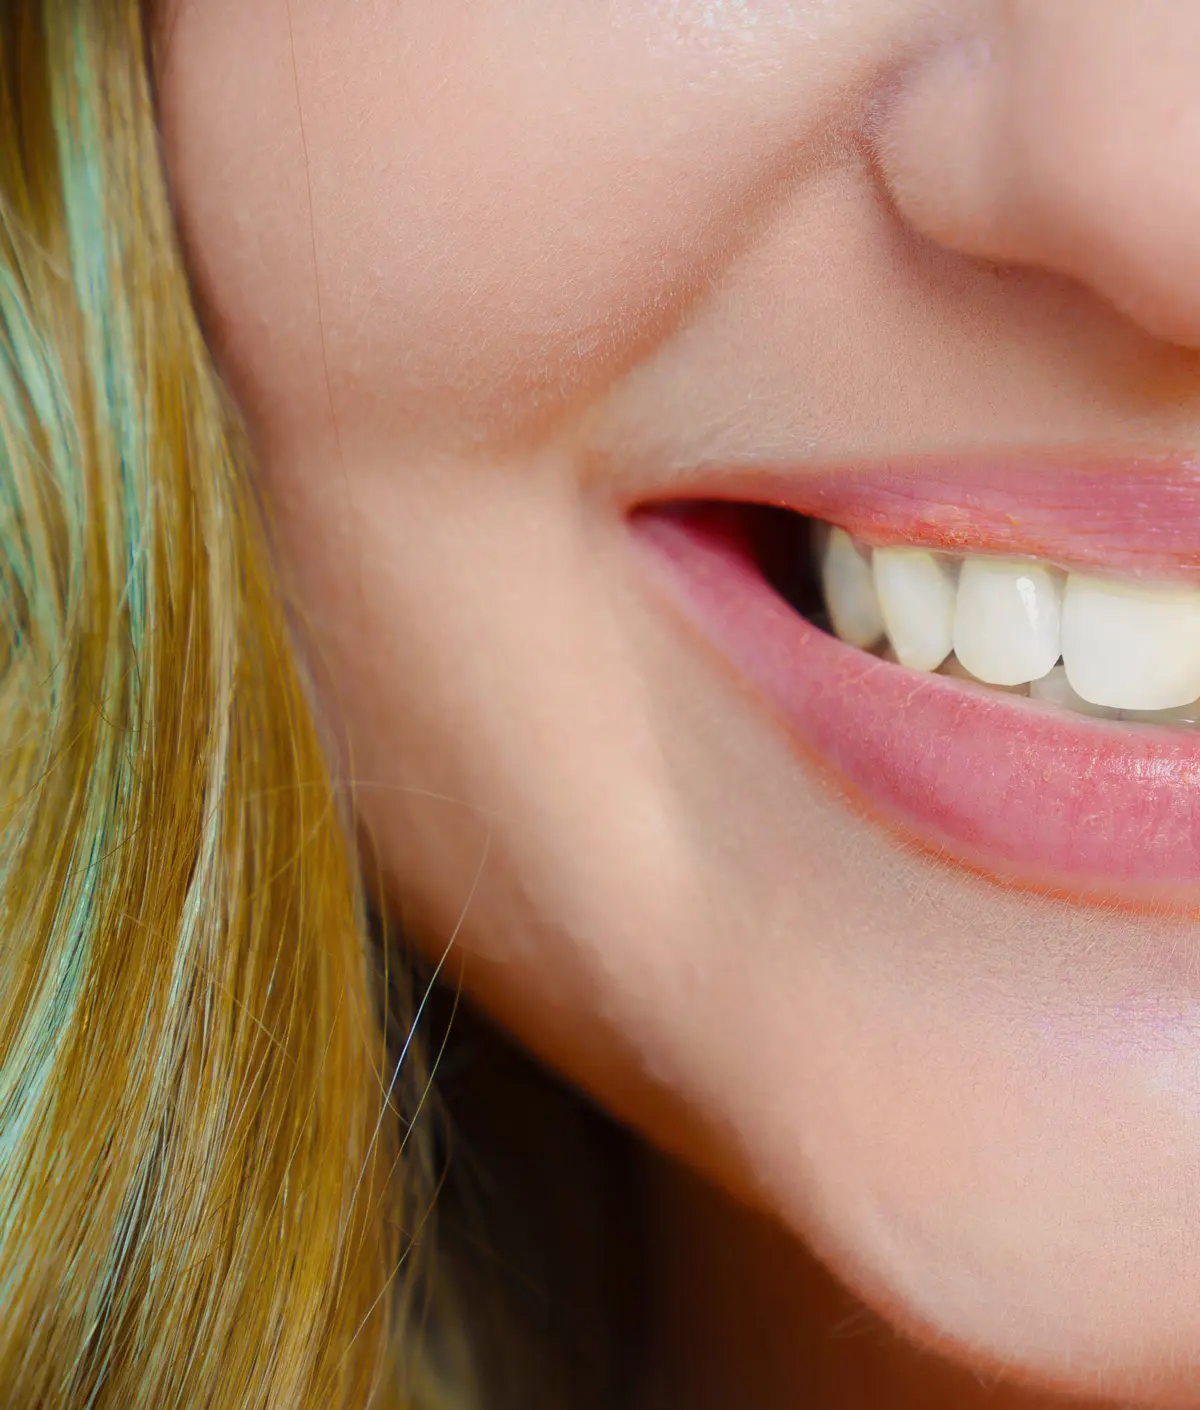
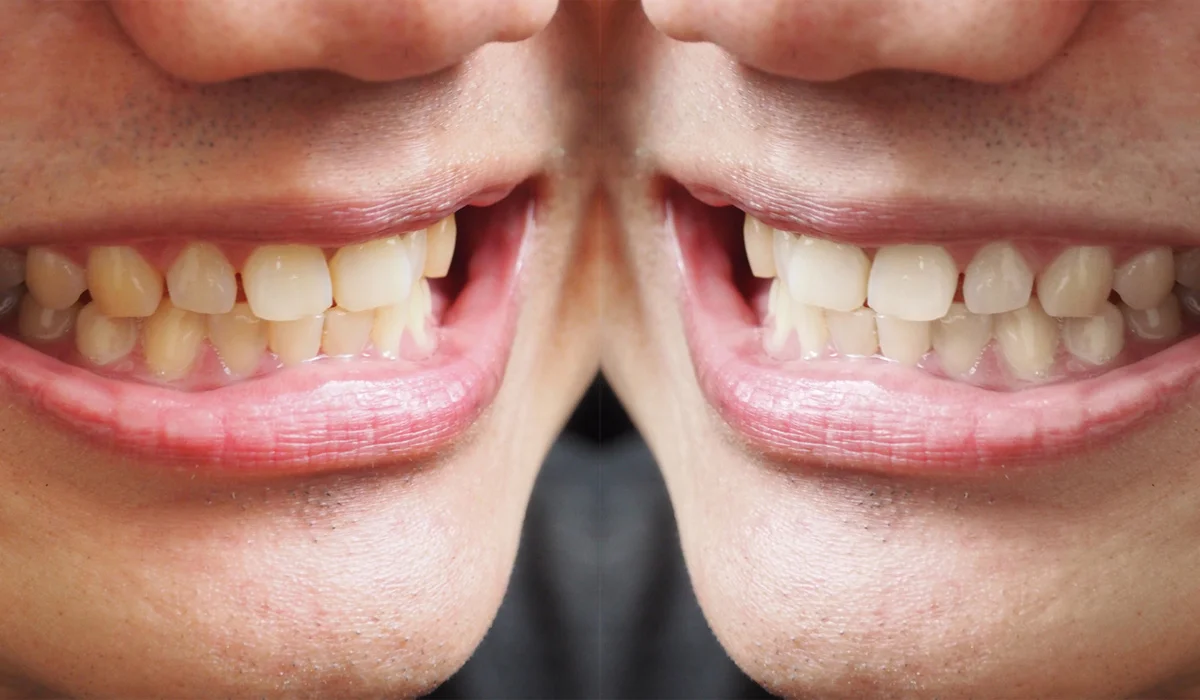
Final Result
Whitening teeth in Snapseed is a simple way to make small adjustments to a portrait without making the edit look too obvious. The Selective and Brush tools give you enough control to brighten and reduce the color of the teeth while keeping the result natural.
As with most photo edits, a subtle adjustment usually works better than going too far. Try both methods and see which one works better for your particular photo.
Want to learn more Snapseed editing techniques? Check out my Snapseed tutorial on how to remove objects and learn how to create creative layered effects with my Snapseed Double Exposure tutorial.
Image Sources: Adobe Stock
Sources: