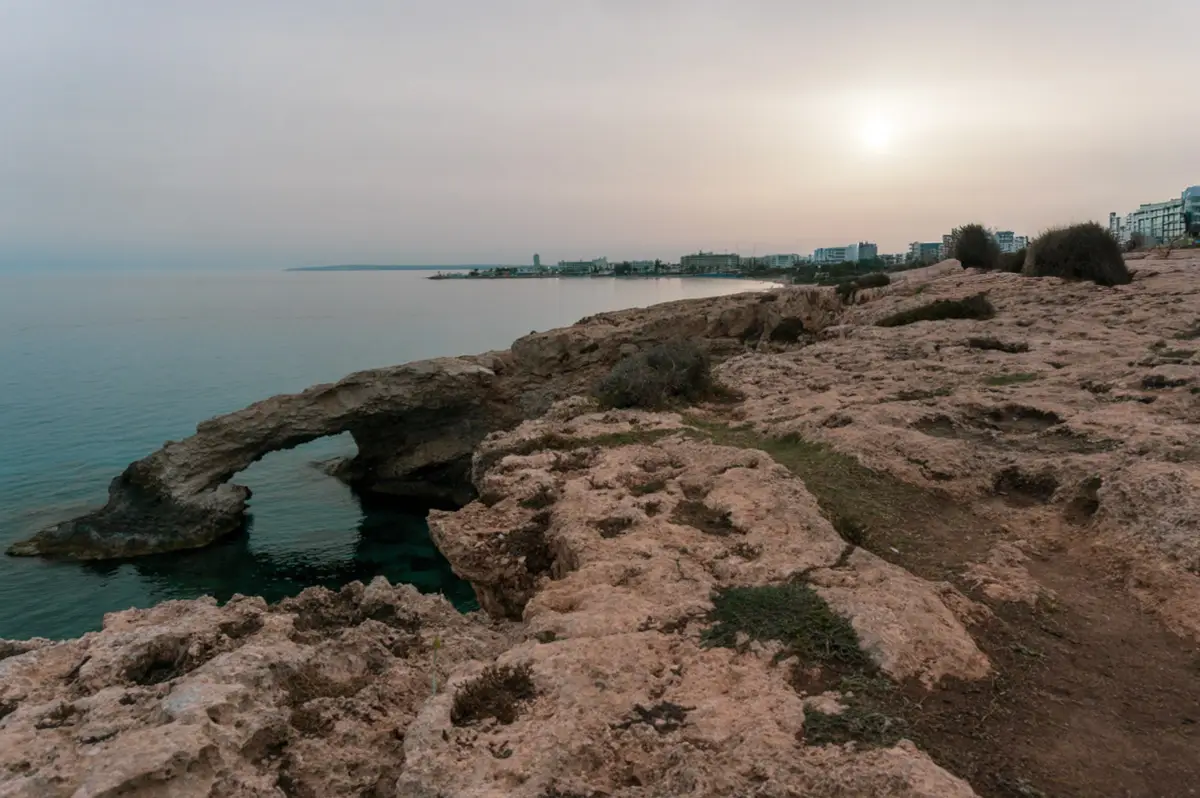
If you want to remove tourists from your photos in Lightroom Classic, you can use the Generative Remove tool. I used it to clean up a photo from Ayia Napa, including a sunset view of the Lovers’ Bridge where quite a few people were around. Lightroom removed most of them automatically, but I still had to regenerate some of the results and use the Remove brush on two areas for the sky.
Here is how to remove tourists from a photo in Lightroom Classic:
1. Open your photo in Lightroom
Right-click the image you want to edit and choose Open in Lightroom.
When Lightroom opens, import the selected image if it is not already in your catalog. Then click Develop in the top-right menu.

2. Open the Remove tool
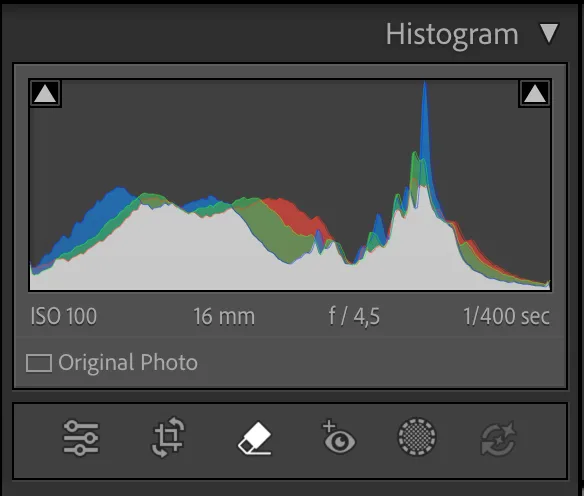
You can now start editing your photo. On the right side, you will see the editing options. The Remove tool is located just below the Histogram.
Click the Remove icon to open its options.
3. Select the people Lightroom found
In the Remove panel, you will see several options, including Distraction Removal. This can help you remove distractions such as people, wires, and other unwanted elements.
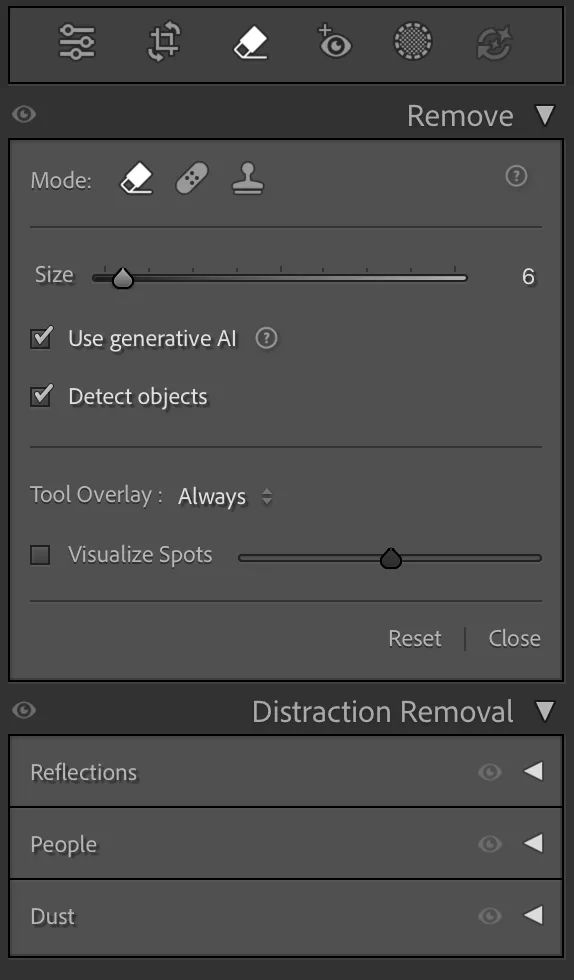
Click the play icon next to People. Lightroom will scan the image and highlight the people it detects.
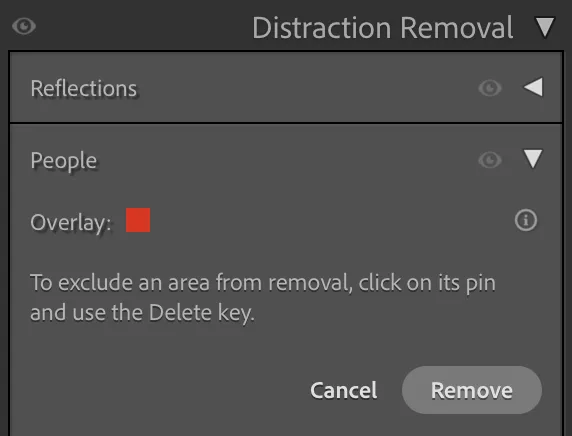
You can click on individual selections to remove them from the edit if you want to keep someone in the photo. Lightroom may also identify objects or other distractions as people, so check the selections before applying the removal.
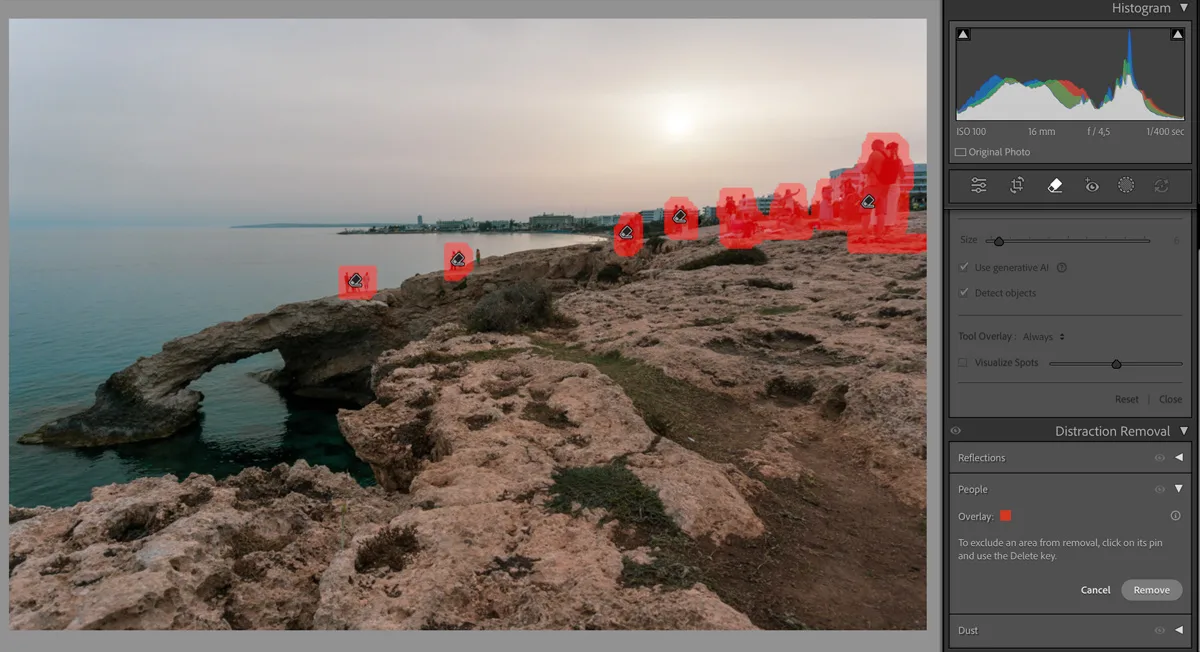
4. Remove the tourists
Once you are happy with the selections, click Remove.
Lightroom will process the image and generate replacements for the areas where the people were removed.
Check the result carefully rather than assuming that everything worked perfectly. In my Ayia Napa photo, most of the tourists were removed successfully, but a few areas needed additional work.
5. Regenerate problematic areas
Click on the generated areas, or pins, on the image if you need to make further changes.
Depending on the result, you can switch between the available generations to see if Lightroom created a more natural replacement. If none of them looks right, you can regenerate the selected area and let Lightroom create a new result.
This was useful for my photo because some of the initial replacements looked less convincing than others.
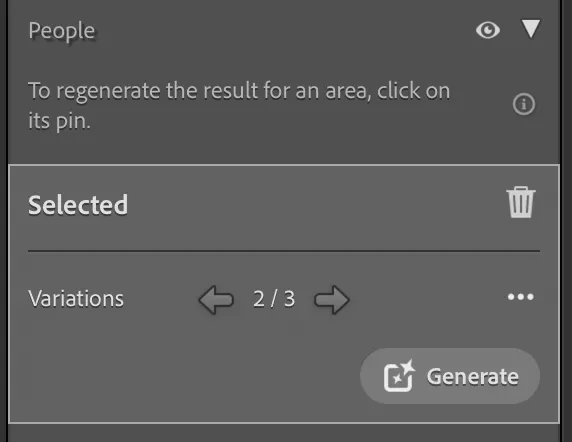
6. Use the Remove brush for smaller problems
If there are still areas you want to remove or fix, select the first icon in the Remove panel under Mode.

This gives you a brush that you can use to manually paint over specific areas. You can adjust the brush size and select smaller parts of the image that need additional editing.
For my Ayia Napa photo, I used the brush on two areas where the sky still had visible gaps after removing people. This gave me a cleaner result than relying only on the automatic People removal.
7. Export the finished photo
Once you are happy with the result, click File in the top-left menu and choose Export.
Before exporting, zoom in and check the areas where people were removed. Small AI-generated mistakes can be easy to miss when viewing the whole image.
When Lightroom works best
- open skies
- beaches and empty landscapes
- simple walls and buildings
- paths and pavements
- backgrounds with repeated textures
- small groups of people in the distance
When Lightroom struggles
- architectural details
- statues or monuments
- railings and fences
- patterned surfaces
- other people
- complicated landscapes
To get rid of unwanted people in your photos using Adobe Photoshop, follow these steps:
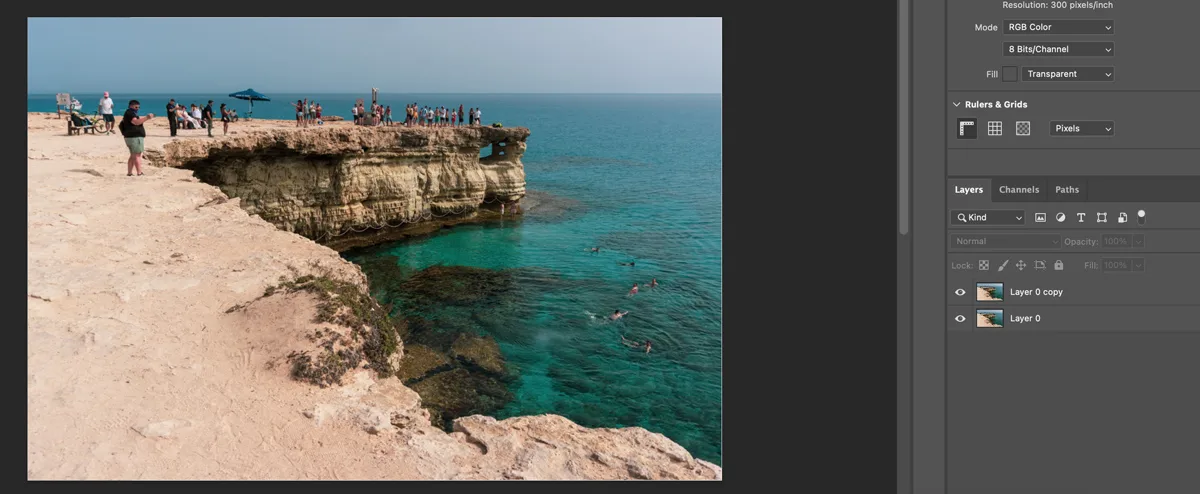
1. Open your photo in Photoshop
Right-click the image you want to edit and choose Open in Photoshop.
2. Duplicate the background layer
Once the photo opens in Photoshop, unlock the Background layer by clicking the lock icon next to it.
Then duplicate the layer. Select it and press Command + J if you are using macOS, or Ctrl + J on Windows.
You can now edit the duplicated layer instead of the original. This gives you a backup in case something does not go as planned.
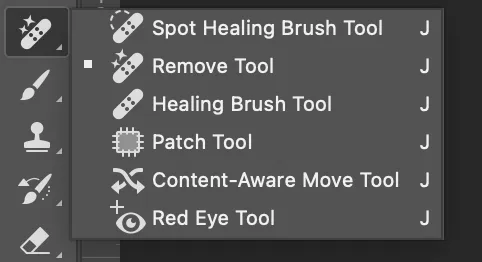
3. Select the Remove Tool
Select the Remove Tool from the toolbar on the left.
A new menu will appear at the top of the screen. Look for the Find Distractions option and click it.
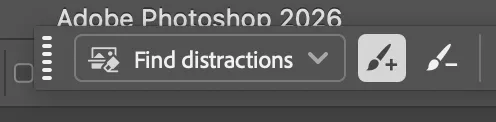
You should then see the option to Find People.
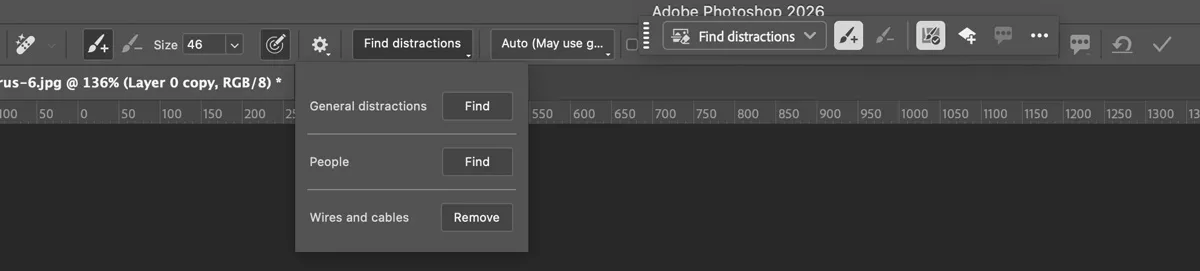
4. Let Photoshop find the people
Click Find People and Photoshop will automatically scan the image and highlight the people it detects.
The process is similar to Lightroom’s People removal. However, you can adjust the selections before removing anything.
If Photoshop selects too much or misses part of a person, use the Brush Plus or Brush Minus options to add to or remove areas from the selection.
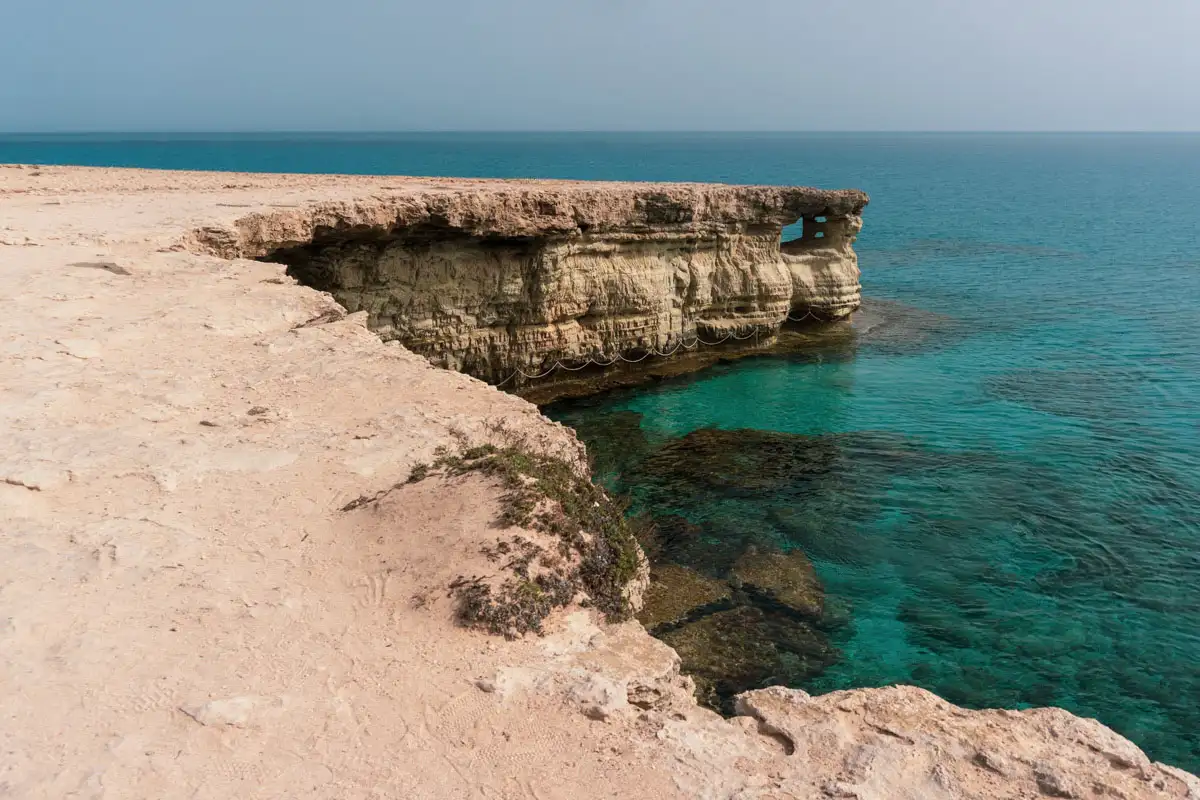
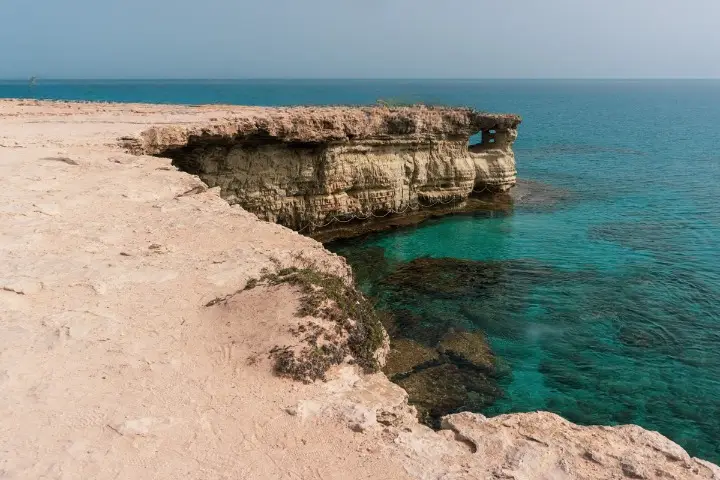
For my example, I used a photo from the Sea Caves in Ayia Napa, a popular spot where people often jump into the sea. Photoshop found the people, but I also selected an umbrella and a boat in the water because I wanted to remove those distractions from the scene as well.
5. Remove the selected distractions
Once you are happy with the selection, click Remove.

Photoshop will process the selected areas and generate replacements for the people or other objects you selected.
Check the result carefully, especially around architectural details, water, rocks, and other complicated backgrounds.
6. Remove anything Photoshop missed
If you still see an unwanted person or another distraction, you do not have to start the process again.
Simply select the Remove Tool and brush over the area you want to edit. Photoshop will generate a replacement for that specific part of the image.
This can be useful for smaller people in the background or objects that Photoshop did not identify automatically.
You do not necessarily need Lightroom or Photoshop to remove unwanted people from a photo. There are several browser-based AI tools that can do it for free, and you can use them on both desktop and mobile.
I tested a couple of them on my own travel photos. The results varied quite a bit depending on the background and the objects around the people.
Cleanup.pictures
Cleanup.pictures is a simple browser-based tool for removing unwanted people and objects from photos. You upload your image, brush over the area you want to remove, and let the AI fill in the background.
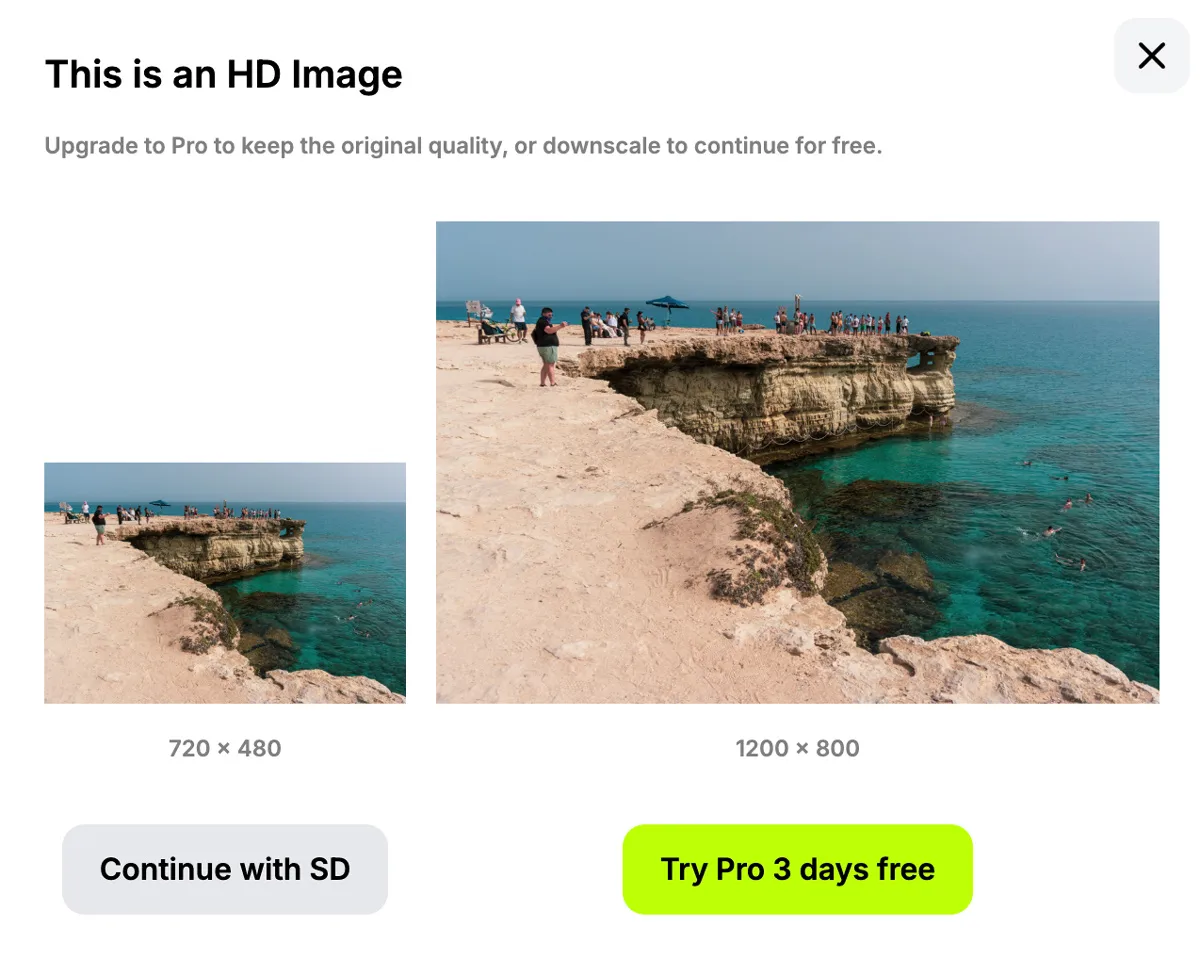
It worked surprisingly well on some people and objects in my test photos. However, it was less consistent with more complicated areas. Some removals left visible artefacts, and repeating the removal did not always get rid of them.
The free version also limits the final image to 720 × 480 pixels. This can be perfectly fine for a small image on a website or for viewing on a phone, but it is not ideal if you want a high-resolution version of your travel photo.
Adobe Firefly
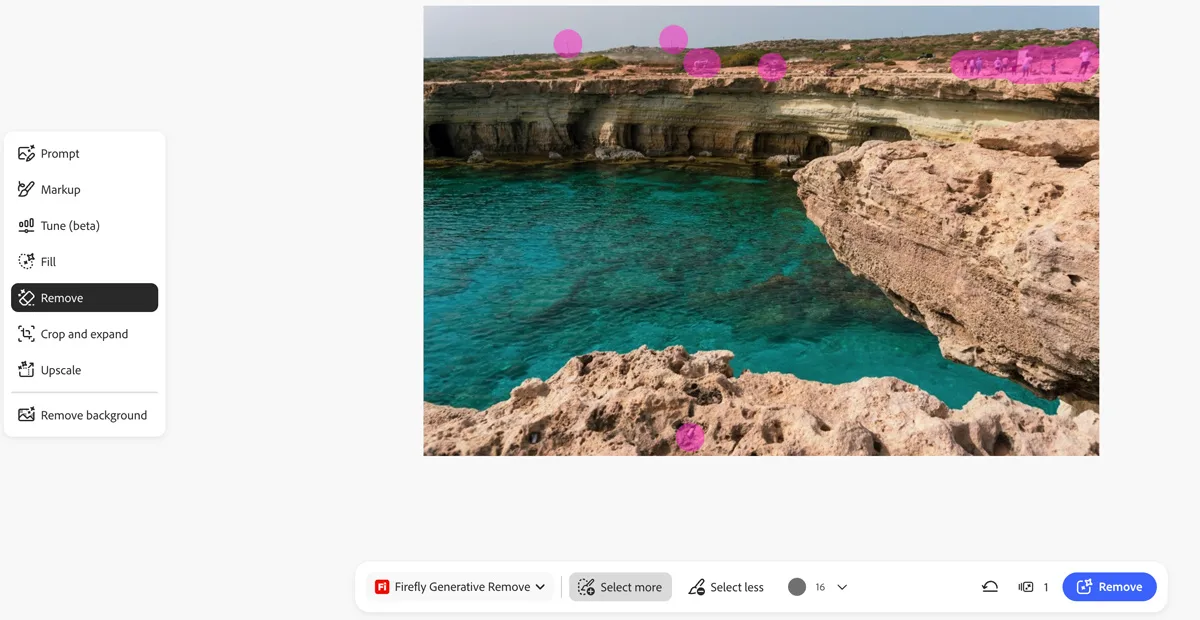
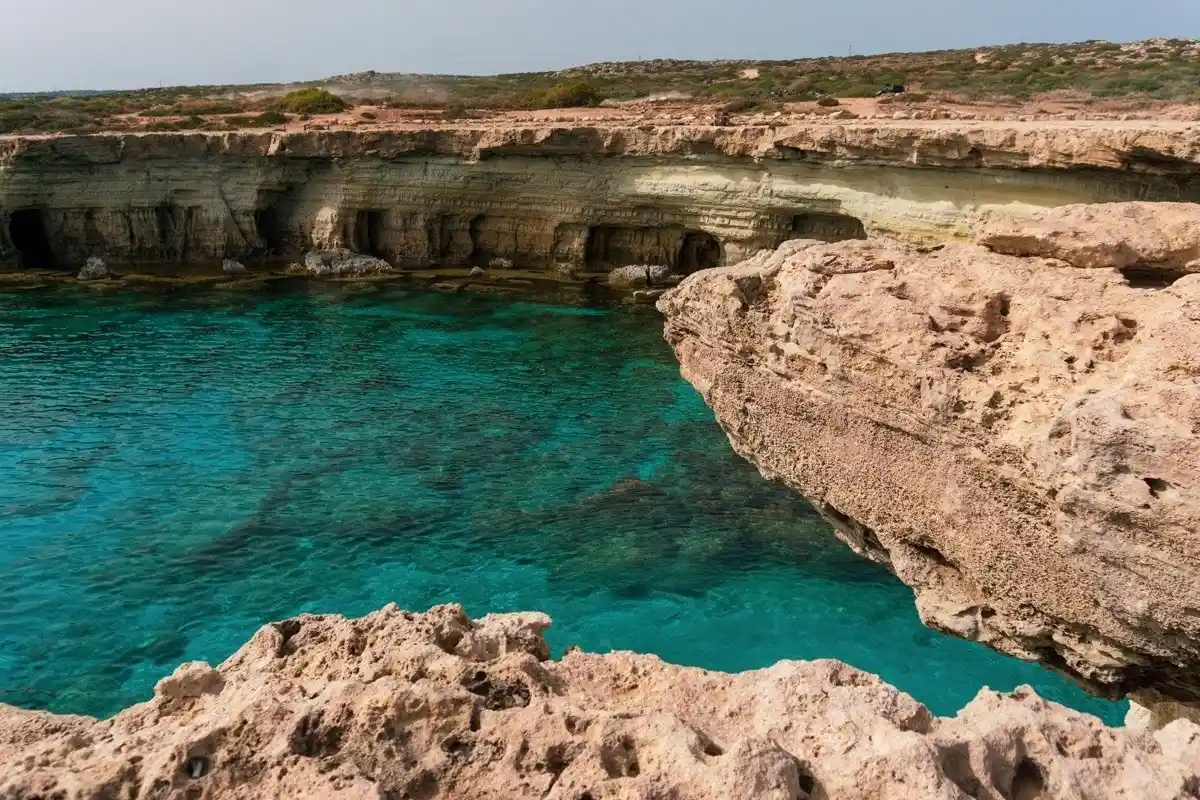
Adobe Firefly gave me better results in my tests. Like Cleanup.pictures, it works directly in a browser, so you do not need to install Photoshop to use it.
Upload your photo, select the area containing the person or object you want to remove, and let Firefly generate a replacement.
It is particularly useful when you need to reconstruct part of the background rather than simply copy pixels from the surrounding area. As with any AI removal tool, check the generated result carefully because complicated backgrounds can still produce unexpected details.
ChatGPT
You can also use ChatGPT to remove unwanted people from a photo. Upload your image and describe what you want to remove. You can also select a specific part of the image and ask ChatGPT to edit it.
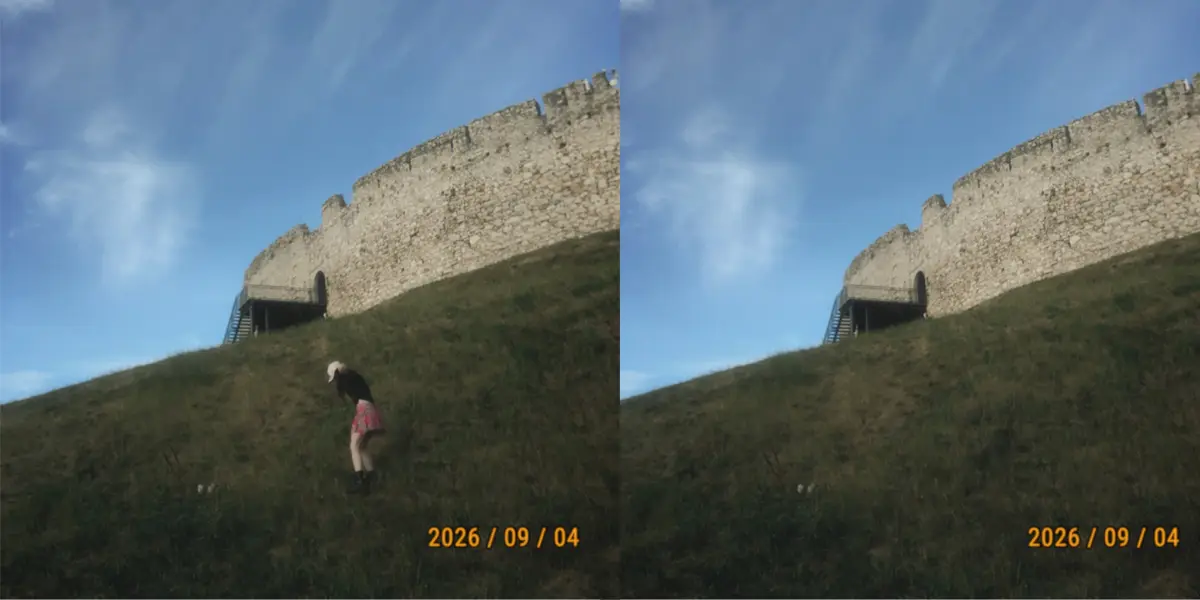
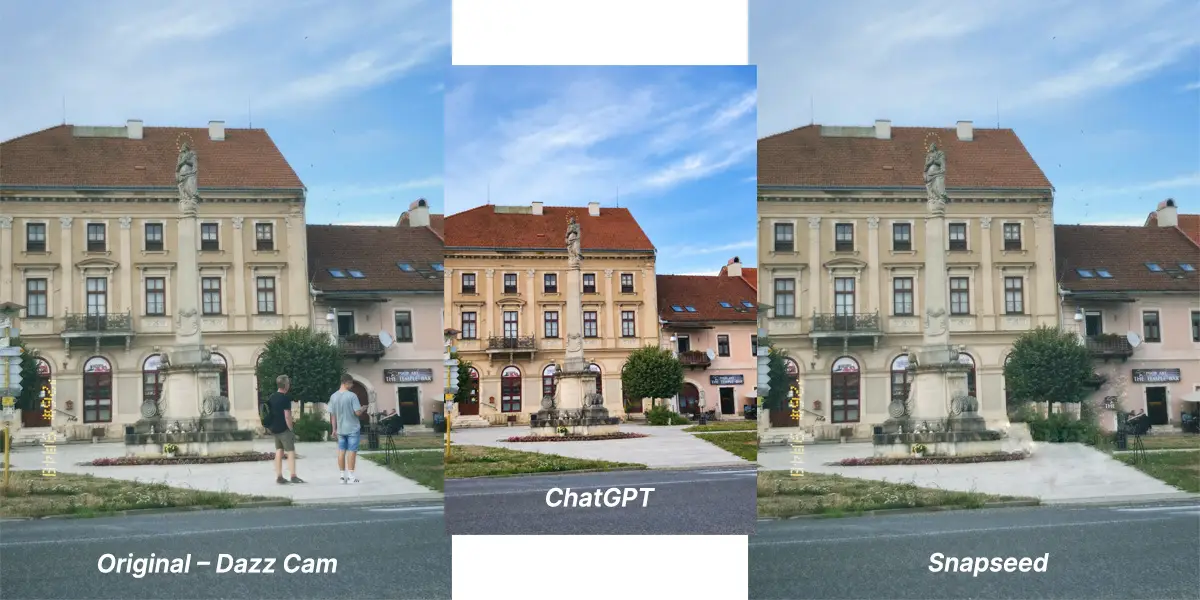
I tested this on a photo from the main square in Spišské Podhradie. The original photo was taken with the Dazz Cam app using the CPM35 filter, and I wanted to remove some tourists in the background.
The result was actually quite good at removing the people. However, there was one important downside: the edit also changed the look of the original photo. The Dazz Cam effect was replaced with a much more conventional-looking photograph, so some of the original character was lost. Keep in mind that you will need to create a prompt covering not only the removal but also the style of the AI-edited image.
Gemini
Gemini can also edit uploaded photos using natural-language instructions. You can upload an existing image and ask Gemini to remove people or other objects from it.
I have used Gemini for the opposite kind of experiment as well: instead of removing people from my travel photos, I tried adding fake AI-generated people to existing travel photos.
This can be useful if you are experimenting with how an otherwise empty travel scene might look with more people in it.
Sometimes the easiest way to remove tourists from a photo is not to remove them at all. Before reaching for an editing tool, you can also change when or how you take the photo.
Shoot Multiple Frames
If you are using a tripod, take several photos of the same scene over a few seconds or minutes. People will move between frames, which can give you cleaner areas to work with later.
You can then combine the best parts of the frames in an editor if necessary.
Wait for a Gap
You do not always need an empty location. Sometimes you only need a few seconds when nobody is standing in the most important part of your composition.
Watch the scene for a while and wait for people to move out of the frame before pressing the shutter.
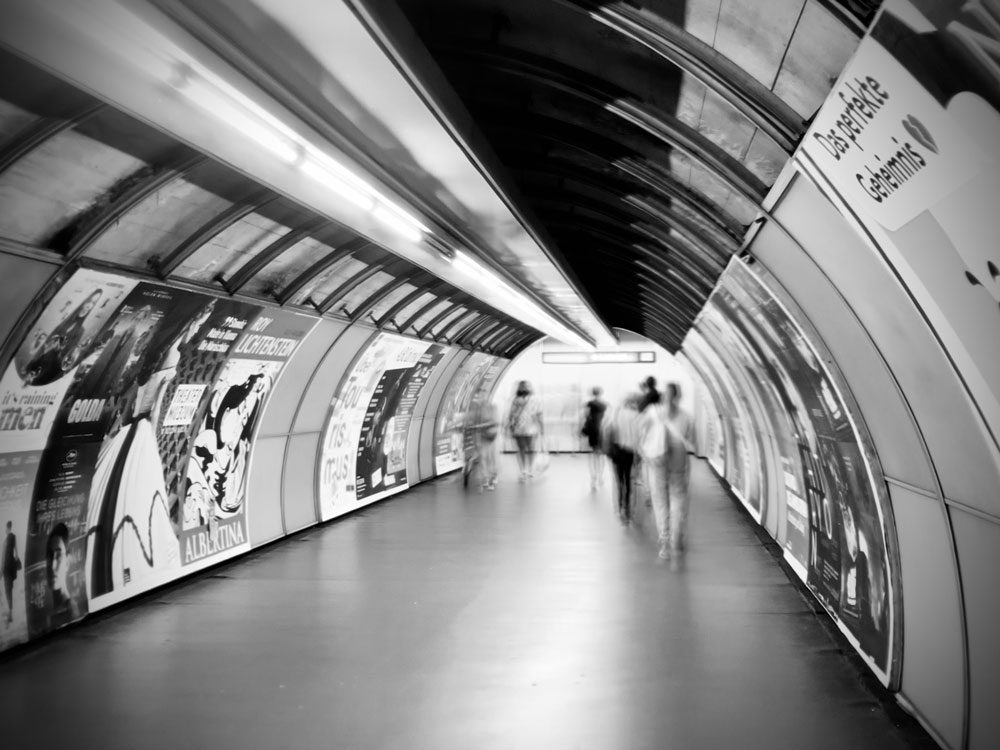
Use a Longer Exposure When Appropriate
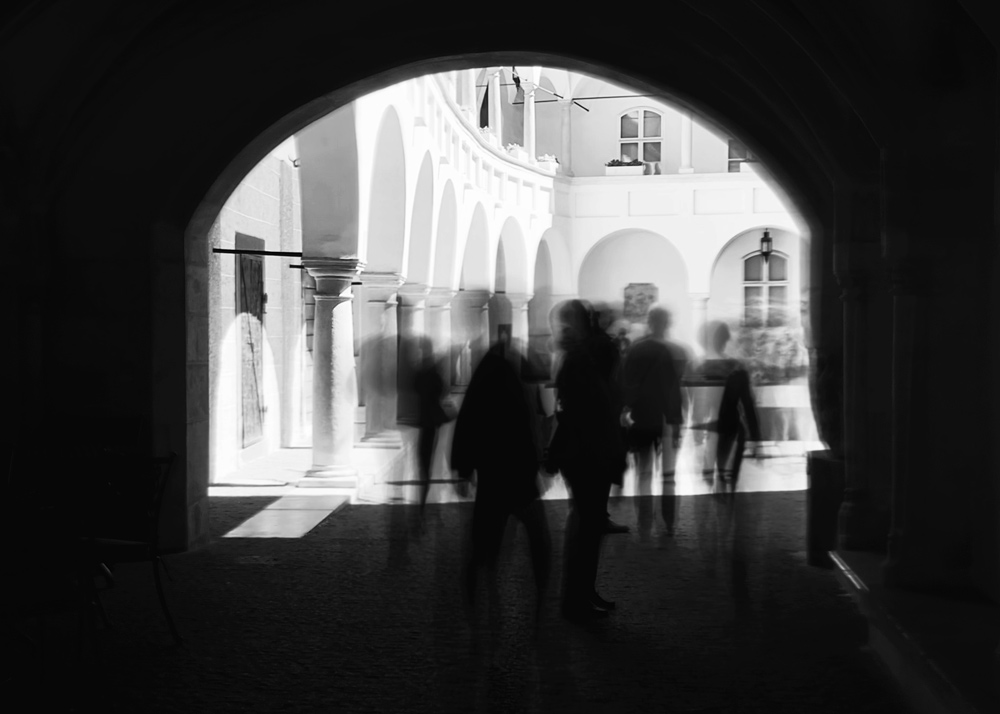
A longer exposure can make moving people appear blurred or even disappear from parts of the image. This works best when there is a steady flow of people and they do not remain in one place for too long.
You will usually need a tripod or another stable surface, especially in low light.
Move Your Composition
Sometimes moving a few steps to the side or changing your focal length is enough to put a tourist behind another object or outside the frame.
Before taking the photo, look at the edges of the composition. A small change in your position can sometimes save you a lot of editing later.
Photograph Early in the Morning
If you want popular landmarks without large crowds, early morning is still one of the most reliable solutions.
This can also give you better light, especially around sunrise, although you may have to sacrifice some sleep for it.
Crop Strategically
Cropping is the simplest solution when a person is only partially visible at the edge of the frame. You may be able to remove the distraction without changing the rest of the image.
Of course, this only works if you have enough space around your main subject.
Weather Can Help Too
Bad weather is not always bad for photography. Sometimes it gives you something even more valuable: fewer people.
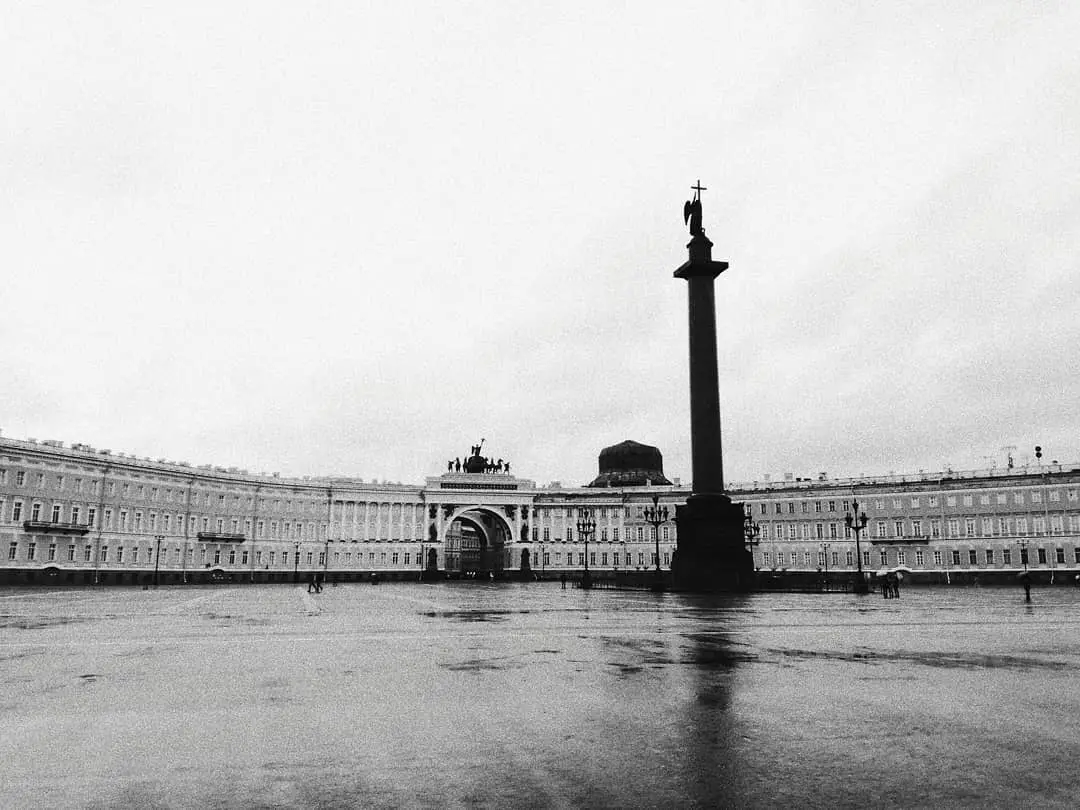
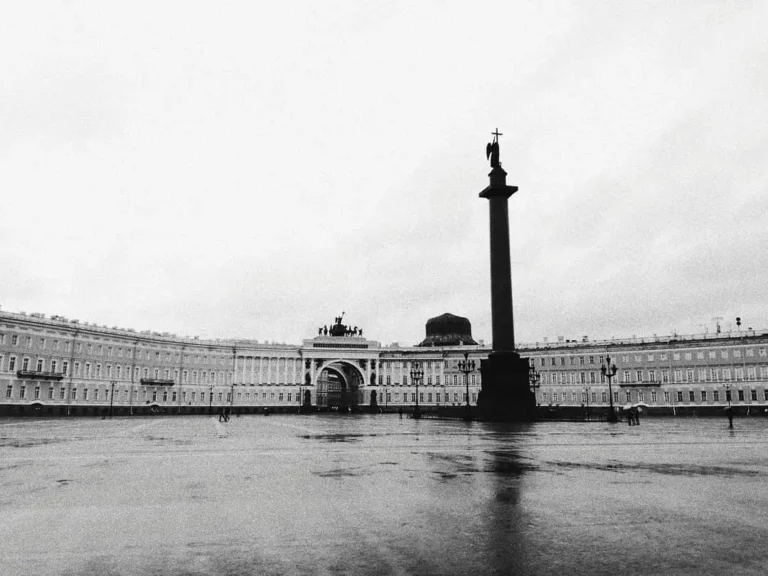
I took the photo below at Palace Square in Saint Petersburg several years ago, before the war began. It was September (2018), and it had been raining quite heavily that day. There were probably around five people in the square when I took the photo, but they are barely noticeable in the final image.
The day before, when the weather was sunny, the same place was packed with people.