Snapseed is a simple and free photo-editing app that lets you edit photos on the go. It comes with a clean interface that is easy to navigate. The app offers a range of basic editing tools, preset looks, and creative features. In this review, I will explain its basic features and show you how to use them. I will also share what I liked and disliked while using the app. Overall, I think Snapseed is a great starting point for beginners and creators who primarily rely on mobile photography.
Here are some of the most important features and tools that make Snapseed a great choice for quick edits and more detailed photo adjustments.
Tune Image
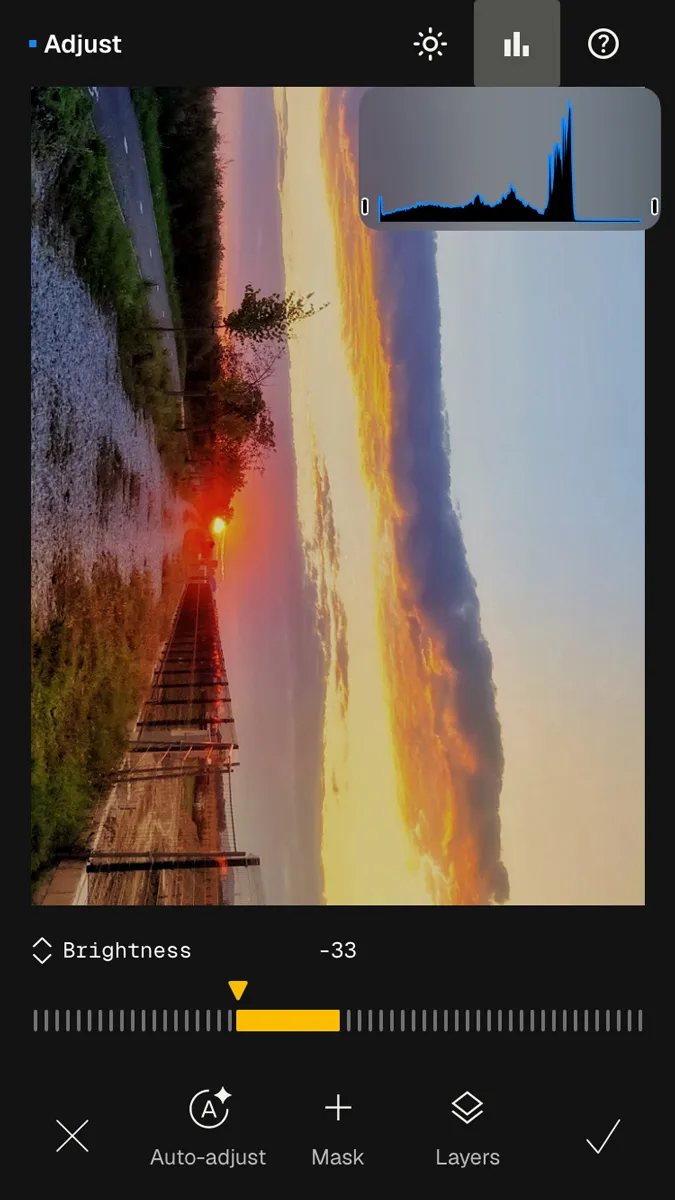
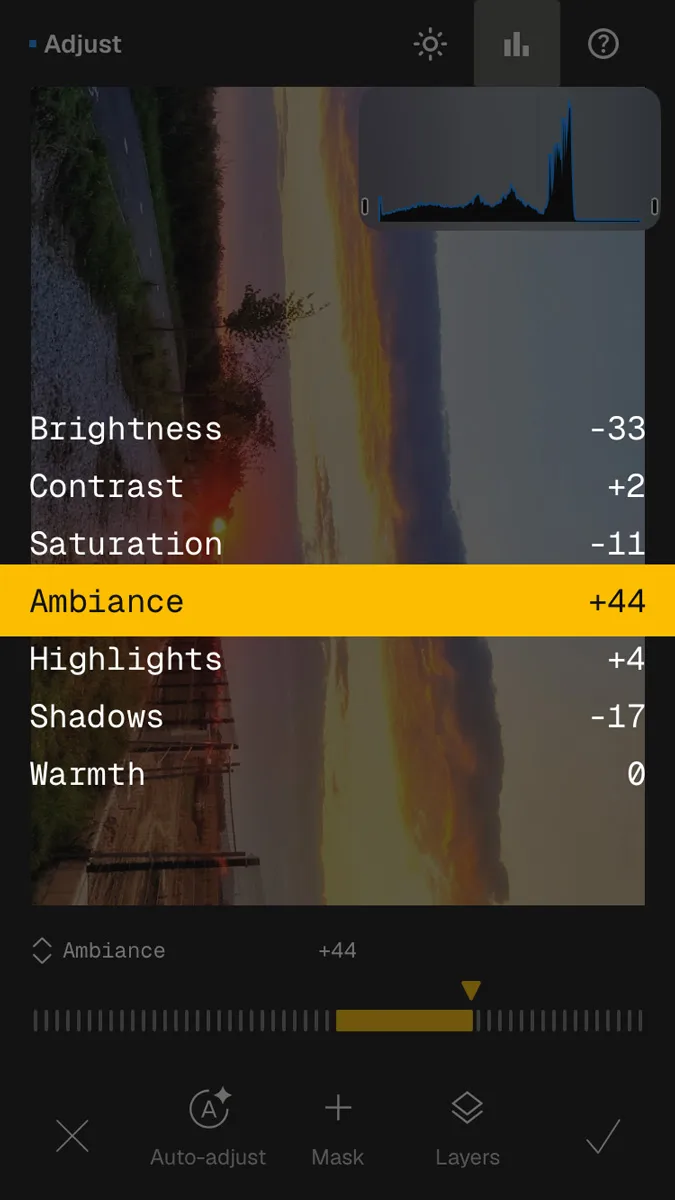
Tune Image lets you adjust the overall appearance of your photo in seconds. You can use automatic adjustments, or manually change settings such as brightness, contrast, saturation, ambiance, highlights, shadows, warmth, and more.
You can make these adjustments with simple sliders, which makes the tool easy to use even if you are new to photo editing. It is a good starting point when you want to quickly improve exposure, colors, or overall contrast.
Details
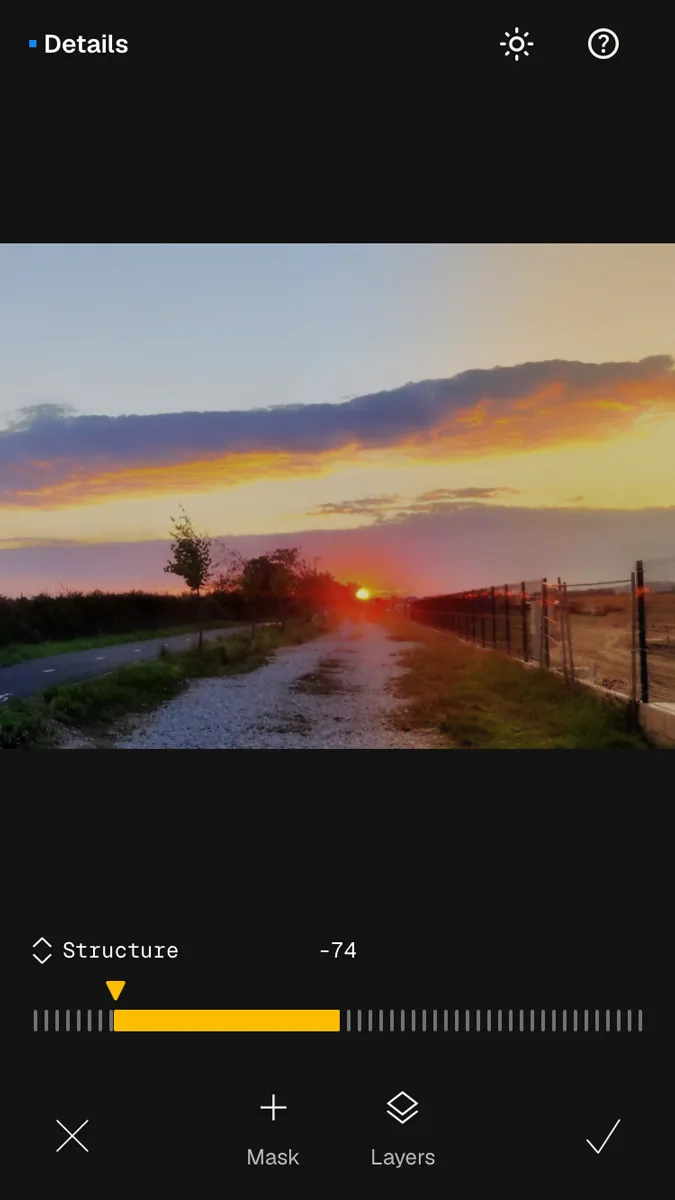
Snapseed has a dedicated tool for enhancing image details. It includes two main adjustments: sharpening and structure.
Sharpening can make fine details appear more defined, while structure enhances textures and smaller details in the image. You can also apply these changes selectively to specific parts of your photo.
Curves
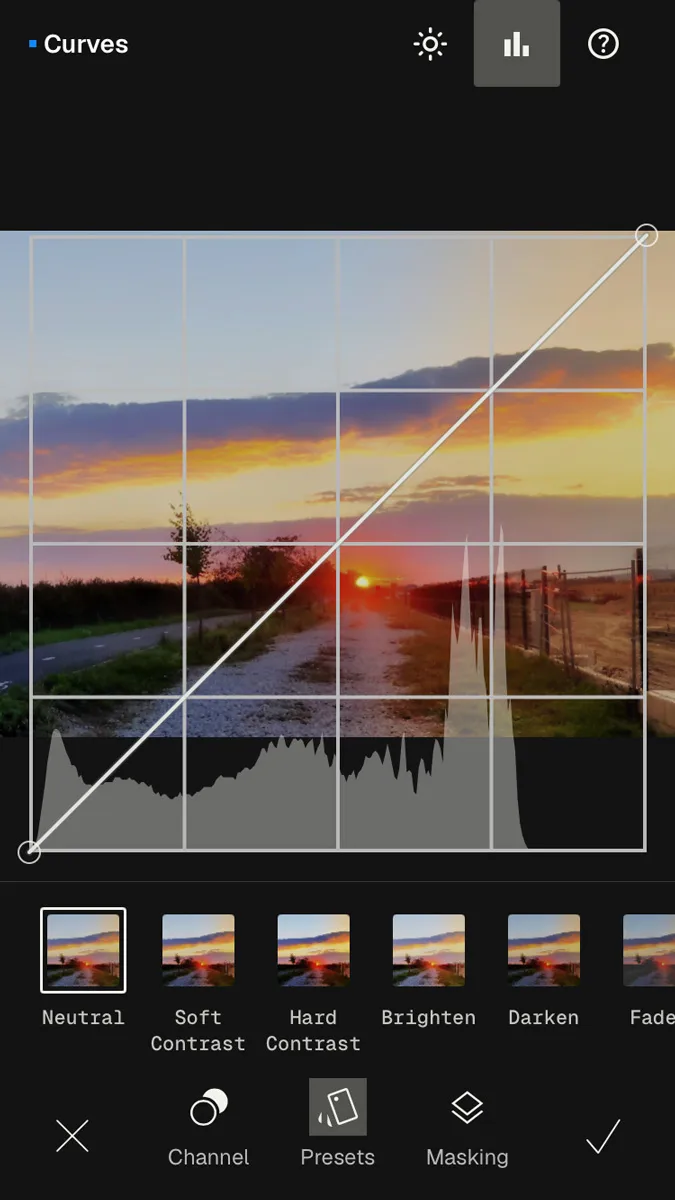
The Curves tool gives you more control over brightness and color. It includes different channels, presets, and options for making more precise adjustments.
Presets are useful if you are new to photo editing. You can experiment with options such as Neutral, Soft Contrast, Hard Contrast, Brighten, Darken, and Faded. You can use them as a starting point for your own edits, especially if you are not sure which direction to take.
Selective Adjustments
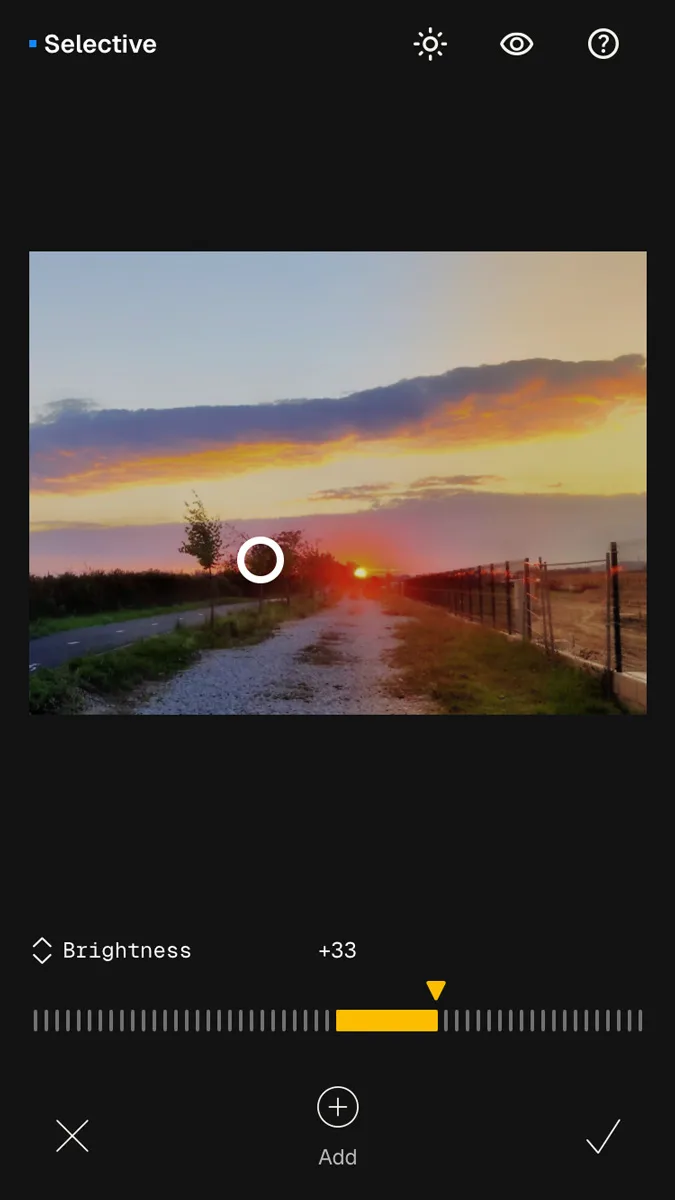
The Selective tool allows you to adjust specific areas of your photo instead of changing the entire image. You can place a control point on a particular area and adjust settings such as brightness, contrast, saturation, and structure.
This is especially useful when you want to brighten a subject, darken a distracting area, or bring out colors in a specific part of the image without affecting the rest of the photo.
Healing
The Healing tool in Snapseed works like a brush that lets you remove unwanted elements from your photos. You can tap or brush over an object, person, or other distraction, and Snapseed will try to blend the area with its surroundings.
It can be very useful for removing small unwanted objects or people from an otherwise good photo. However, the results can vary depending on the image and the complexity of the area you are trying to edit. You can check my previous post How to Remove Tourists from Photos where I also mention healing tool in Snapseed and show some examples.
Perspective
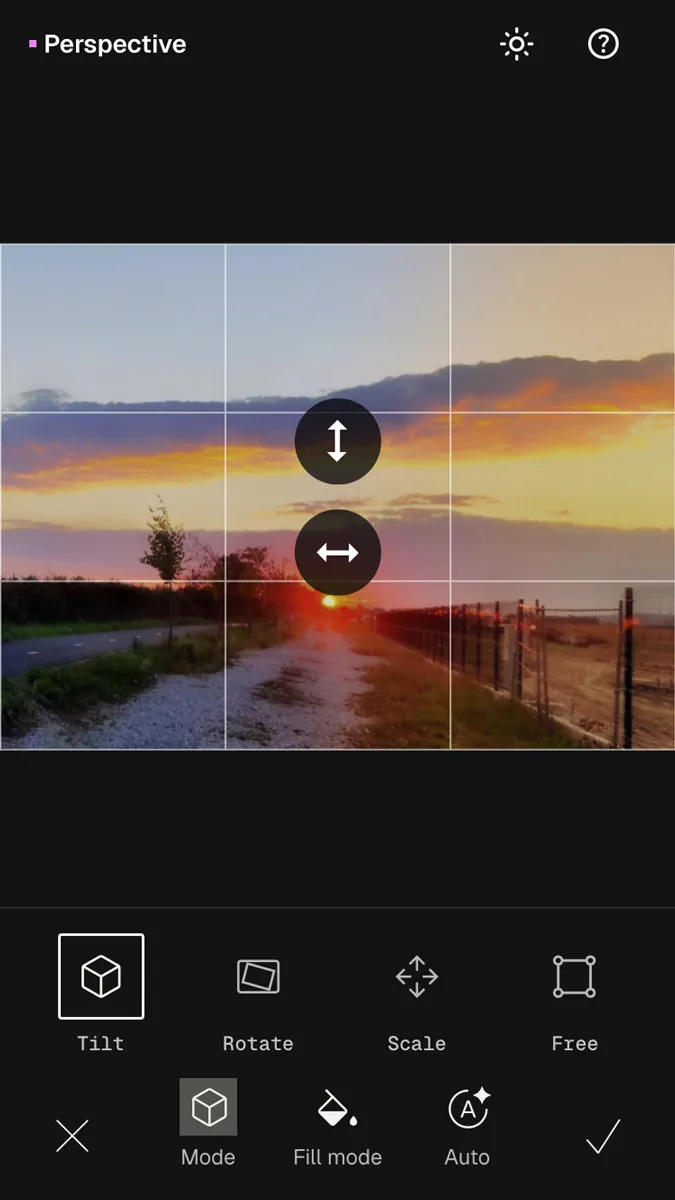
Perspective is particularly useful for architecture and travel photography, especially when photographing buildings in cities.
It lets you change the perspective of an image, rotate or scale it, and adjust its horizontal or vertical geometry. Snapseed also offers different fill options, including Auto and Fill, which help fill the areas created by the perspective correction.
Double Exposure
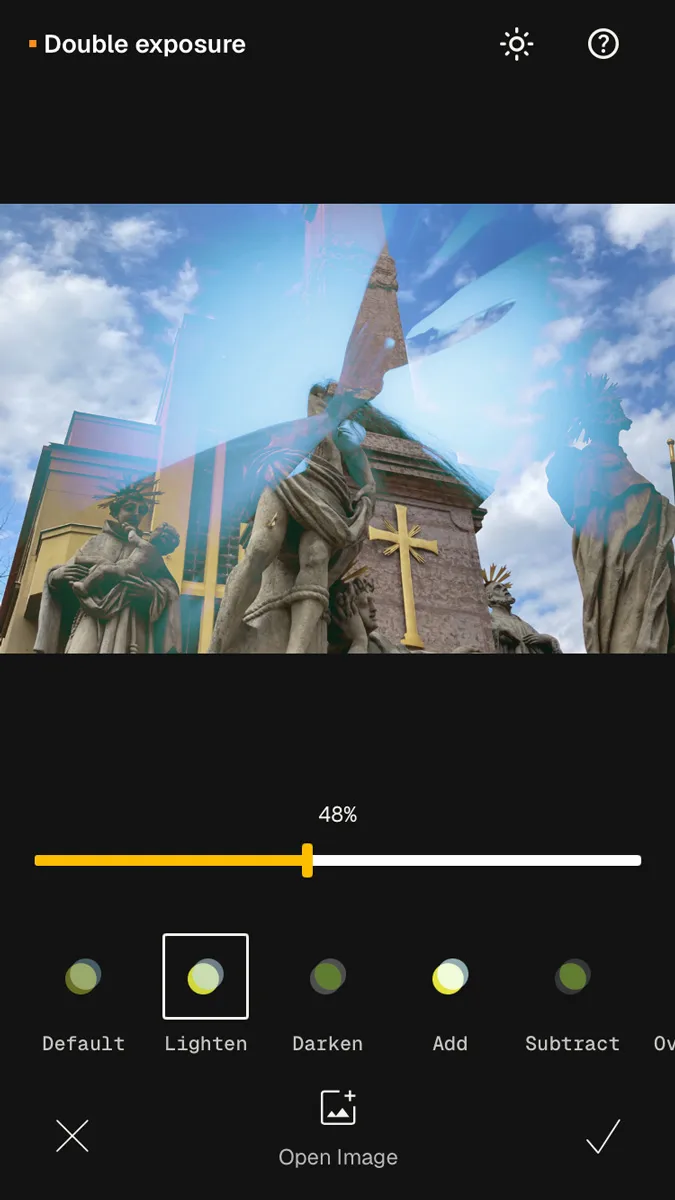
Double Exposure is a popular creative tool that lets you combine two different images into one. You can experiment with different blending modes, including Lighten, Darken, Add, Subtract, and Overlay.
You can also adjust the opacity to control how strongly the second image appears. This makes it possible to create anything from subtle overlays to more obvious double-exposure effects.
Filters and Looks
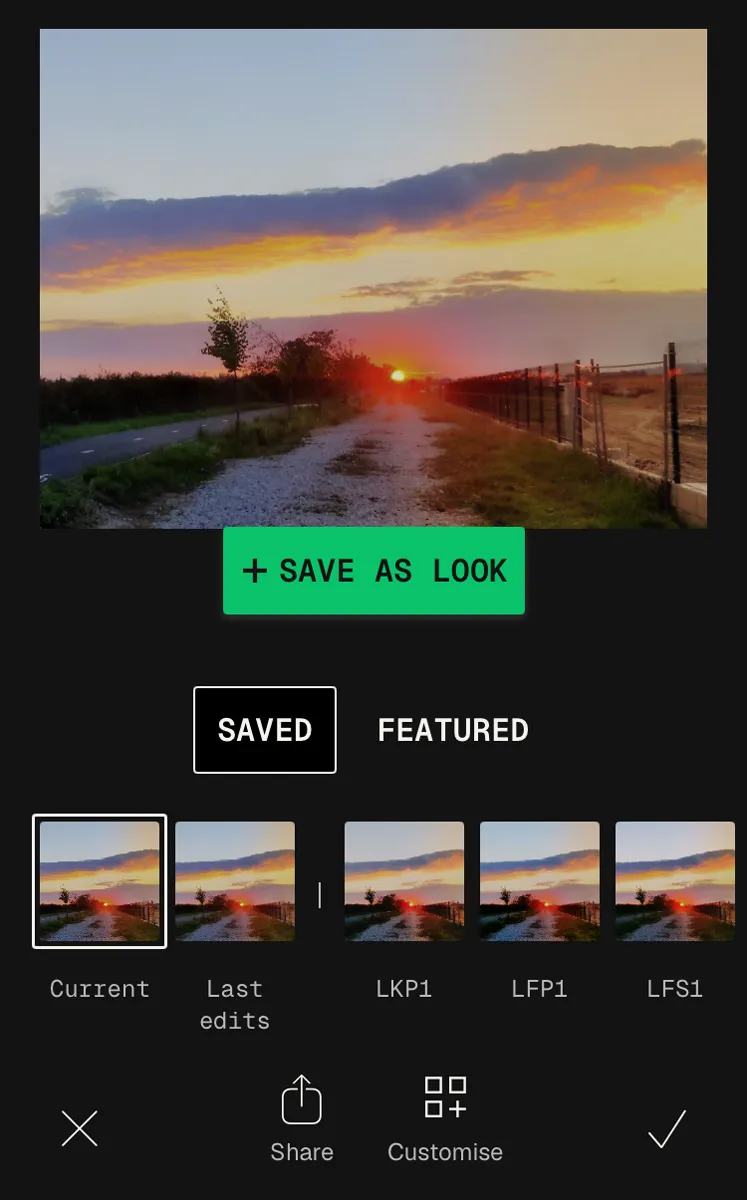
Snapseed offers a selection of preset Looks that you can apply to your photos with a single tap. Some are designed for portraits, while others focus on contrast, color, faded effects, or black-and-white photography.
You can find Looks with names such as Morning, Bright, Faded Glow, Fine Art, Push, and Silhouette. Some are more color-based and are labeled with letters and numbers instead of descriptive names.
You can also customize the available Looks and share your custom edits with others using a QR code.
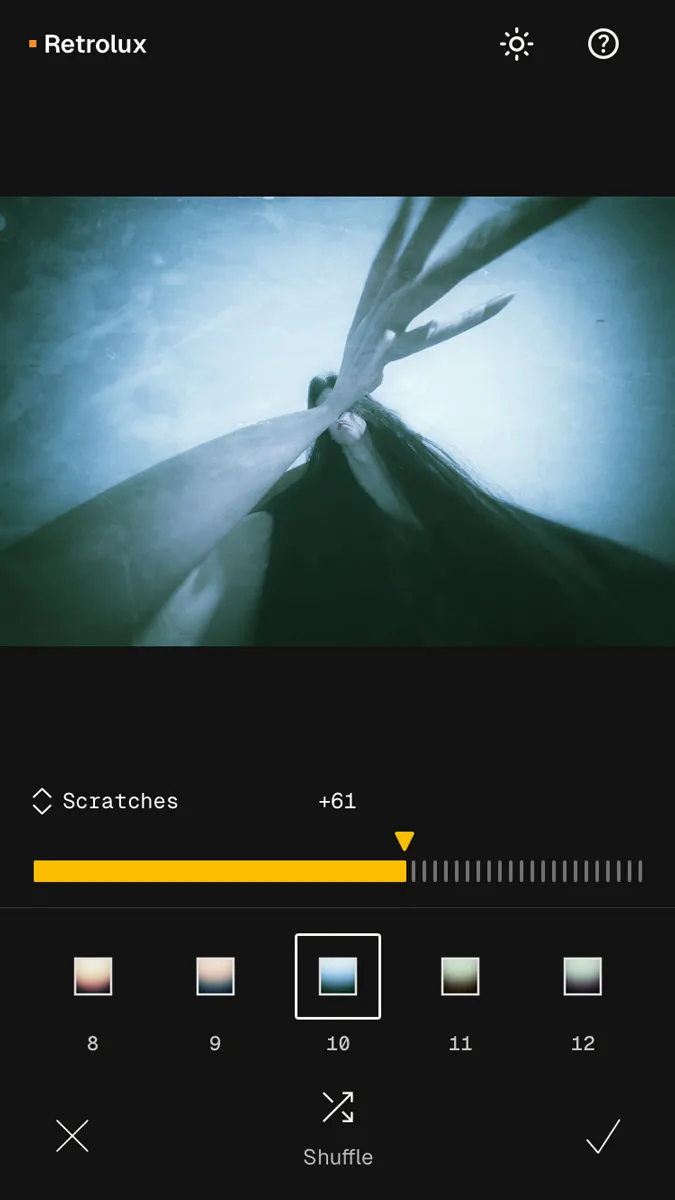
The Tools menu also includes additional creative styles and filters, such as Vintage, Black and White, Grunge, Noir, Drama, and Retrolux. Unlike the preset Looks, many of these tools give you more control over the effect and allow you to customize the settings.
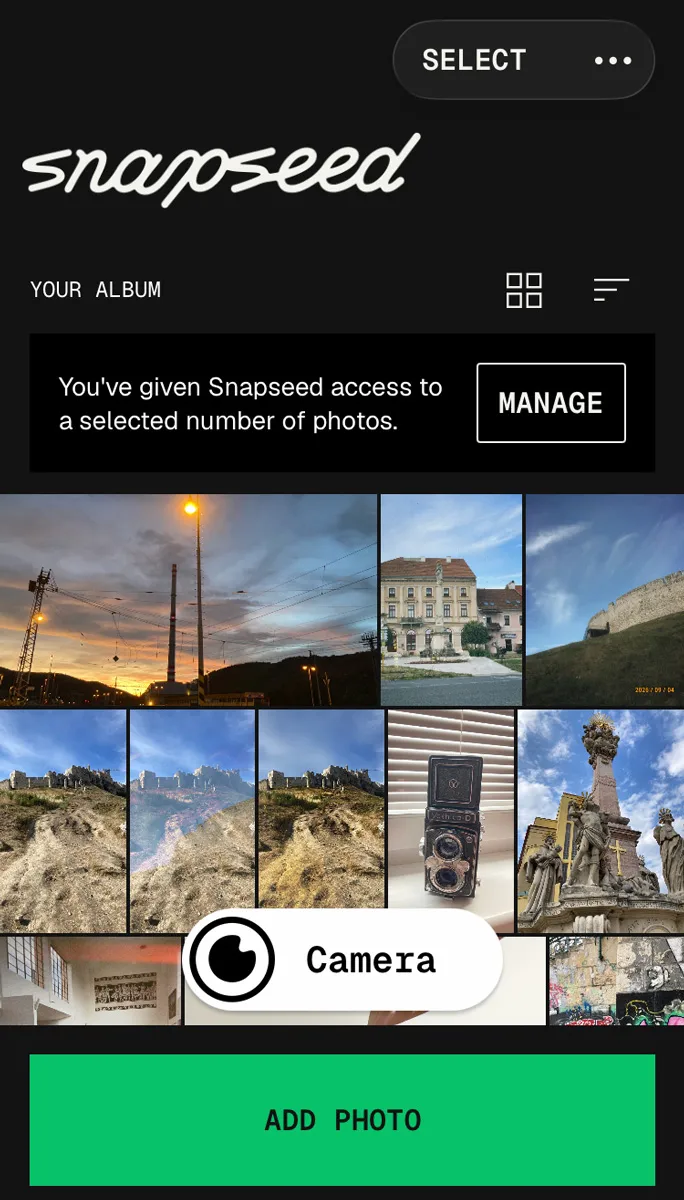
When you open the Snapseed app, you are greeted with a simple black-and-white interface. You can choose to open the in-app camera or add a new photo by clicking the green button at the bottom.
Snapseed Camera Interface
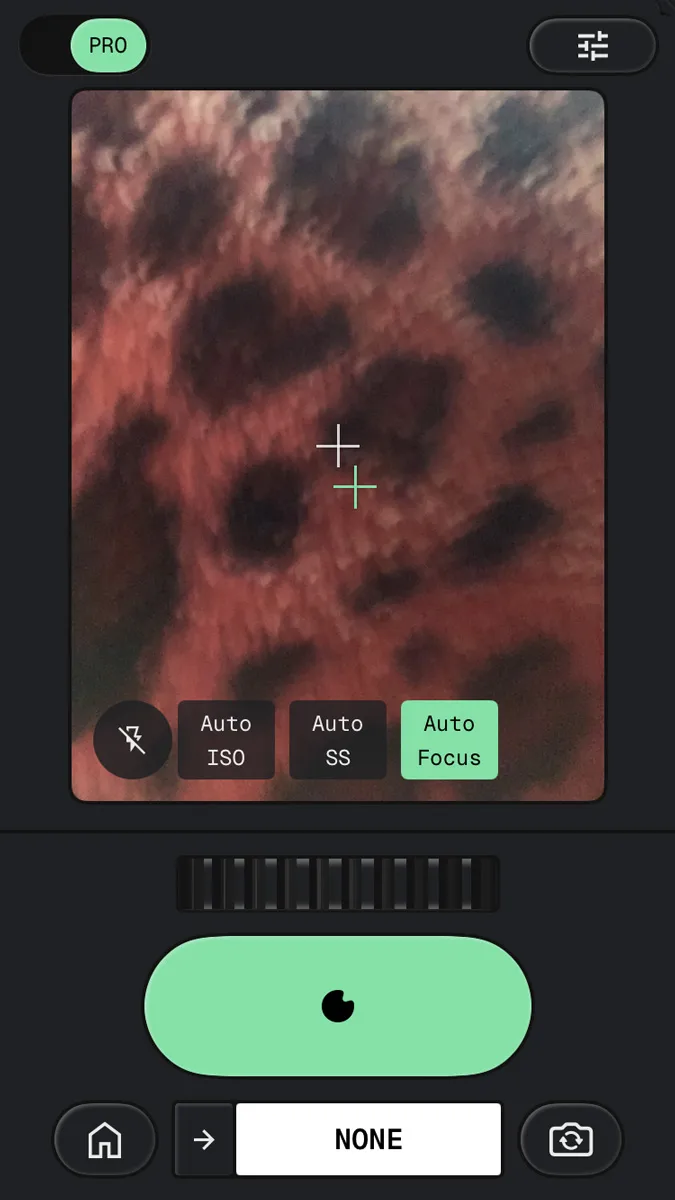
When you open the camera, you will see a screen divided into several parts:
Top menu – This includes the Pro toggle and the Settings button. In Settings, you can change the color theme, location metadata, image format, and grid lines. You can also access the Level feature for flat-lay, horizon, and tilt guides, as well as the Help section.
Viewfinder – When the Pro toggle is on, you will also see buttons for Auto ISO, Auto SS, and Auto Focus. Tap each option and drag the slider underneath to change its parameters.
Slider – The slider lets you adjust and customize the selected Pro feature.
Big green button – Tap this button to take a photo.
Bottom menu – The first icon shows your latest photo and gives you access to your image library. The middle yellow button lets you change the camera preset, while the camera icon switches between the front and rear cameras.
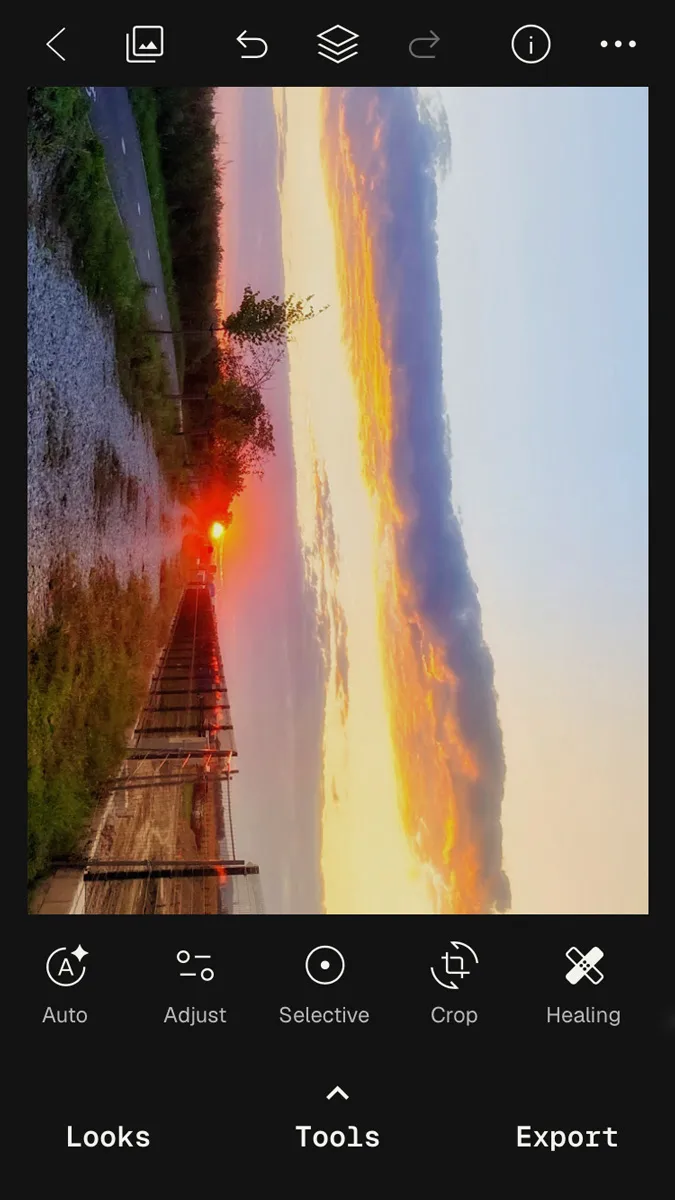
Snapseed Photo Editing Interface
You can access the photo editing interface by either adding a new photo or selecting one from your gallery.
The interface is divided into several sections:
Top menu – This includes the gallery icon, undo button, Layers button, redo button, Details icon (i), and the three-dot menu. The three-dot menu gives you access to options such as creating or scanning a QR Look and reverting your edits.
Main body – This is where you see the photo you are currently editing.
Adjustment menu – This menu gives you access to different editing options, including Auto, Adjust, Selective, Crop, Healing, and Customize. Customize allows you to add other editing tools to the menu.
Bottom menu – This gives you access to three main sections: Looks, Tools, and Export.
After using Snapseed for my own photo edits, these are the features I found the most useful and enjoyable.
Auto customization
The automatic adjustments are useful when you want to improve a photo quickly without manually changing every setting.
Selective tool
I like that I can change only specific parts of an image instead of applying the same adjustment to the entire photo.
Custom presets and QR codes
The ability to create my own custom Look and share it with others via a QR code is a fun and practical feature.
Perspective tool
The Perspective tool is particularly useful for architecture and travel photography because it helps correct distorted lines and change the geometry of an image.
Style tools
The Style tools are fun to experiment with, but they also give you more parameters to customize the final effect.
Dark mode
I like the dark interface because it feels comfortable to use, especially when editing photos in darker environments.