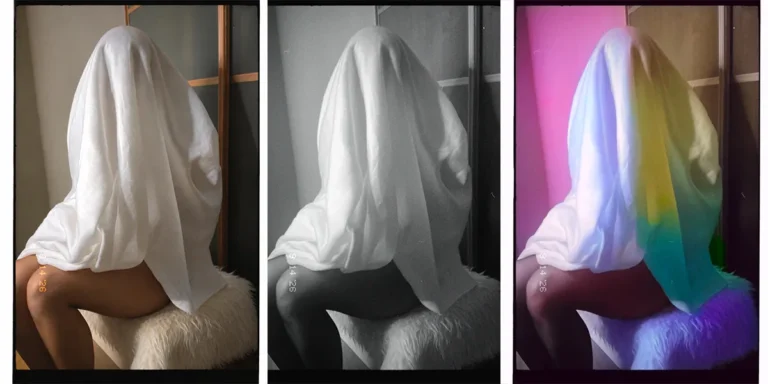
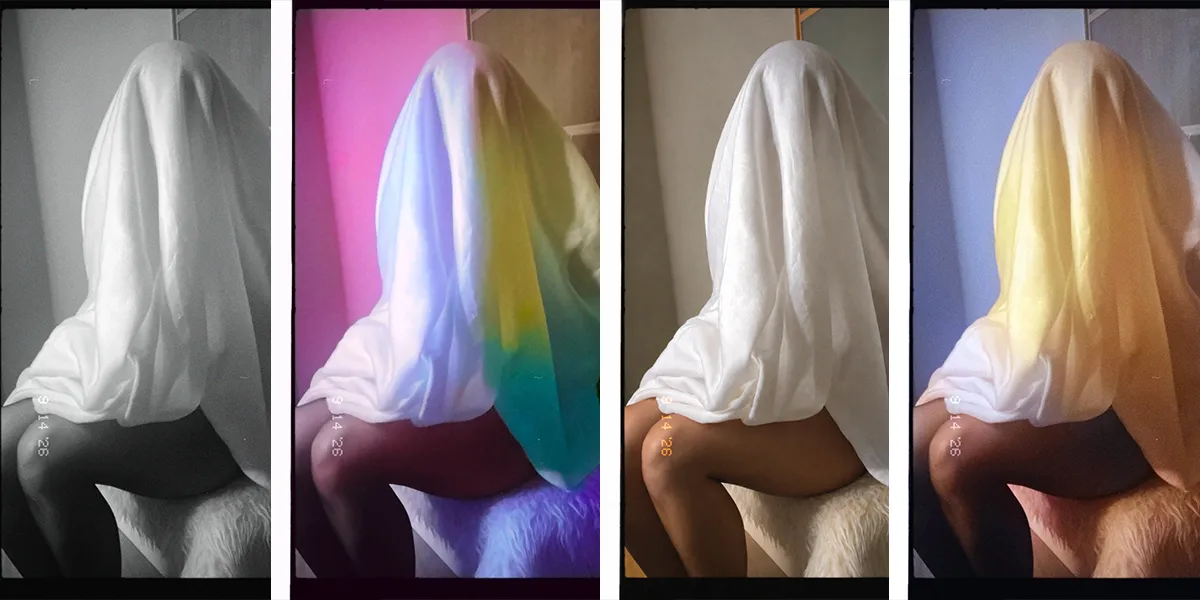
In this tutorial, I’ll show you three simple ways to edit a black and white photo to color. Some methods are (partially) free, while others require a paid plan.
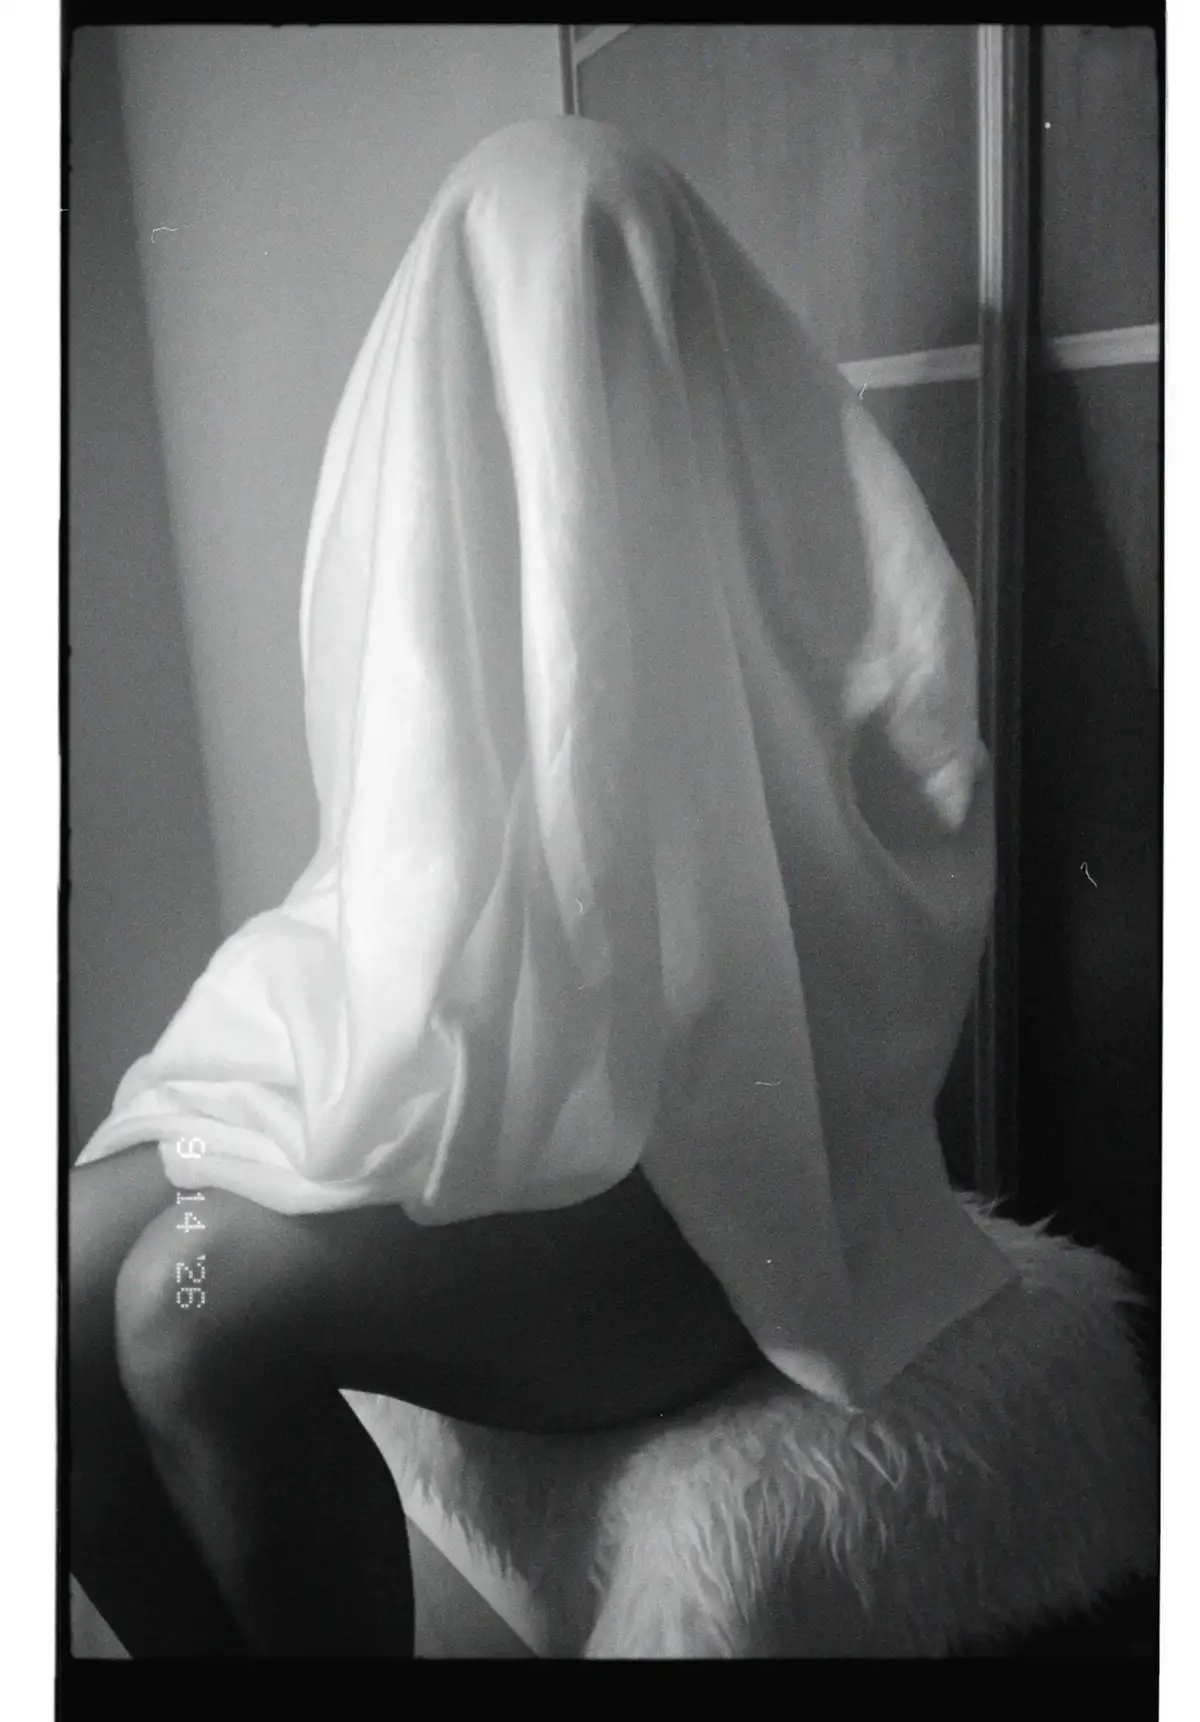
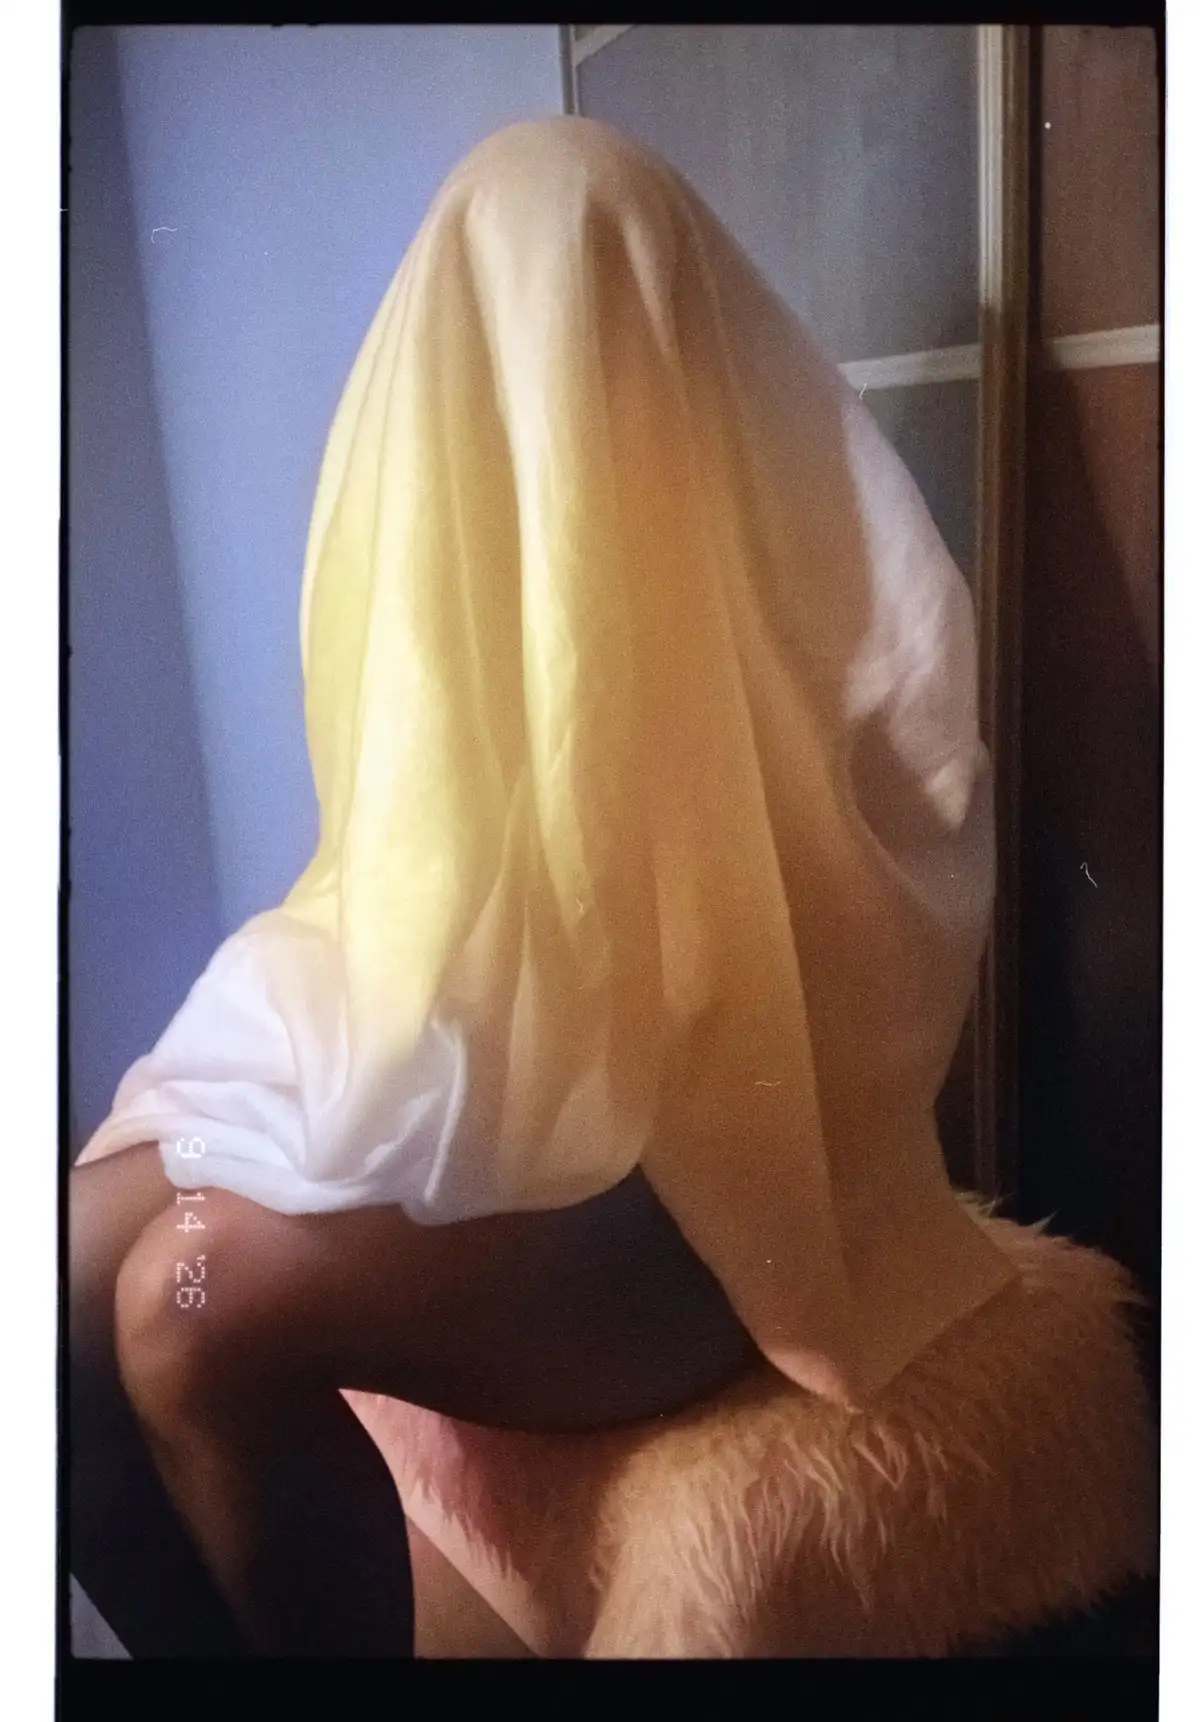
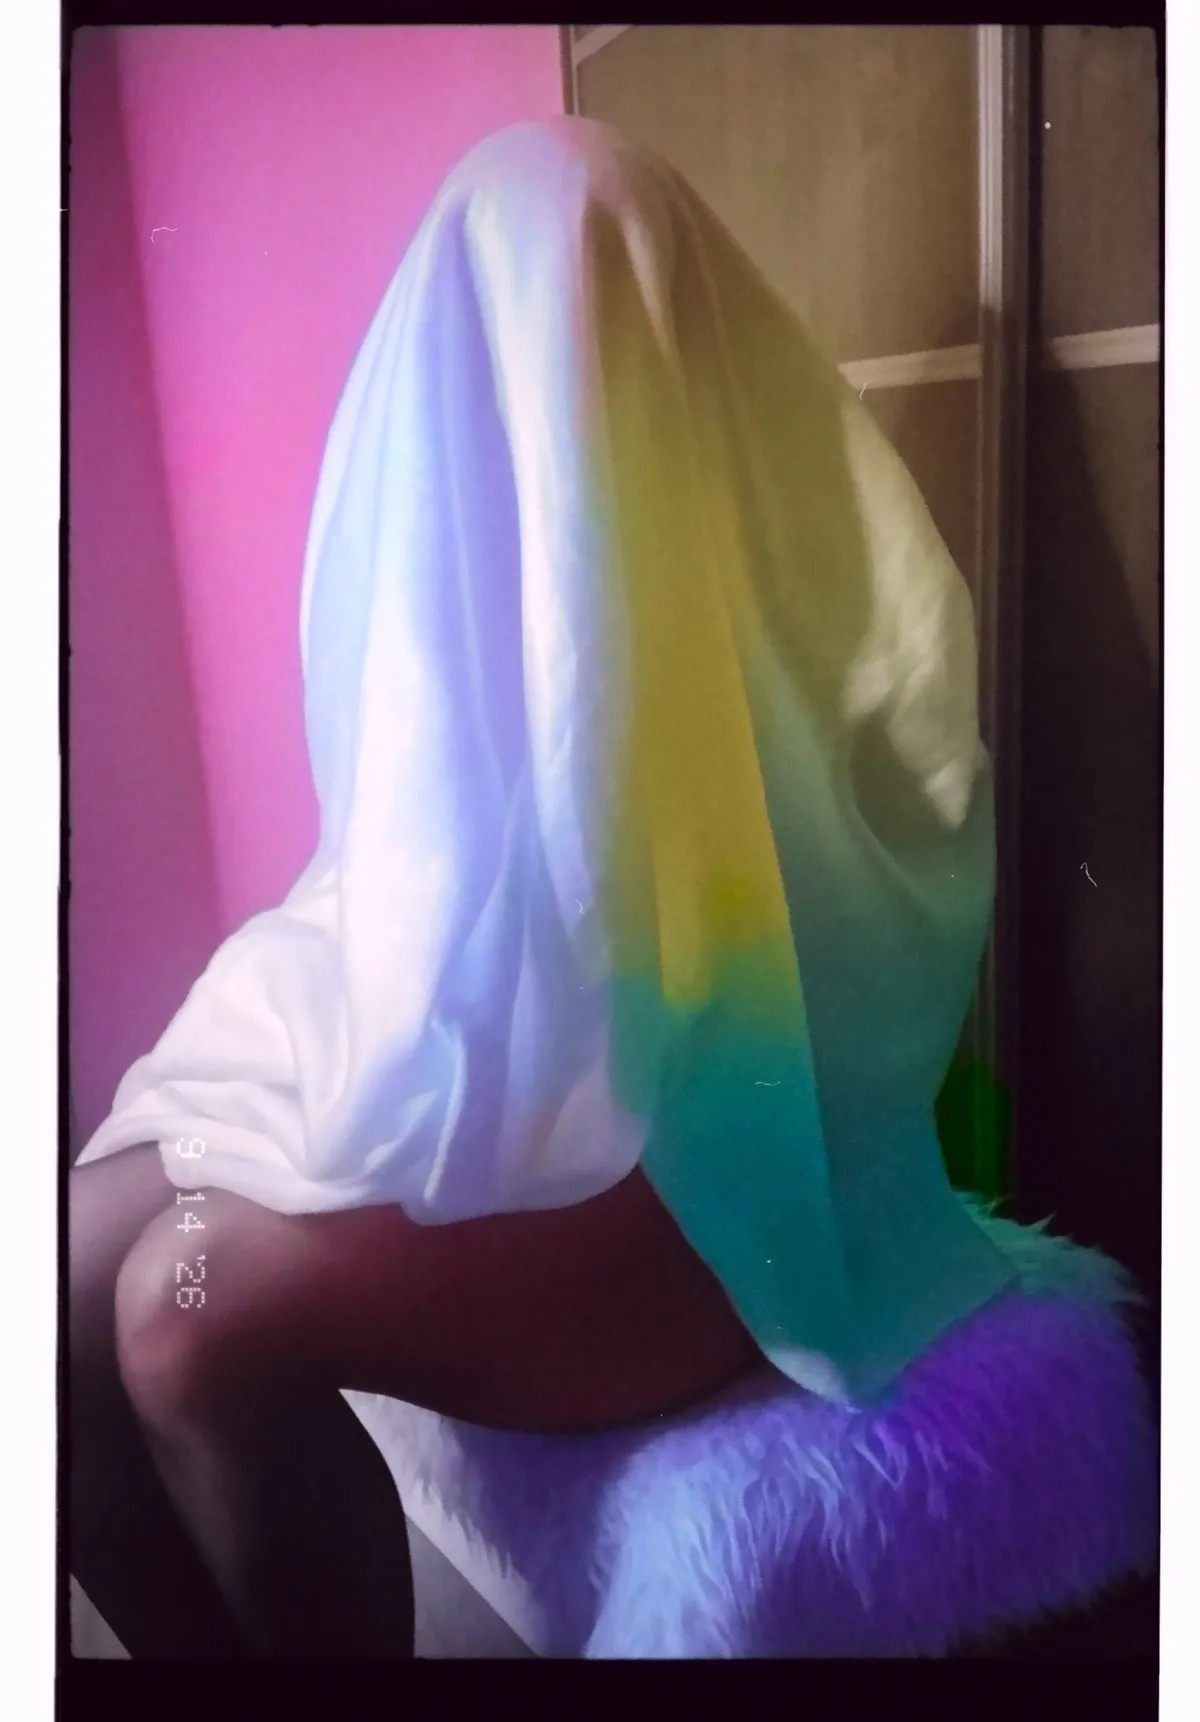
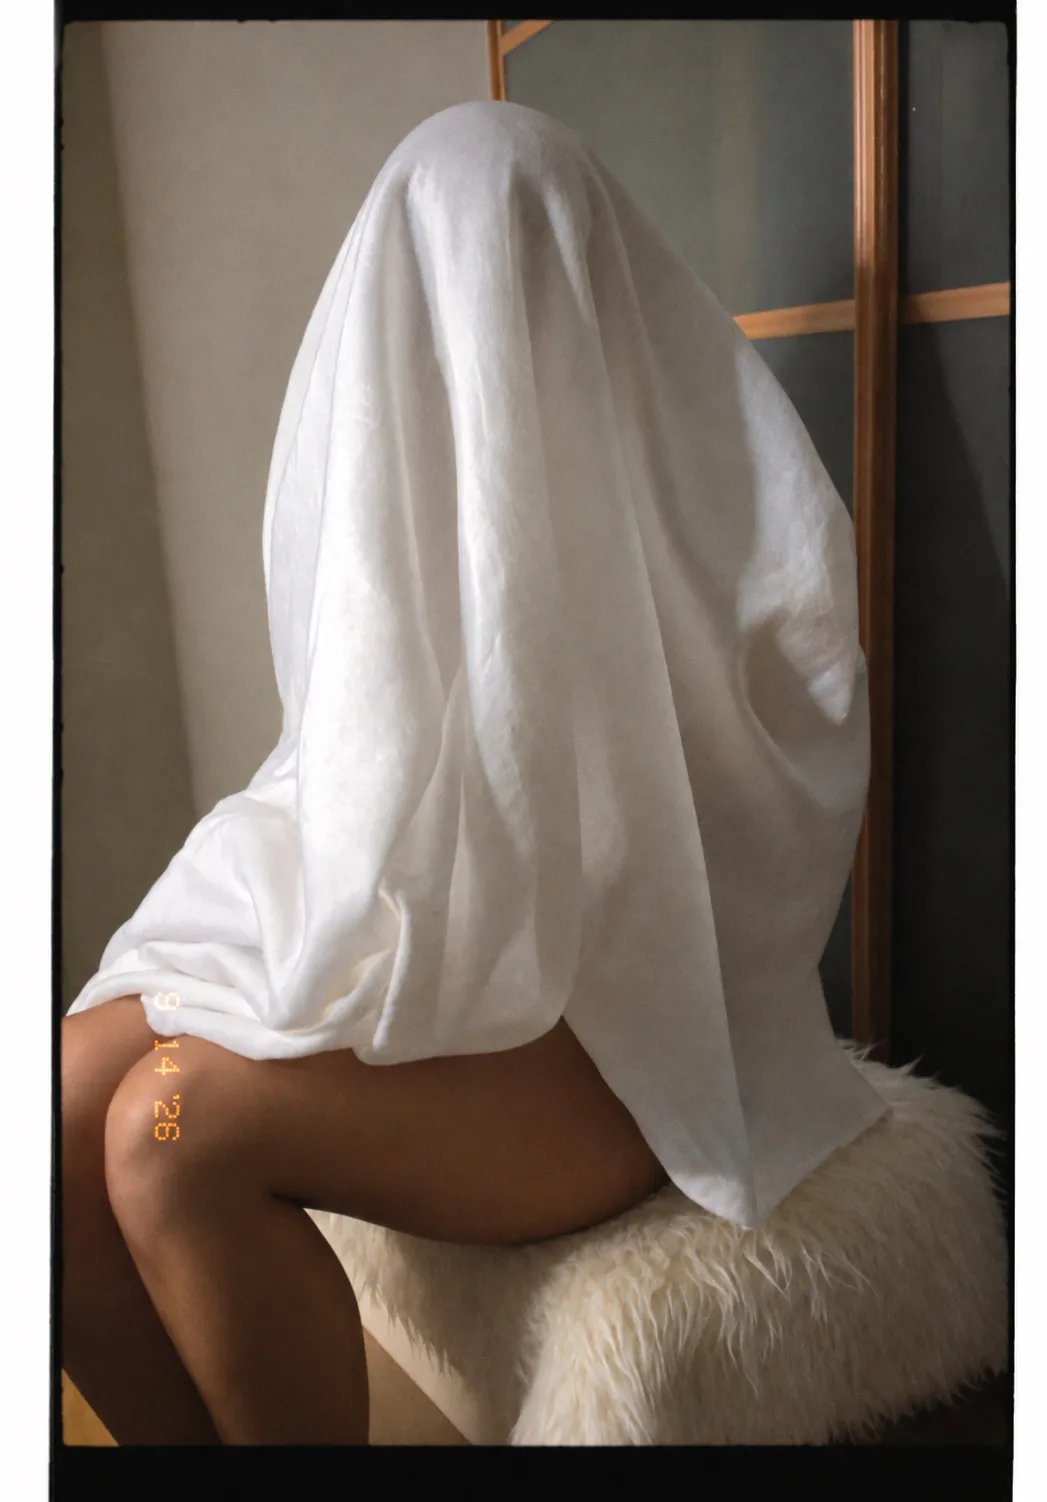
I’ve also included some of my own example photos. One was originally created for the Ghost Photoshoot with the Dazz Cam GR F camera filter. The other one is a public-domain black and white photo of Sisi. I also have another article about Sisi and her travels if you’re into history and old photographs.
Colorize Photos in Photoshop
If you have a paid Photoshop plan and the desktop version of Photoshop, you can follow these steps to add color to a black and white photo.
1. Open your photo in Photoshop
Start Photoshop and open the image you want to edit. The image can also be opened directly from your computer by right-clicking it and selecting Open with Photoshop.
2.Open Neural Filters
Go to the top menu and select Filter → Neural Filters. A new panel with the available Neural Filters will appear.
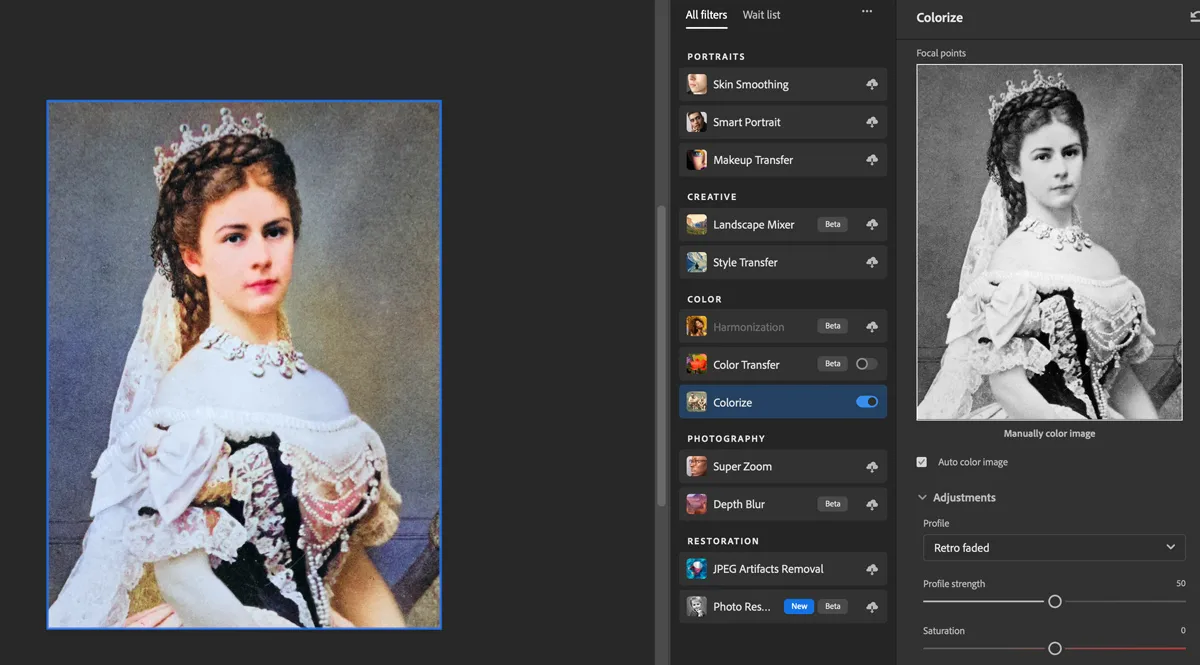
Photoshop Neural Filters – Colorize
3. Select Colorize
Find the filter called Colorize. If you don’t have it installed in Photoshop yet, you will need to download it first.
4. Let Photoshop colorize the image automatically
Once the filter is downloaded, select Auto Color Image. You can also select aspecific Profile.
5. Adjust the colors
You can make additional adjustments using Saturation, Cyan/Red, Magenta/Green, and Yellow/Blue. There are also options to reduce Color Artifactsand Noise.
6. Change the color of a specific area
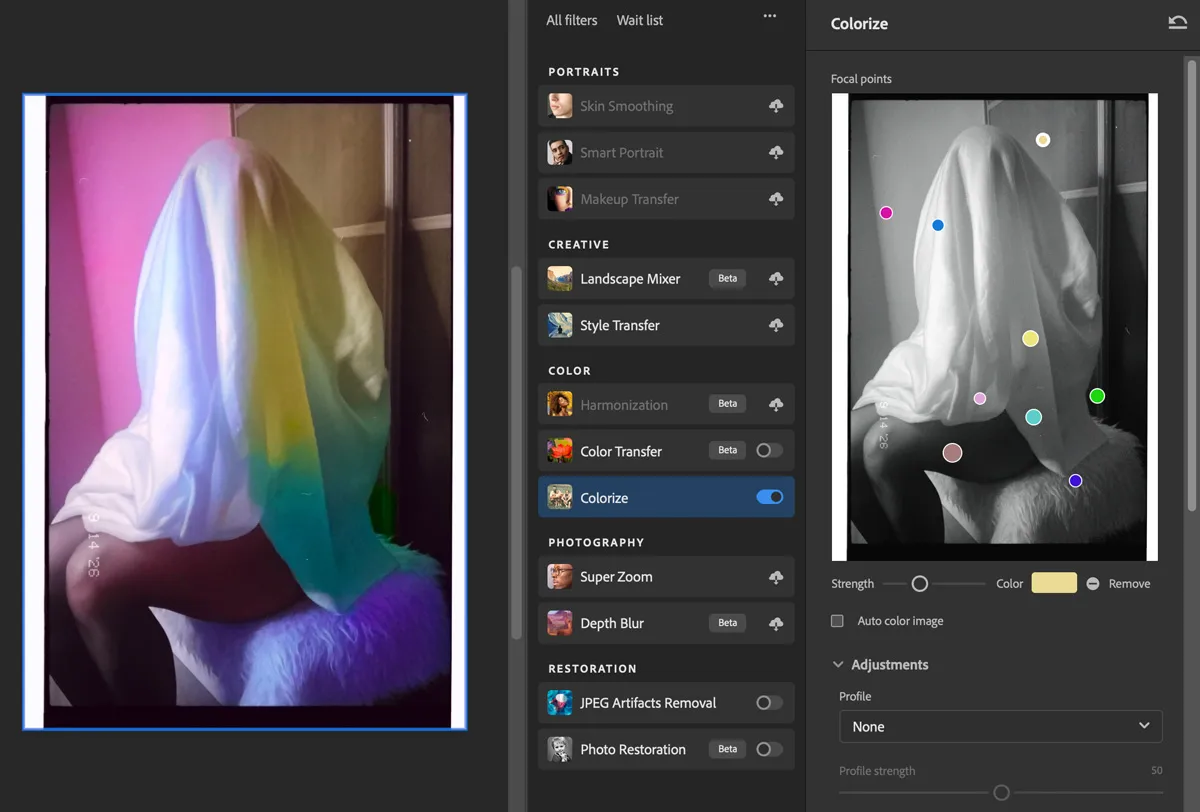
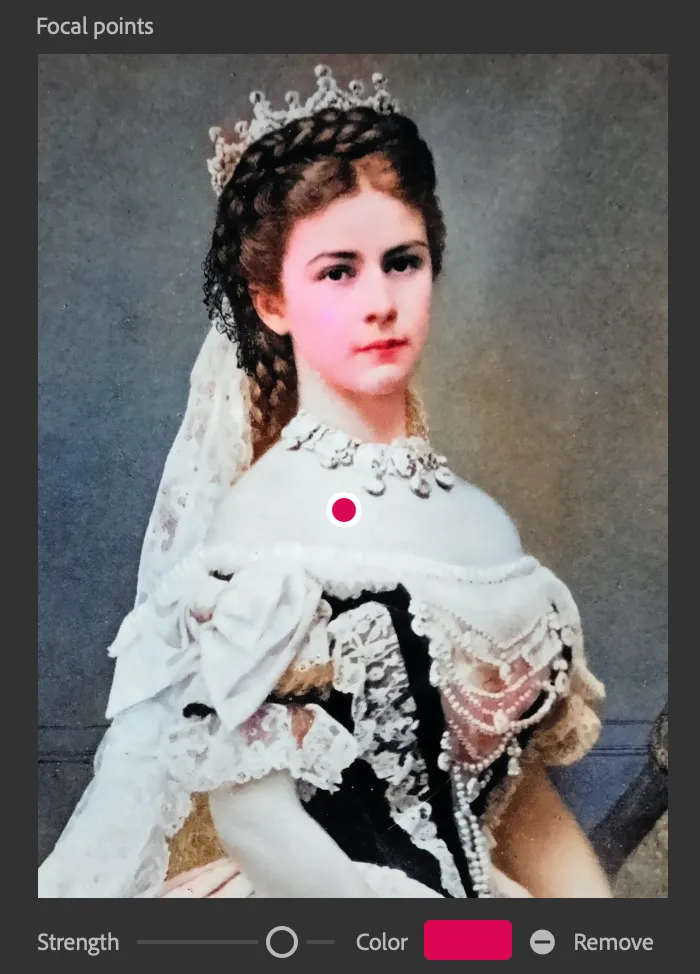
You can also manually change the color of a particular part of the image. Move your cursor over the image preview in the Neural Filters panel and click the area where you want to change the color.
A new color menu will appear. Select the color you want and click OK. You will then see the selected color listed below the image.
Photoshop Neural Filters – Colorize Manual Mode
7. Adjust or remove a color point
You can change the strength of the selected color or remove it completely. You can also move the color point by dragging it to another area of the image.
To duplicate a color point, hold Alt on Windows or Option on Mac and click somewhere else on the image.
Photoshop Neural Filters – Colorize Manual Mode
8. Reset your adjustments
If you want to reset the parameters, click the arrow in the top-right cornerabove the edited image.
9. Save the colorized image
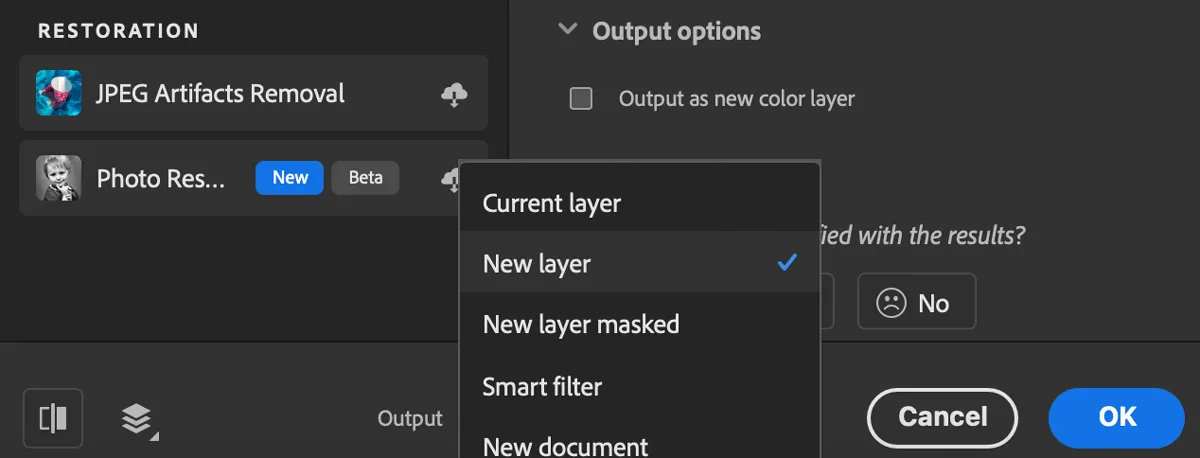
When you are happy with the result, you can save the output using one of the available options, such as New Color Layer, New Layer, Current Layer, New Layer Masked, Smart Filter, or New Document.
Colorize Photos in Photoshop – Neural Filter Colorize Preset
Colorize Photos in Photoshop – Neural Filter Colorize Manual
Colorize a Black and White Photo with ChatGPT or Gemini
If you don’t have Photoshop, you can also use AI tools such as ChatGPT or Gemini to colorize a black and white photo. Both options can be used for free, although the available features and usage limits can change over time.
1. Upload your black and white photo
Open ChatGPT or Gemini and upload the photo you want to colorize.
2. Ask the AI to colorize the image
You can use a simple prompt such as:
Colorize this black and white photo. Keep the original composition, details, and textures. Make the colors look natural and realistic.
You can also be more specific if you know what the original colors should be.
3. Compare the results
I tested the same photo with both ChatGPT and Gemini, and the results were slightly different.
ChatGPT produced a cleaner and higher-quality result in my test. However, it changed one of the background colors compared with the original IRL objects. Most of the image otherwise looked quite convincing.
Gemini produced more artifacts and the result looked somewhat lower in quality. On the other hand, its colors were closer to the real-life colors of the original scene. Interestingly, the overall image quality and texture also looked somewhat closer to the original photo, which had originally been created using the Dazz Cam GR F camera filter.
4. Decide whether the free options are enough for you
For occasional photo colorization, you probably don’t need to pay for a dedicated tool. If you only want to colorize a few photos from time to time, ChatGPT or Gemini can be a convenient free option.
The main limitation is that AI does not necessarily know the original colors. It makes an educated guess based on the image, so you may get colors that look realistic but are not historically or photographically accurate.
If you need to colorize large numbers of photos or want more control over individual colors, a dedicated tool such as Photoshop may be a better choice.
ChatGPT
Gemini
💡 Want to colorize old family photos?
Try MyHeritage's photo tools to restore and colorize historical and family photographs.
Colorize Photos with MyHeritage
MyHeritage is another option for colorizing black and white photos, and it is particularly useful for old family and historical photographs.
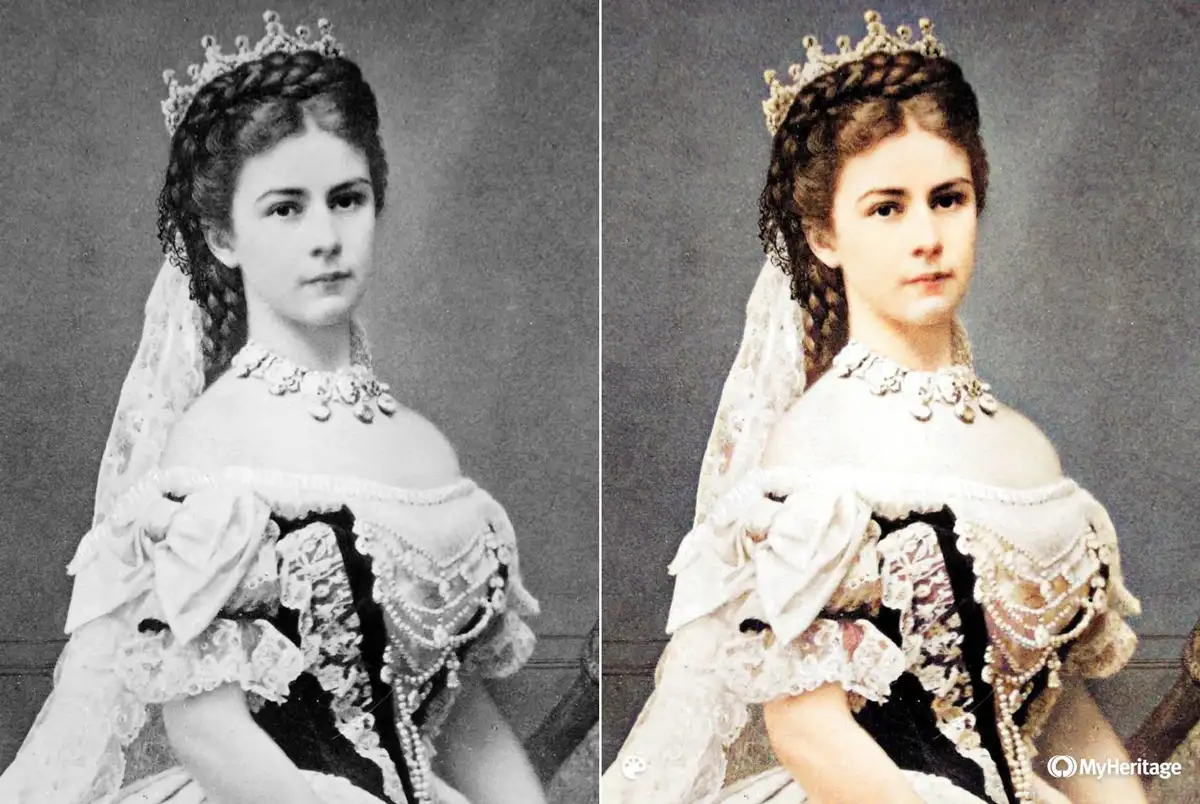
For this test, I used a public-domain black and white photograph of Sisi, which I also used in another article about her travels.
1. Upload your photo
Visit MyHeritage and upload your black and white photo. Use its photo colorization tool. You need to create an account for that.
2. Let MyHeritage colorize the image
The process is mostly automatic, so you don’t need to manually paint different parts of the photograph.
MyHeritage
3. Check the result
I was quite happy with the result. MyHeritage gave the photograph a convincing, slightly sepia-toned appearance that works well for this type of historical portrait.
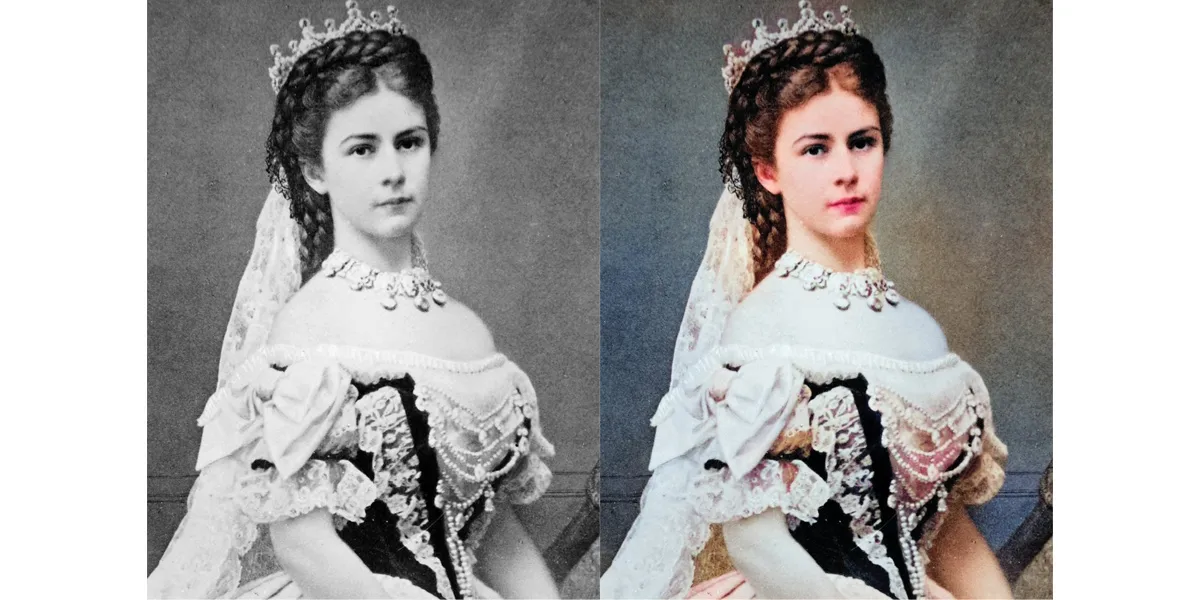
I also colorized the same Sisi photograph in Photoshop using one of its preset profiles inside the Colorize Neural Filter. The Photoshop result was more saturated and had stronger contrast, while the MyHeritage version had a softer and more vintage-looking appearance.
Neither result should be treated as proof of the exact original colors. AI colorization estimates colors based on the photograph, so historical photographs can still contain inaccurate colors even when the result looks convincing.
Sisi – Neural Filter Colorize (Photoshop)
Conclusion
There are several easy ways to colorize a black and white photo, and you don’t necessarily need to pay for a dedicated tool. For occasional edits, ChatGPT or Gemini can be enough, especially if you want a quick result without complicated editing.
If you want more control over the colors and final look, Photoshop is the better option. For old family or historical photographs, MyHeritage is also worth trying, especially if you like its softer, vintage-looking results.
Keep in mind that AI colorization is an estimate, not a guarantee of the original colors. For the most accurate result, you may still need to adjust the colors manually.
Sources
Edit Template
Sources:
Cookie Consent
We use cookies to optimize your experience, personalize content, and analyze our traffic. By clicking "Accept All", you agree to our use of cookies for a smoother and faster browsing experience. Learn more in our Privacy Policy.
Contains information related to marketing campaigns of the user. These are shared with Google AdWords / Google Ads when the Google Ads and Google Analytics accounts are linked together.
90 days
__utma
ID used to identify users and sessions
2 years after last activity
__utmt
Used to monitor number of Google Analytics server requests
10 minutes
__utmb
Used to distinguish new sessions and visits. This cookie is set when the GA.js javascript library is loaded and there is no existing __utmb cookie. The cookie is updated every time data is sent to the Google Analytics server.
30 minutes after last activity
__utmc
Used only with old Urchin versions of Google Analytics and not with GA.js. Was used to distinguish between new sessions and visits at the end of a session.
End of session (browser)
__utmz
Contains information about the traffic source or campaign that directed user to the website. The cookie is set when the GA.js javascript is loaded and updated when data is sent to the Google Anaytics server
6 months after last activity
__utmv
Contains custom information set by the web developer via the _setCustomVar method in Google Analytics. This cookie is updated every time new data is sent to the Google Analytics server.
2 years after last activity
__utmx
Used to determine whether a user is included in an A / B or Multivariate test.
18 months
_ga
ID used to identify users
2 years
_gali
Used by Google Analytics to determine which links on a page are being clicked
30 seconds
_ga_
ID used to identify users
2 years
_gid
ID used to identify users for 24 hours after last activity
24 hours
_gat
Used to monitor number of Google Analytics server requests when using Google Tag Manager
1 minute
Marketing cookies are used to follow visitors to websites. The intention is to show ads that are relevant and engaging to the individual user.
This script provides interactive maps and affiliate tools for searching and booking accommodations and flights. Cookies are used to correctly display prices, availability, and to anonymously track affiliate booking commissions.