
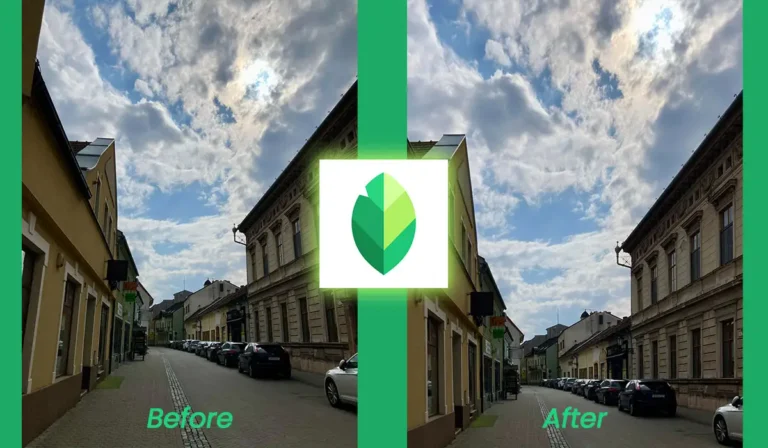
When you’re a street or travel photographer, you often find yourself taking pictures of buildings. However, these photos can sometimes make buildings look distorted, as if they were falling over. This effect is common when you photograph tall structures from below, causing vertical lines to converge. It can make architectural photos look unbalanced, especially to viewers who pay attention to details.
In this tutorial, I’ll show you how to use the Snapseed Perspective Tool to correct perspective distortion and make your architectural photos look more balanced.
What Is the Snapseed Perspective Tool?
The Snapseed Perspective Tool lets you correct perspective distortion in your photos using automatic or manual adjustments. It offers several options to straighten buildings, adjust vertical and horizontal lines, and fix distorted structures. You can also correct perspective in both directions and let Snapseed fill in empty edges created by the adjustments.
How to Use the Snapseed Perspective Tool
First, open Snapseed and tap the + button to add the photo you want to edit. Once the image opens, tap Tools in the bottom menu, then select Perspective.
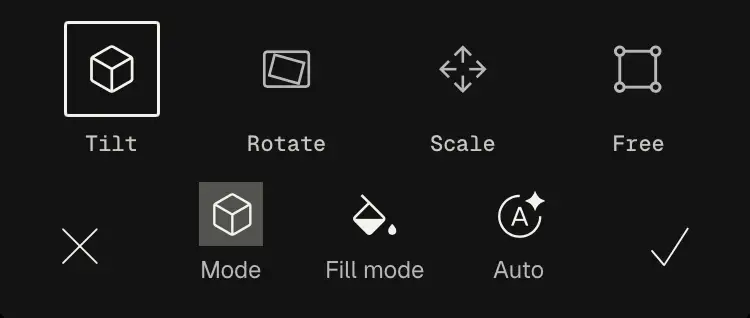
The Perspective tool interface has three icons in the bottom menu: Mode, Fill Mode, and Auto. Each icon opens a different set of options in the menu above it.
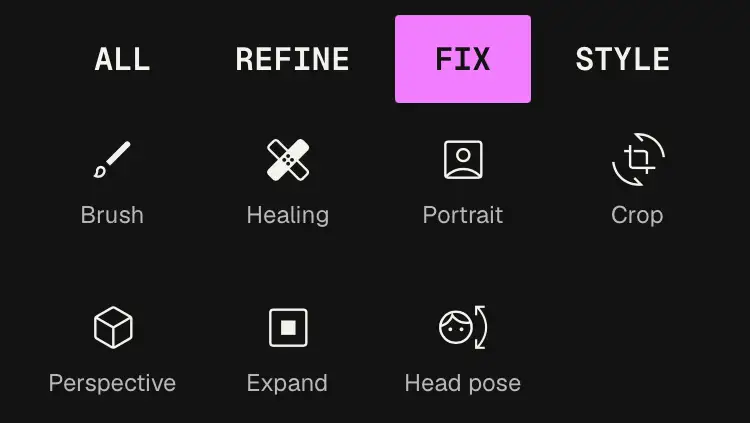
Auto Perspective Correction
Start by trying the Auto option. Snapseed will automatically adjust the perspective of your photo. However, automatic correction doesn’t always produce the best results.
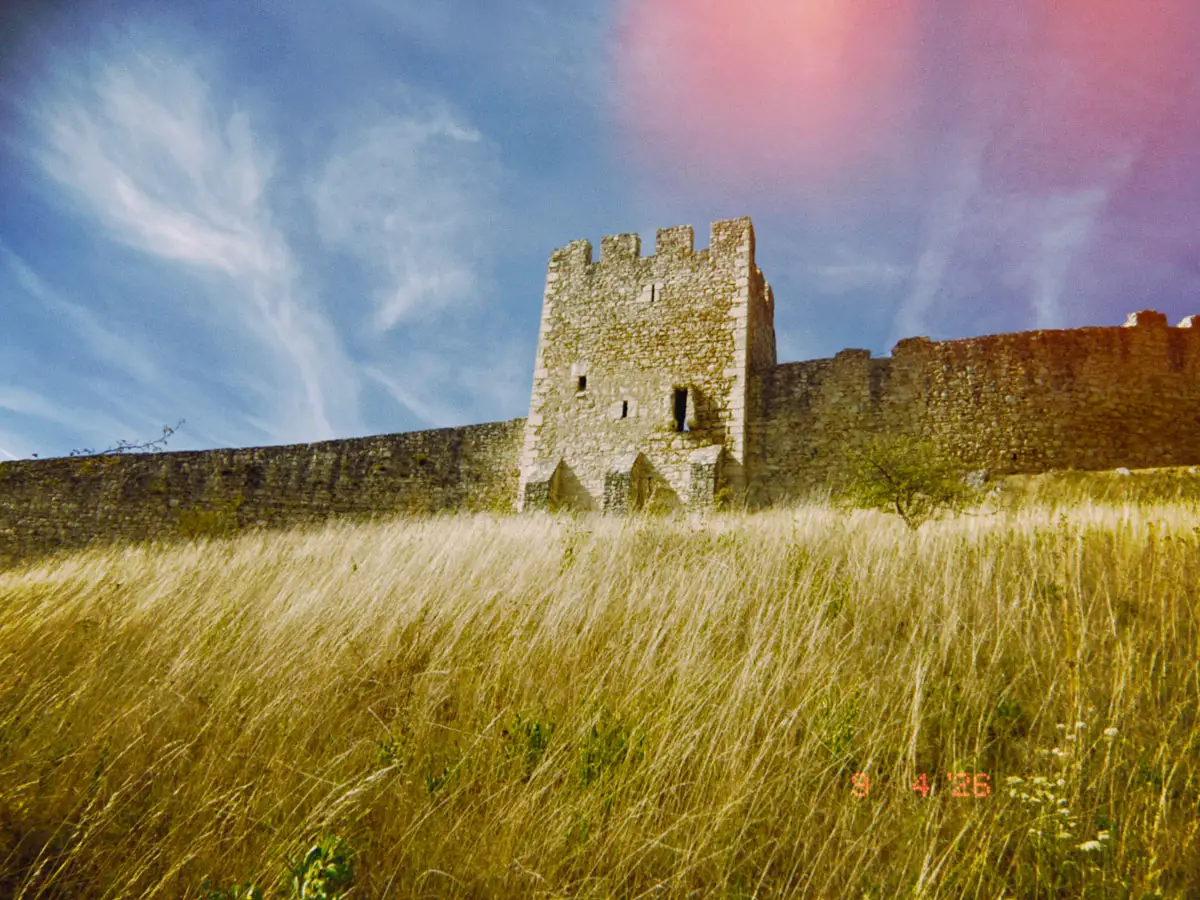
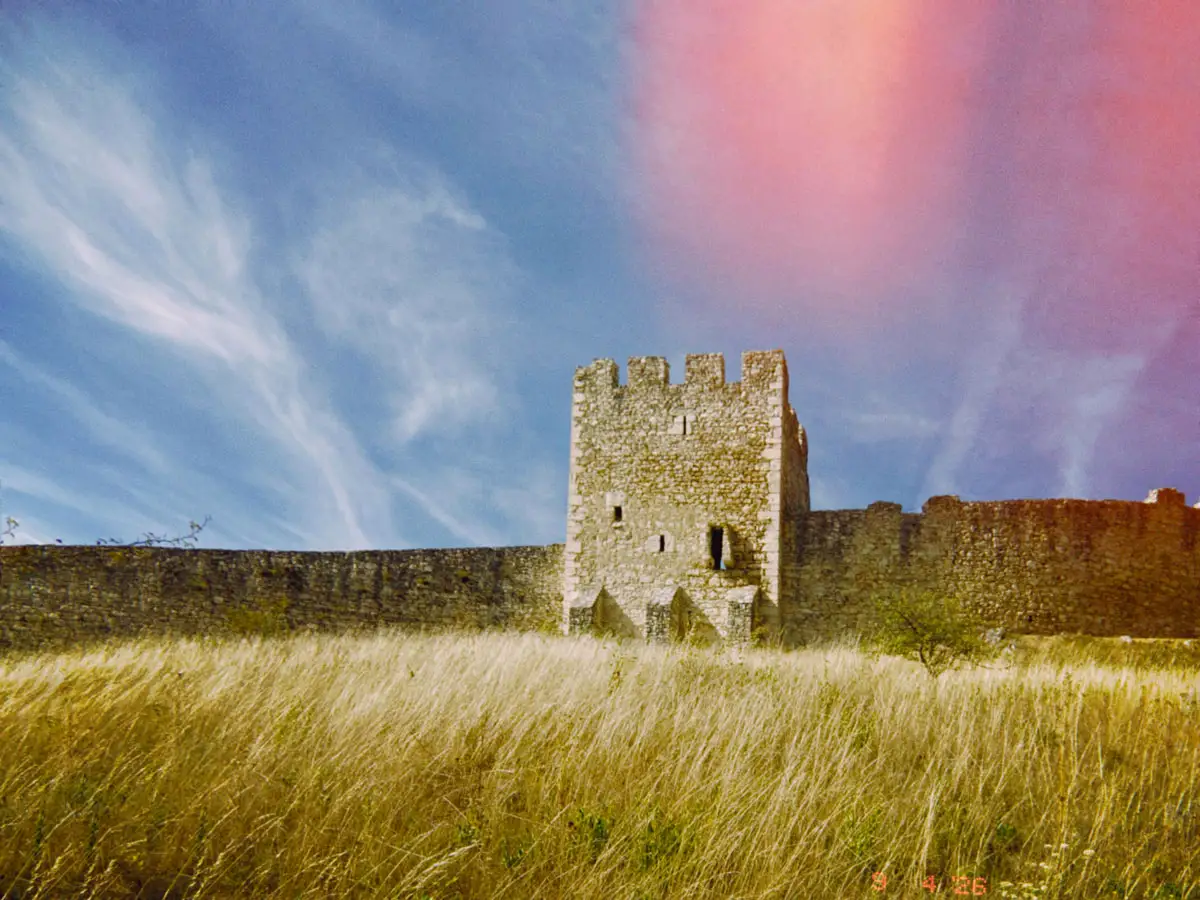
For example, I tried using Auto to correct a photo of Spiš Castle taken with Dazz Cam, but it didn’t produce the result I wanted. In cases like this, manual adjustments give you more control over the final image.
Manual Perspective Correction: Tilt, Rotate, Scale, and Free
To adjust the perspective manually, tap Mode. You’ll see four options: Tilt, Rotate, Scale, and Free. Each option adjusts your photo in a different way.
- Tilt: Adjusts the perspective by shifting the image vertically or horizontally. It’s useful when you want to correct the appearance of leaning buildings or adjust their alignment.
- Rotate: Rotates the image to correct a tilted horizon or straighten the overall composition.
- Scale: Changes the size of the image within the frame. Use it to adjust the image after correcting perspective or to refine its composition.
- Free: Lets you adjust the perspective more flexibly by dragging the image in different directions. It’s useful when the other modes don’t give you enough control.
Try the different modes to see which one works best for your photo. Make small adjustments and check the building’s lines as you go. Avoid overcorrecting the perspective, as this can make the structure look unnatural.
Fill Mode: Smart, White, or Black
Perspective adjustments can create empty areas around the edges of your photo. The Fill Mode options determine how Snapseed handles these areas.
- Smart: Snapseed attempts to fill the empty areas automatically by generating content based on the surrounding image.
- White: Fills the empty areas with white.
- Black: Fills the empty areas with black.
Smart fill is often the most convenient option, but its results depend on the photo. Inspect the edges carefully after applying the correction. If the filled areas look unnatural, try another fill mode or crop the image.
How to Correct Perspective in Snapseed
Now that you know how the Perspective tool works, let’s apply it to a real photo. I’ll use a photo of Spiš Castle taken with Dazz Cam to demonstrate how manual perspective correction can improve the appearance of a building.
First, open the Perspective tool and select the mode that best suits your photo. For this image, I recommend starting with Tilt to correct the leaning vertical lines. Make small adjustments and observe how the building changes.
If the image still looks tilted, try Rotate to straighten the overall composition. You may also need to adjust the scale or use Smart fill to handle the empty areas around the edges.
Compare the image before and after the correction. The goal isn’t necessarily to make every line perfectly straight, but to create a more balanced result without making the building look unnatural.
Once you’re happy with the result, tap the checkmark to apply the changes.
Snapseed Perspective Correction: Before and After
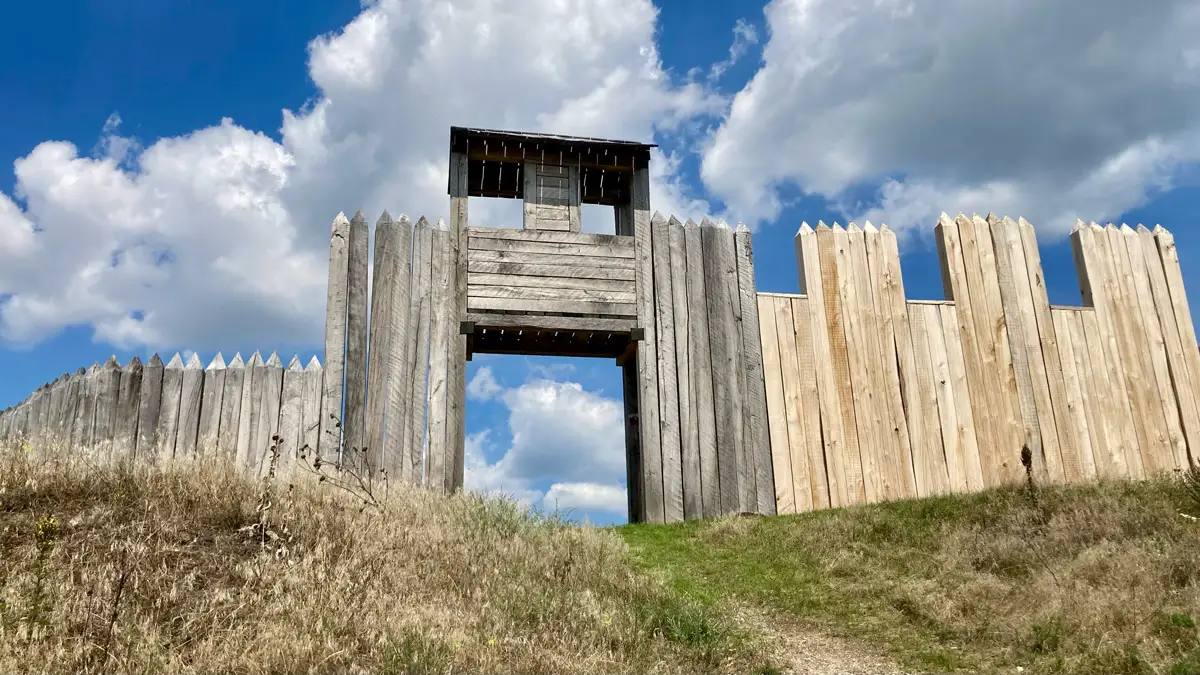
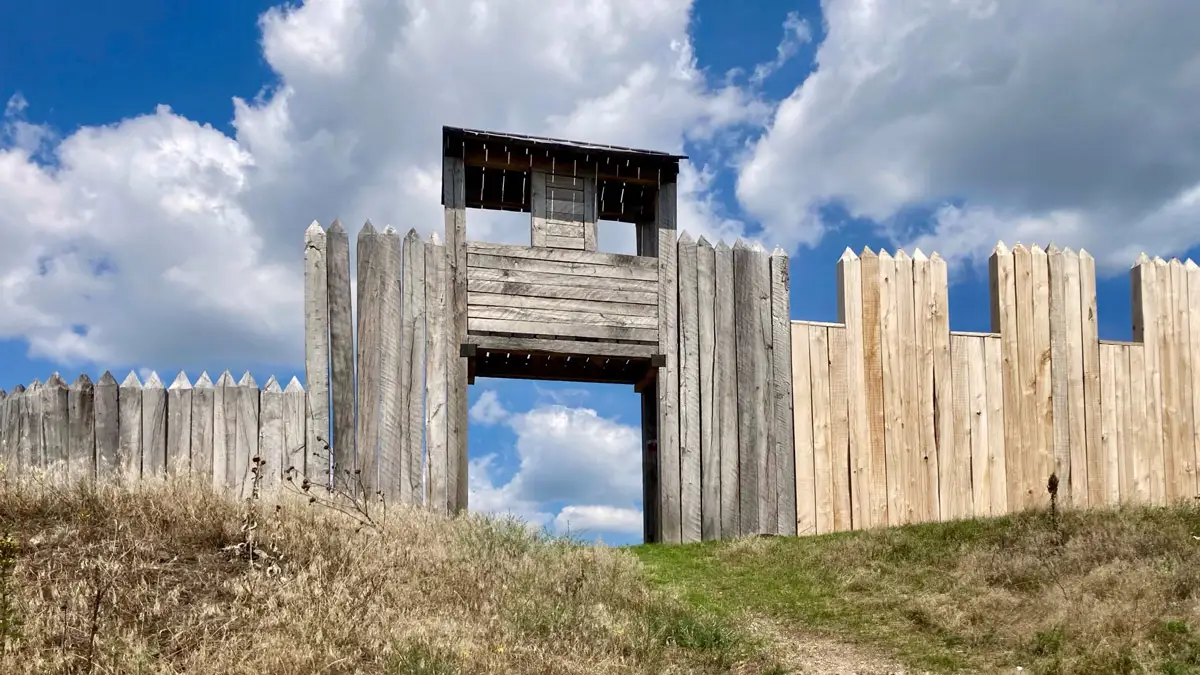
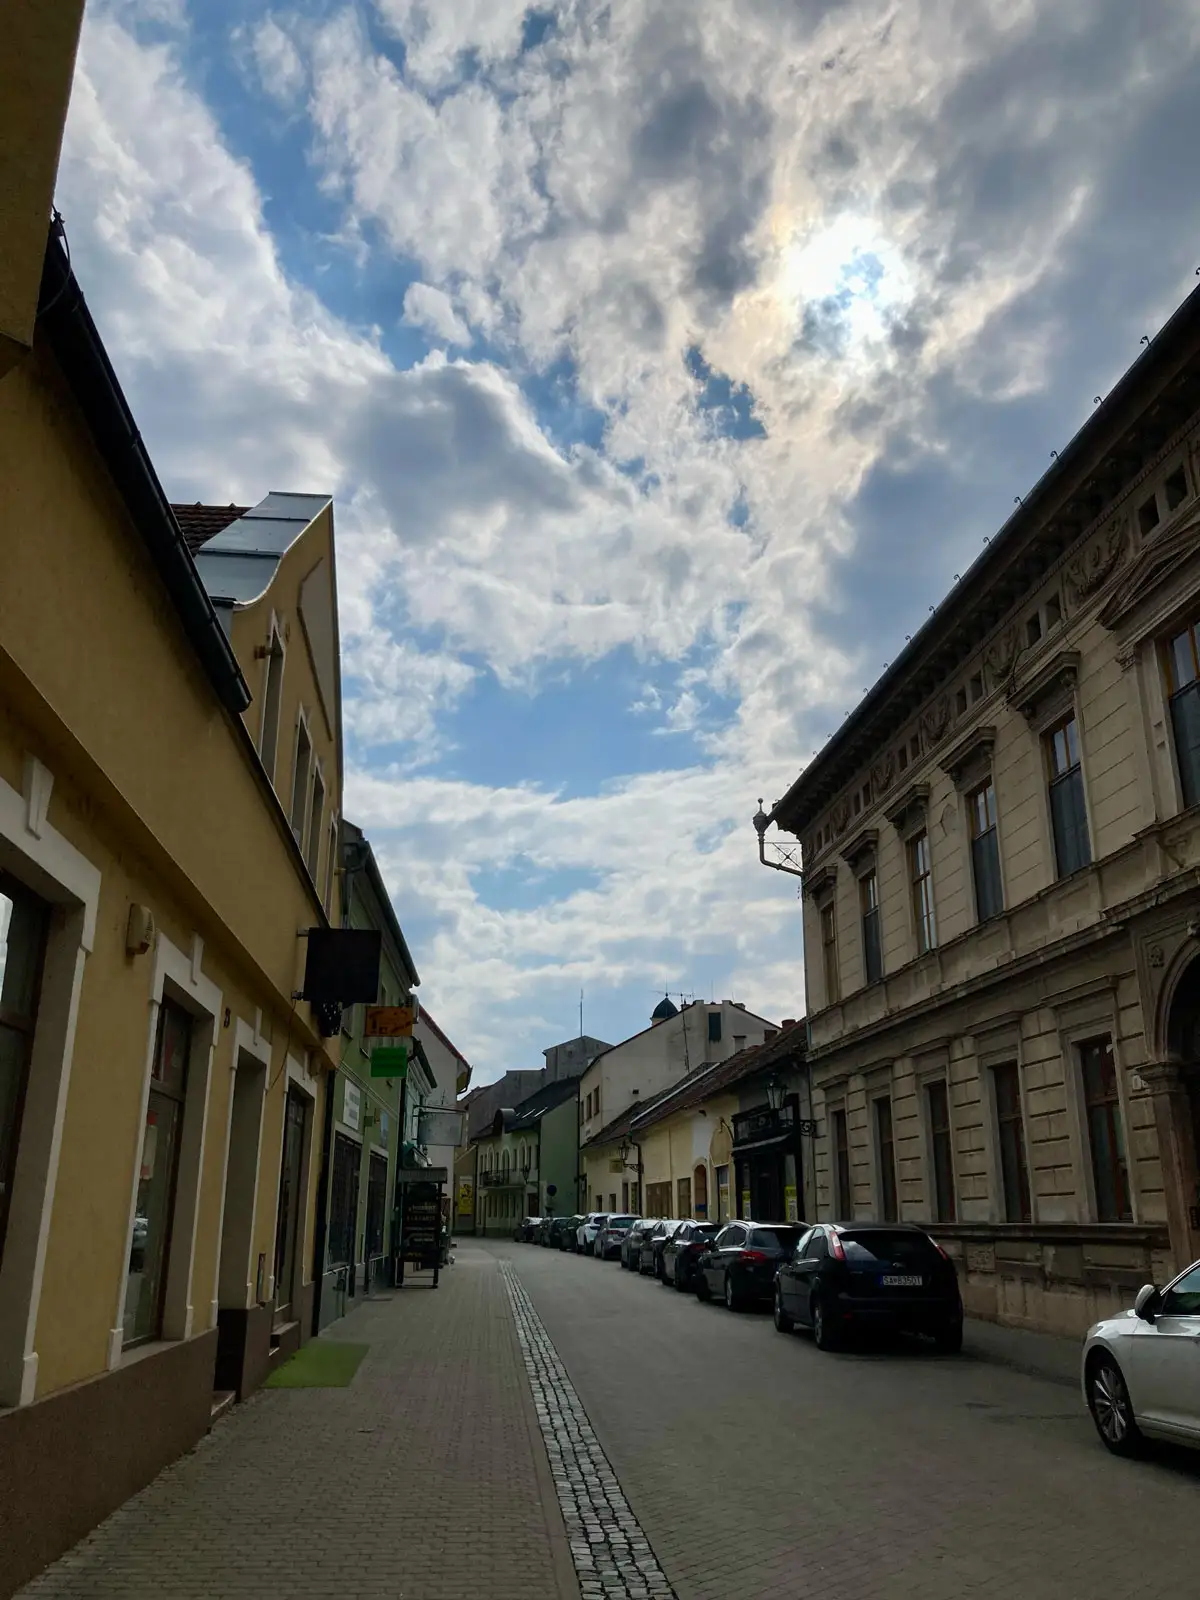
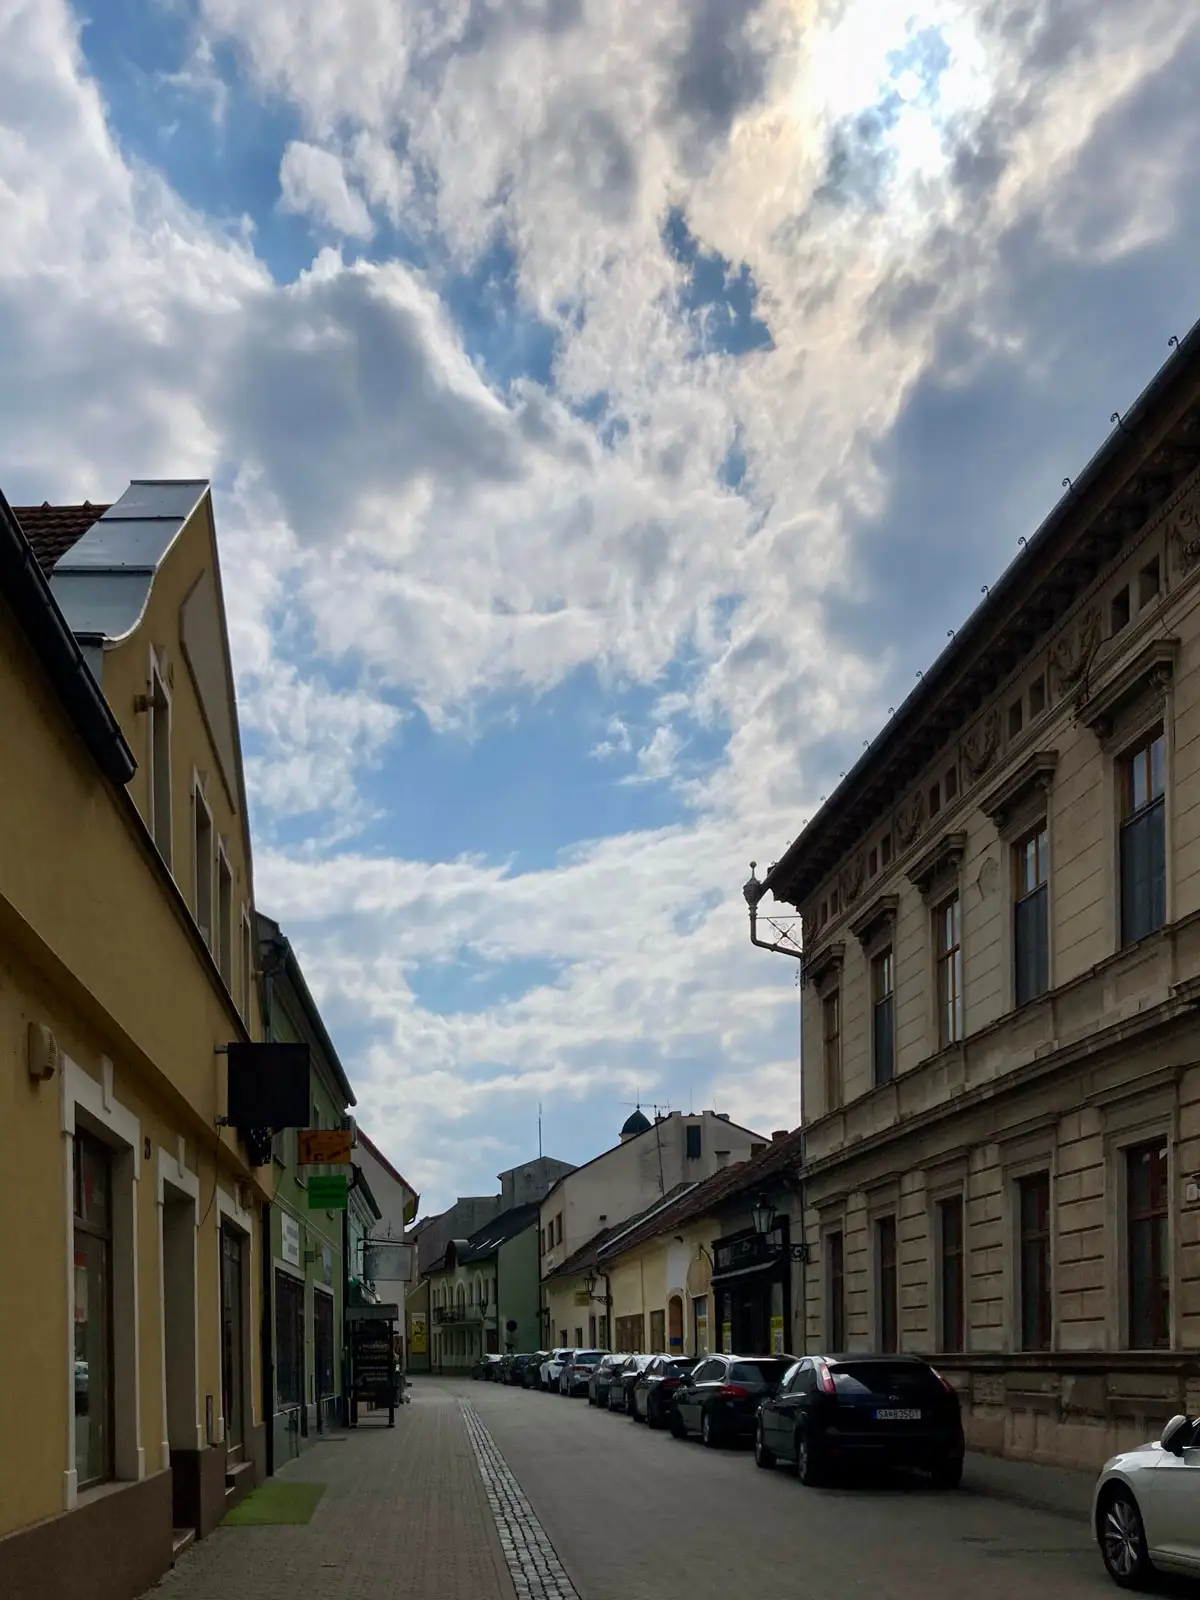
Perspective correction can make a noticeable difference in architectural photography. However, the results depend on the angle you used to take the photo and the shape of the building. Here are a few examples of how the Snapseed Perspective Tool can improve different types of architectural photos.
Tips for Better Perspective Correction in Snapseed
The Snapseed Perspective Tool can improve architectural photos, but strong adjustments can also distort the original image. Keep these tips in mind for a more natural result.
Start with Small Adjustments
Avoid making large changes straight away. Adjust the perspective gradually and check how the building’s shape changes. Small corrections often look more natural than trying to make every line perfectly straight.
Pay Attention to Vertical Lines
When photographing buildings from below, vertical lines often converge toward the top. Use the Perspective tool to correct this effect, but avoid making the building look unnaturally stretched.
Check the Edges of Your Photo
Perspective correction can create empty areas around the edges. Try Smart fill to fill them automatically, or use a white or black background if it suits your image. Check the result carefully for unnatural details.
Don’t Forget the Composition
Correcting perspective can change the way the building sits within the frame. After making adjustments, check whether the main subject still looks balanced. You may need to crop the image to improve the final composition.
Know When to Stop
Not every photo needs perfectly straight lines. Some perspective distortion can help convey the height and scale of a building. Aim for a balanced image rather than correcting every angle at all costs.
Final Thoughts
The Snapseed Perspective Tool is easy to use and can quickly improve your architectural photos. However, be careful not to overcorrect the perspective, especially when the automatic option doesn’t produce the desired result.
Compared with Lightroom, Snapseed offers fewer options for precise perspective correction. In Lightroom, you can use guides to align architectural lines or select specific lines to correct manually when automatic correction fails. Snapseed offers a simpler approach, which makes it easier to use but gives you less control over the final result.
For quick corrections on the go, Snapseed is a useful tool. However, if you need more precise control over complex architectural photos, Lightroom may be the better choice.
Image Source:
Sources: