

This Snapseed text tool tutorial explains how to use the Text tool in the app. You will learn how to change text size and color, add line breaks, and create text overlays. It also covers whether you can create a transparent text PNG file or add custom fonts to Snapseed.
How to Add Text in Snapseed
Adding text in Snapseed is simple. Open the app, tap the + button to open a photo, and select the image you want to edit.
In the editor, tap Tools in the bottom menu. Find and select Text.
A new text element will appear on your photo with a prompt such as “Tap here to change the text.” To edit it, double-tap the text. A new field will appear where you can enter your own text.
Understanding the Snapseed Text Tool Interface
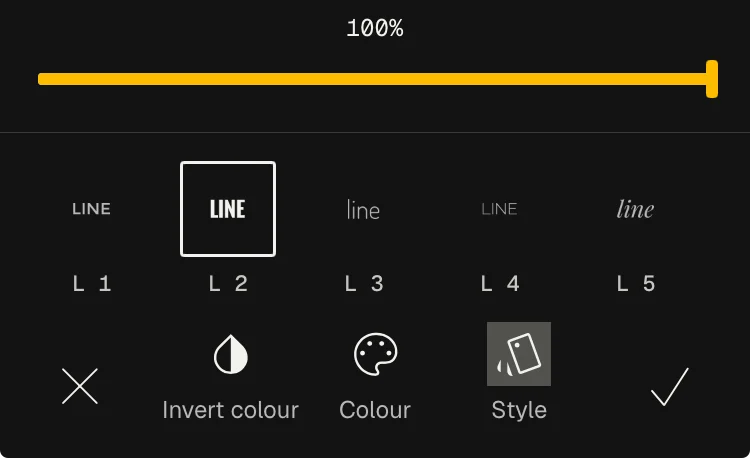
Below the text on your image, you will find a slider and two menus. The bottom menu has three icons that let you invert the text colors, change the text color, or choose a different text style. The menu above it displays different options depending on which of these three icons you select.
How to Edit Text in Snapseed
Here are some simple tips to help you customize text in Snapseed.
How to Change Text Size in Snapseed
To change the text size, tap the text on your image and use two fingers to pinch in or out. You can also drag the text to reposition it on the photo.
How to Change Text Color and Style
To change the text color, tap the color icon in the bottom menu. Then select your preferred color. You can also tap the plus icon at the beginning of the color options to choose a color from the grid or spectrum, or use the color sliders.
How to Make a Line Break in Snapseed Text
If your text doesn’t fit on one line, you can split it into multiple lines. Tap the text to open the editing field, just as you would when changing the text. Position the cursor where you want the new line to begin, then press the Enter key (the bent arrow on your keyboard) to move the remaining text to the next line.
Can You Add Custom Fonts to Snapseed?
Snapseed offers several built-in text styles, but it does not provide a dedicated option to import custom fonts or create your own text styles. I checked the available options in the Text tool and couldn’t find a way to upload a font file or save a custom style.
You can still customize your text using the available styles, colors, and size controls. However, if you want to use a specific font that isn’t available in Snapseed, you’ll need another app that supports custom fonts.
One workaround is to add your text in a separate photo-editing or graphic-design app, then combine it with your image there. This gives you more control over typography and text effects than Snapseed’s built-in Text tool.

How to Create Text Overlays in Snapseed
Snapseed lets you do more than simply add text on top of a photo. You can also use its editing tools to create more creative text overlays, including the effect of placing text behind an object.
How to Add Text Behind an Image in Snapseed
To create this effect, start by opening your photo in Snapseed and adding text as usual. Adjust its size, position, and style, then tap the checkmark to apply the edit.
Next, open the Edit Stack by tapping the stack icon at the top of the main screen. Now you will see your image, big green button below it and then your layers including your text layer.

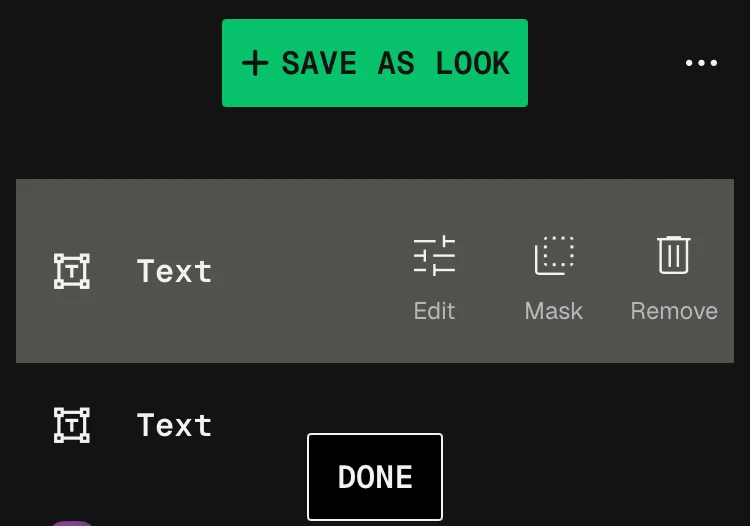
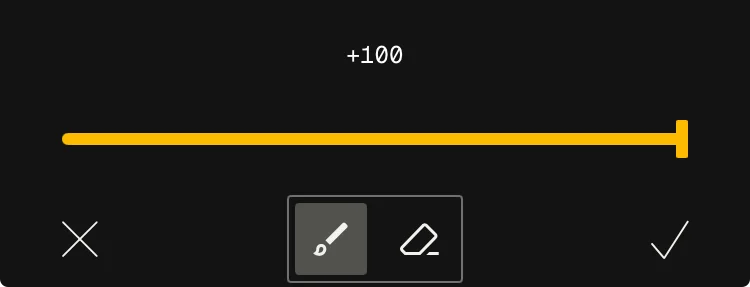
Select your text layer and tap on Mask icon. The text may disappear temporarily when the brush opens.
Use the brush to reveal the text where you want it to appear. Leave the areas that should look hidden behind the subject untouched. If you reveal too much text, switch to eraser brush, adjust its value with slider and erase the unwanted parts.
Zoom in around the edges of your subject for more precise masking. When you’re happy with the result, apply the edit and export your finished photo.
This technique works best when your subject has clearly defined edges. It can create the illusion that text sits behind a person, a building, a plant, or another object in the foreground.
How to Create a Transparent Text PNG
Snapseed lets you export your edited photo in PNG format, but it does not provide a dedicated option to export only the text as a separate image with a transparent background.
When you add text using the Text tool, it becomes part of the edited photo when you export the finished result. You cannot simply select the text layer and save it as a standalone transparent PNG using Snapseed’s built-in export options.
If you need reusable text overlays, create them in a graphic design app that supports transparent backgrounds and separate layers. You can then export the text as a PNG and use it over other photos.
Final Words
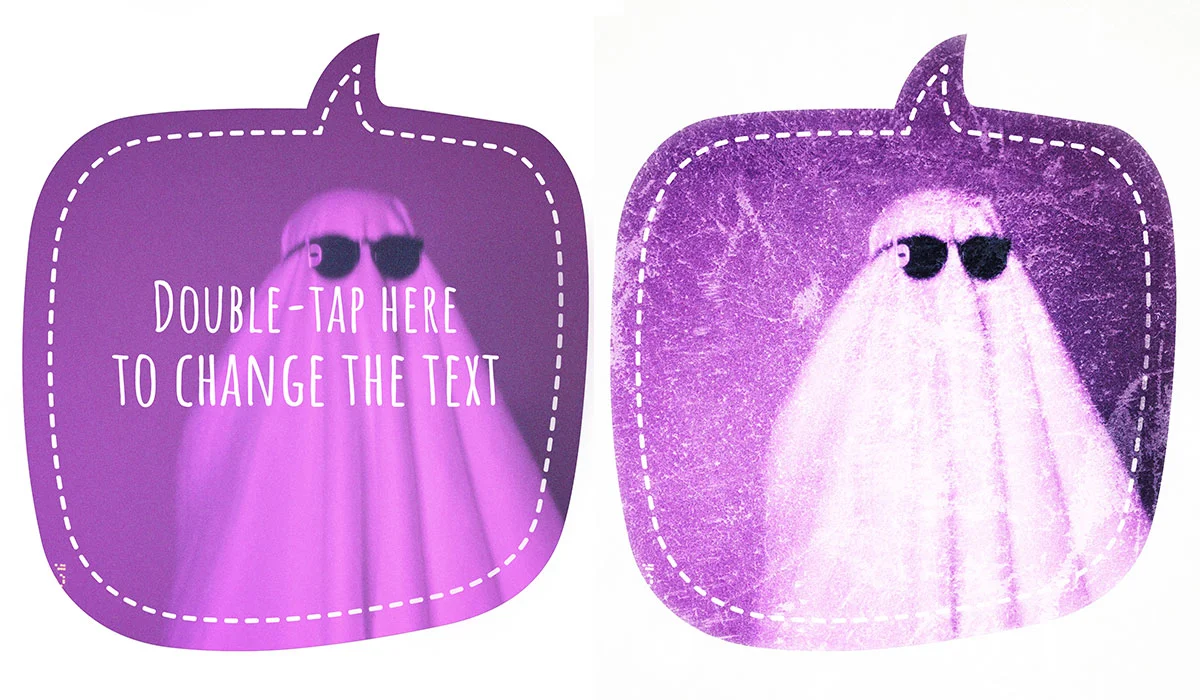
Snapseed’s built-in text styles are somewhat limited, and the ability to import custom fonts would be a welcome addition. However, you can still create interesting text overlays by experimenting with the Mask Brush in the Layers panel. Some preset styles include decorative shapes that may work well even when you don’t need the text itself. You can use the Mask Brush to remove the unwanted text while keeping the shape, giving you more creative options for your photo edits.
Image Source:
Sources: