
Dazz Cam is one of the highest-rated retro camera apps available on the Apple App Store. It lets you create vintage-style photos and videos with authentic film effects, often without the need for additional editing. Dazz Cam offers a wide range of creative filters and camera simulations.
Although the app is intuitive and easy to use, some of its features can be difficult to find if you’re using it for the first time. In this guide, I’ll show you how to use Dazz Cam, from installing the app and navigating its interface to understanding its features and settings. You’ll also learn how to import existing photos, use camera filters, create double exposures, make photo collages, and take photos without Portrait Mode. For more advanced features, such as creating 3D moving photos, you’ll find links to my dedicated tutorials throughout this guide.
Install Dazz Cam
Dazz Cam is available only for iOS users. To install the app just visit the Apple store a search for Dazz Cam – Vintage Camera. Click on the install button. After installation is complate just tap on Open.
Get Familiar with the Interface
The Dazz Cam app doesn’t mimic the interface of every camera it recreates. Instead, it features a minimalist interface where you can easily find all the necessary buttons and controls. The screen is divided into two main sections: the Viewfinder Area and the Right Control Column.
The Main Viewfinder & Overlay Menu
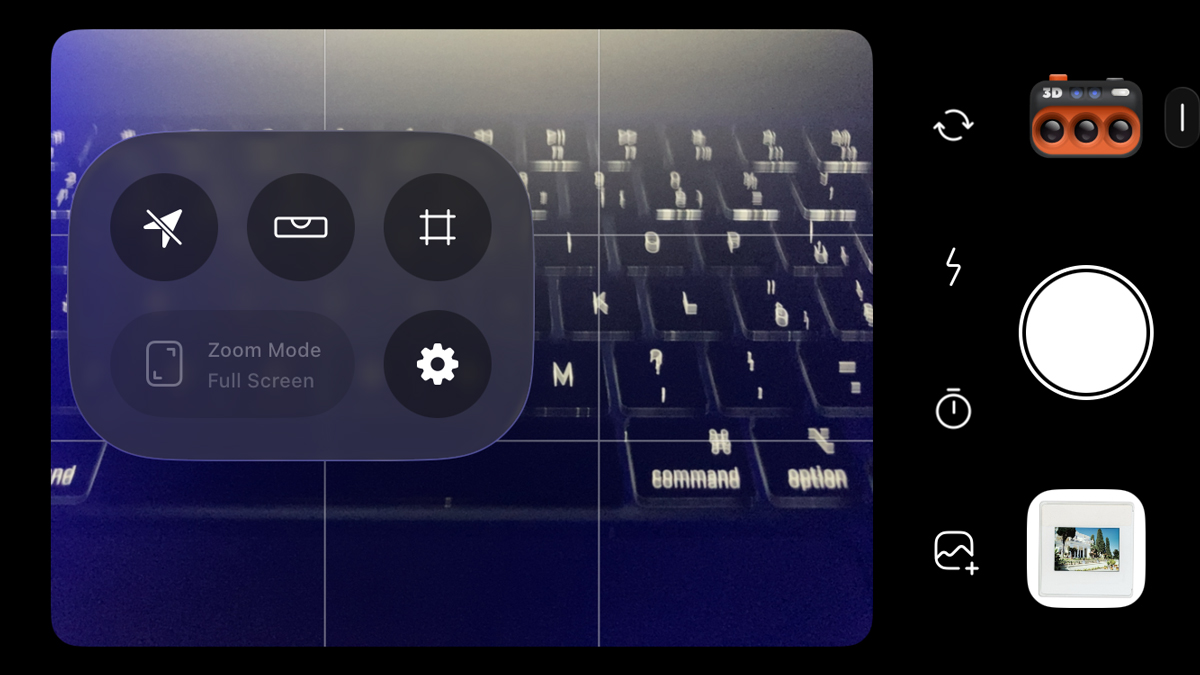
In the center of your screen is the live camera preview. Tapping the three dots (…) in the top right corner opens a quick overlay menu for frame composition:
- Location Tracking: The arrow symbol with a line through it toggles tracking options.
- Level: The horizontal capsule icon toggles a leveling tool. When active, it displays a yellow crosshair (+) in the center of the frame to help you align your horizon perfectly.
- Grid: The # icon toggles the rule-of-thirds grid lines for composition.
- Zoom Mode: A toggle at the bottom allows you to switch between different preview ratios, such as standard or Full Screen.
- Settings: The gear icon (⚙) opens advanced camera preferences where you can change language, change export settings, decide to keep original photos, save location, enable Shutter Vibration, etc.
On-Screen Exposure Controls
On the right edge of the viewfinder, you will find quick-adjust dials:
- Exposure Compensation (-+9 / ☀): Quickly brightens or darkens your image. You can also tap on A and it will set the exposure back to 0.
- Focal Length (50, 35, 28): Indicates or switches the current lens emulation (e.g., 50mm).
- White Balance / Temperature (🌡️): Adjusts the warmth or coolness of the shot. It also lets you use pre-sets like automatic (A), or 5500 K, 3200 K.
The Right Control Column
This sidebar handles the main functions of the camera application:
- Camera Selection: The top icon changes the active camera filter.
- Camera Flip (🔄): Switches between the front-facing selfie camera and the rear lenses.
- Flash Control (⚡): Toggles between Flash On, Off.
- Self-Timer (⏱): Sets a delay before the shutter snaps – 3s, 10s, or Burst mode which automatically takes photo every few seconds.
- Double Exposure (⧉): Allows you to blend two shots into a single frame for a creative, surreal double exposure effect.
- Shutter Button: The large white circle used to capture the photo or video.
- Photo Import (🖼️+): The gallery icon with a plus sign lets you choose existing photos or videos from your camera roll to apply Dazz Cam’s vintage filters retroactively. It is available only on selected cameras.
- Gallery Preview: The bottom-right thumbnail takes you directly to your Dazz Cam library to view recent captures. It allows you to filter the images based on the filter and also quickly export them.

Choose a Camera & Filter
- Launch the app.
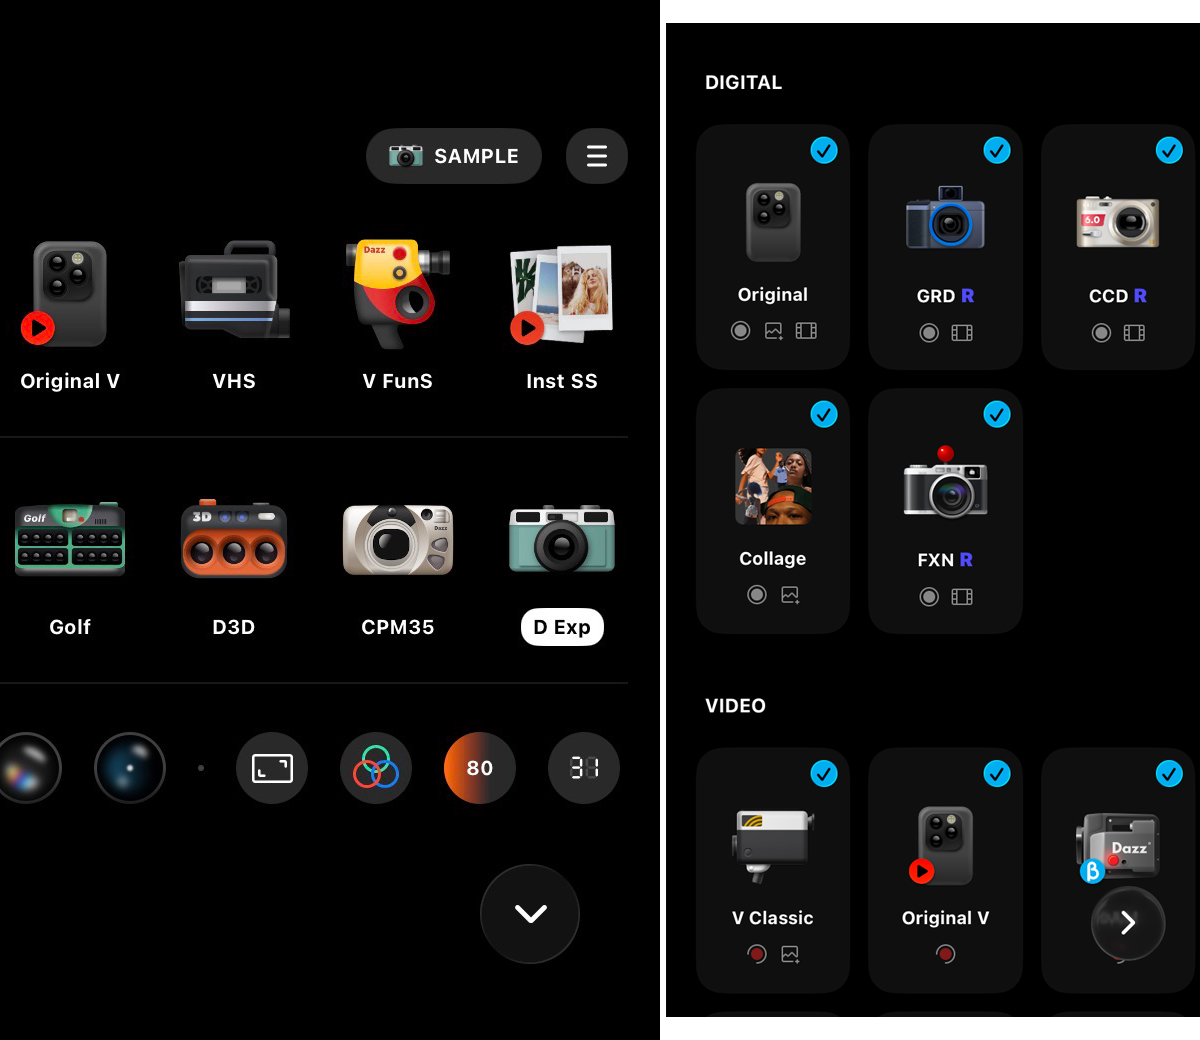
- Select desired camera filter from the main interface screen. Tapping the Camera Selection icon at the top of the right control column opens up the vintage camera library drawer. Here you can scroll through and select different classic camera bodies and film emulations (such as Original V, VHS, D3D, or CPM35). At the top right of this drawer is SAMPLE button which provides visual examples of what photos look like when taken with the currently selected filter. Right next to it is the hamburger Menu (☰). Tapping this icon opens a customization screen where you can select exactly which digital and video cameras you want to keep visible in your main shortcut list, keeping your workspace clean.
- At the very bottom of this library drawer, you will notice a horizontal row of circular icons. This serves as a quick-access toolbar to attach lens accessories, filters, or modify core properties on the fly. Depending on your setup, you can toggle special optical attachments like Fisheye (W / F) lenses, Prism effects, an ND Filter (Neutral Density) for bright light, or a Star filter to add flare to light sources. It also houses quick shortcuts to change the Ratio, Color Profile, Flash C, or turn the retro Timestamp on and off.
- After you have selected desired camera filter you will be back on main screen. Underneath the camera filter icon isa small horizontal line or bar. Swiping or clicking this bar pulls up an advanced properties panel to fine-tune your film aesthetics before shooting:
- Ratio: Allows you to change the aspect ratio (e.g., 3:2 or 4:3). You can also toggle whether imported assets automatically conform to this ratio or keep their original framing.
- Color Profile: Change the film stock emulation backend (such as KG100, CCF400, or KD400) to alter color rendering, contrast, and tones.
- Random Lightleaks: Features a slider to adjust the intensity and frequency (e.g., 80%) of vintage light leaks overlaying your images.
- Timestamp: Gives you options to burn a retro digital date stamp onto your photo. You can choose the font style or completely disable it, as well as select whether it displays the current date or the date the material was originally generated.
Keep in mind that the settings inside advanced properties panel are dynamic. Depending on whether you have selected a Photo or a Video camera filter, you will see different controls tailored to that specific medium (for example, video-specific frame rates or audio toggles vs. photo-specific film profiles).
Adjust Your Camera Settings
Before taking your photo, you can quickly adjust a few settings to match the lighting conditions and the look you’re trying to achieve. Most Dazz Cam filters allow you to control exposure, white balance, and focal length directly from the main screen.
Exposure Compensation
Use the exposure slider to brighten or darken your image before taking the photo. Increase the exposure in dark environments or reduce it in bright sunlight to avoid overexposed highlights. If you’re unsure, tap A to return to the default automatic value.
White Balance
White balance controls the color temperature of your photo. Warmer settings create a golden, vintage look, while cooler settings produce a bluish tone. If you want natural colors, leave it on Auto.
Focal Length
Some camera presets let you switch between different focal lengths, such as 28 mm, 35 mm, or 50 mm. Wider focal lengths work well for landscapes and architecture, while longer focal lengths are often better suited for portraits. Shorter lengths are also good if you want to take picture of something further in distance.
Don’t Forget the Flash
Many disposable camera filters are designed to be used with the flash enabled. If you’re shooting indoors or after sunset, turning on the flash often produces a much more authentic film-camera look.

Use Creative Features
Beyond basic photography, Dazz Cam includes several creative tools that let you recreate classic analog techniques and edit existing photos. Most of these features are available directly from the main camera screen or when using compatible camera presets.
Double Exposure
Double Exposure combines two images into a single photograph, creating artistic overlays similar to those produced by analog film cameras. Tap the Double Exposure (⧉) icon, capture your first image, then take a second photo to blend both exposures together. This effect works especially well with silhouettes, reflections, and city lights.
Import Existing Photos
You don’t have to take every photo inside Dazz Cam. Tap the Photo Import (🖼️+) button to choose an existing image from your camera roll. Dazz Cam will apply the selected camera simulation, including film grain, color profile, light leaks, and other available effects.
Tip: Not every camera preset supports importing photos.
Create Photo Collages
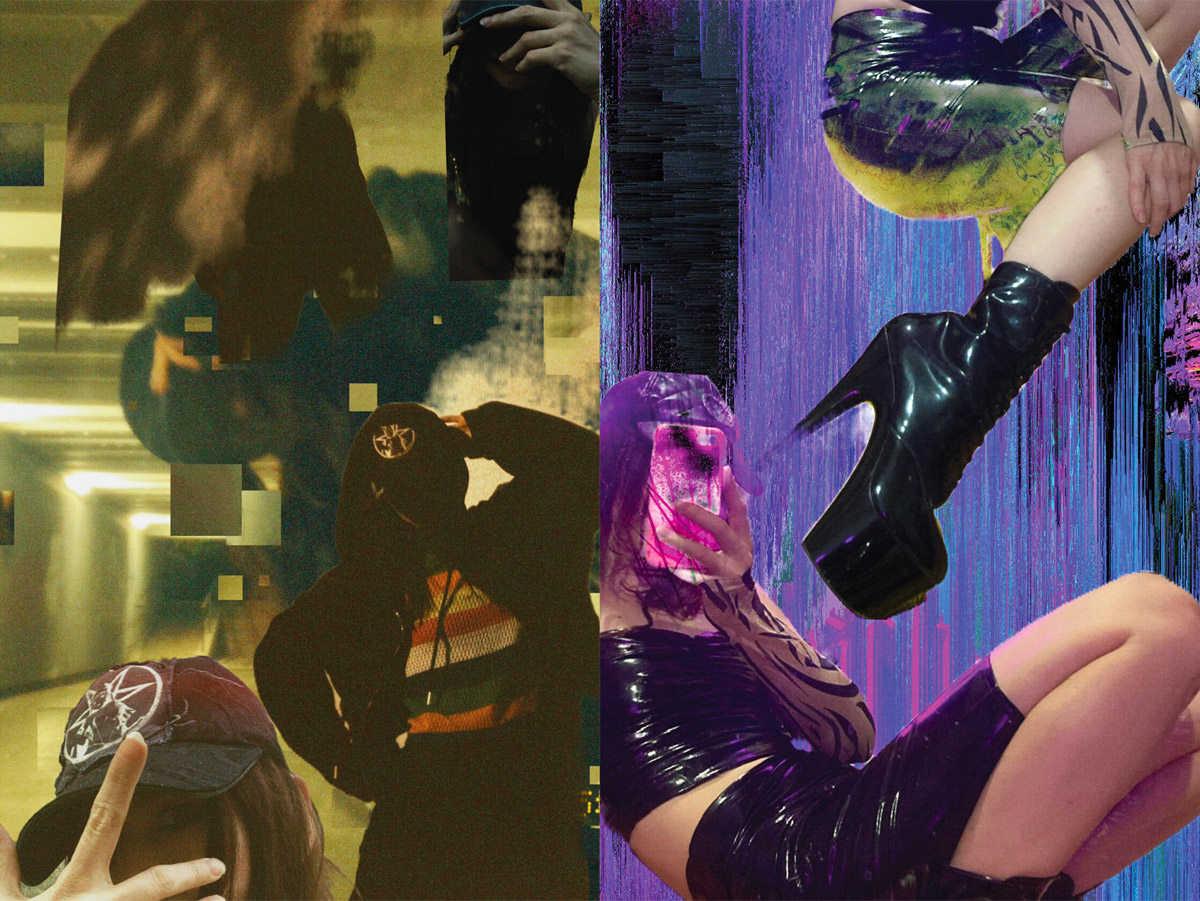
Dazz Cam also includes a collage feature that automatically combines multiple photos into a single composition. At the moment, the feature works primarily with Portrait Mode photos. Simply select several portrait images from your gallery, then choose one of them as the background. After tapping Generate, Dazz Cam automatically creates a collage using cut-out silhouettes of the people in each photo.
Once the collage has been generated, you can reposition, resize, and arrange the individual cut-outs to create your own composition. During my testing, I also tried using ordinary objects instead of people. While the app accepted the images if they were taken in Portrait Mode, the subject detection and cut-out quality were often inaccurate, resulting in poorly cropped objects.
Tip: For the best results, use Portrait Mode photos with a clearly separated subject. In my tests, photos of people produced much cleaner cut-outs than objects, which were often cropped incorrectly.

Take Photo or Record Video
Once you have selected your camera, applied a filter, and adjusted the settings, you are ready to capture your photo or video.
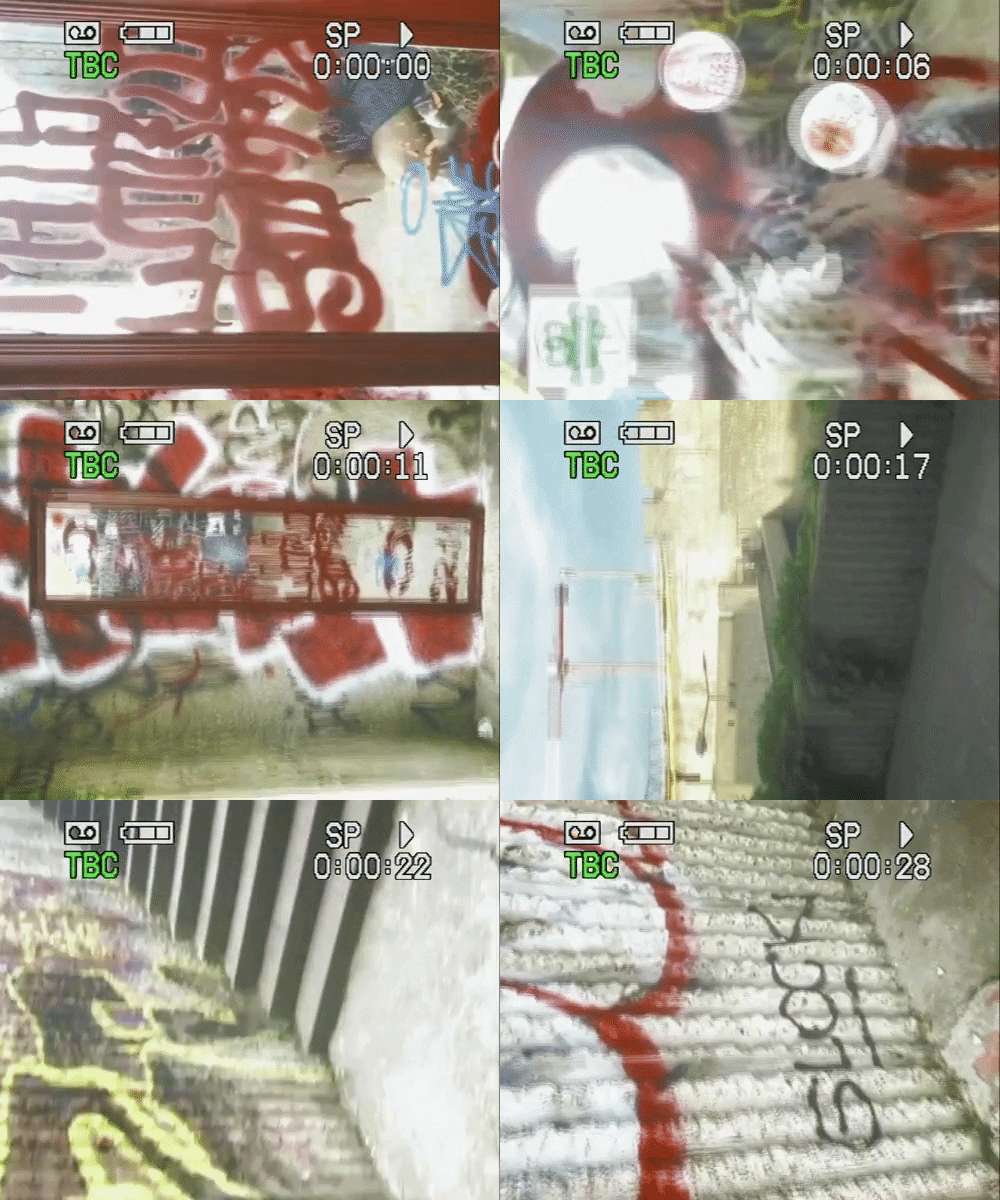
Tap the large shutter button to take a photo. For video cameras, switch to video mode and hold or tap the same button to start recording, depending on the selected camera preset.
Keep in mind that different Dazz Cam cameras are designed for different shooting styles. Disposable camera filters often look better with flash and imperfect framing, while film and instant camera presets may benefit from natural light and careful composition.
After capturing your content, you can preview it in the Dazz Cam gallery, apply additional adjustments if available, and export it to your phone’s photo library.
If you'd like to explore Dazz Cam in more detail, check out my other guides:
📸 Best Dazz Cam Filters – Discover the most popular camera presets, their visual style, and which filters work best for travel, portraits, and everyday photography.
🎞 How to Use D3D Camera in Dazz Cam – Learn how to create moving 3D photos and animated depth effects.
💛 Dazz Cam Yellow Filter Guide – Learn how to create the popular warm yellow vintage aesthetic and when to use this filter.
📱 Dazz Cam Review – A complete overview of the app, including features, pros and cons, and whether the premium version is worth it.
How to Use Dazz Cam Without Portrait Mode
Most Dazz Cam filters and camera simulations work without Portrait Mode. You can use regular photos and videos with film filters, disposable cameras, instant cameras, and most creative effects.
However, some features require Portrait Mode because they need additional depth information from the camera.
D3D / 3D Camera Effects
The main exception is the D3D camera. Dazz Cam requires Portrait Mode photos for its 3D effects because the feature uses depth-mapping data to create the moving 3D effect.
Collage Feature
Some collage features also work best with Portrait Mode photos because Dazz Cam uses subject detection to separate people from the background and create cut-out elements. Photos with clearly separated subjects usually produce better results.
Final Thoughts
Dazz Cam combines the feeling of analog photography with the convenience of a modern smartphone app. After learning the basics, the best way to improve is simply to experiment with different cameras, filters, and settings until you find your own style.
Dazz Cam is inspired by many iconic film cameras. If you'd like to shoot on the real thing, here are some classics:
- • Kodak FunSaver – Disposable camera for authentic film photos
- • Holga 120N – Famous for dreamy light leaks and soft focus
- • Instax Mini 8 – Instant camera with the classic Instax look
- • Pentax 67 – Medium-format camera behind one of Dazz Cam's most popular film styles
FAQ
Sources & Further Reading
Sources: